G A L A X Y N A S L X C O N F I G U R A T I O N A N D S Y S T E M I N T E G R A T I O N G U I D E
28
Section 2 Basic Setup
all of the GalaxyNASLX2 storage then no further action is required. However if you
want to create shares with users and groups access options then follow the following
procedure.
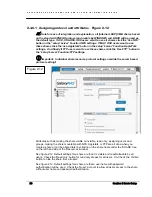
See figure 2.10 Select “Setup,” followed by “server.” Here, you select the type of
authentication. The default is set for internal LDAP, however click the type for your network.
The default name is ’WORKGROUP’ which has to correspond with the workgroup name of the
client PC.
Note that further procedures that affect share access will be based on this internal
LDAP mode. If you use an external LDAP, PDC, ADS, or NIS server disregard the
access and permissions attributes settings.
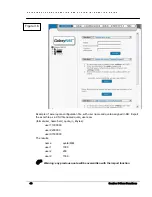
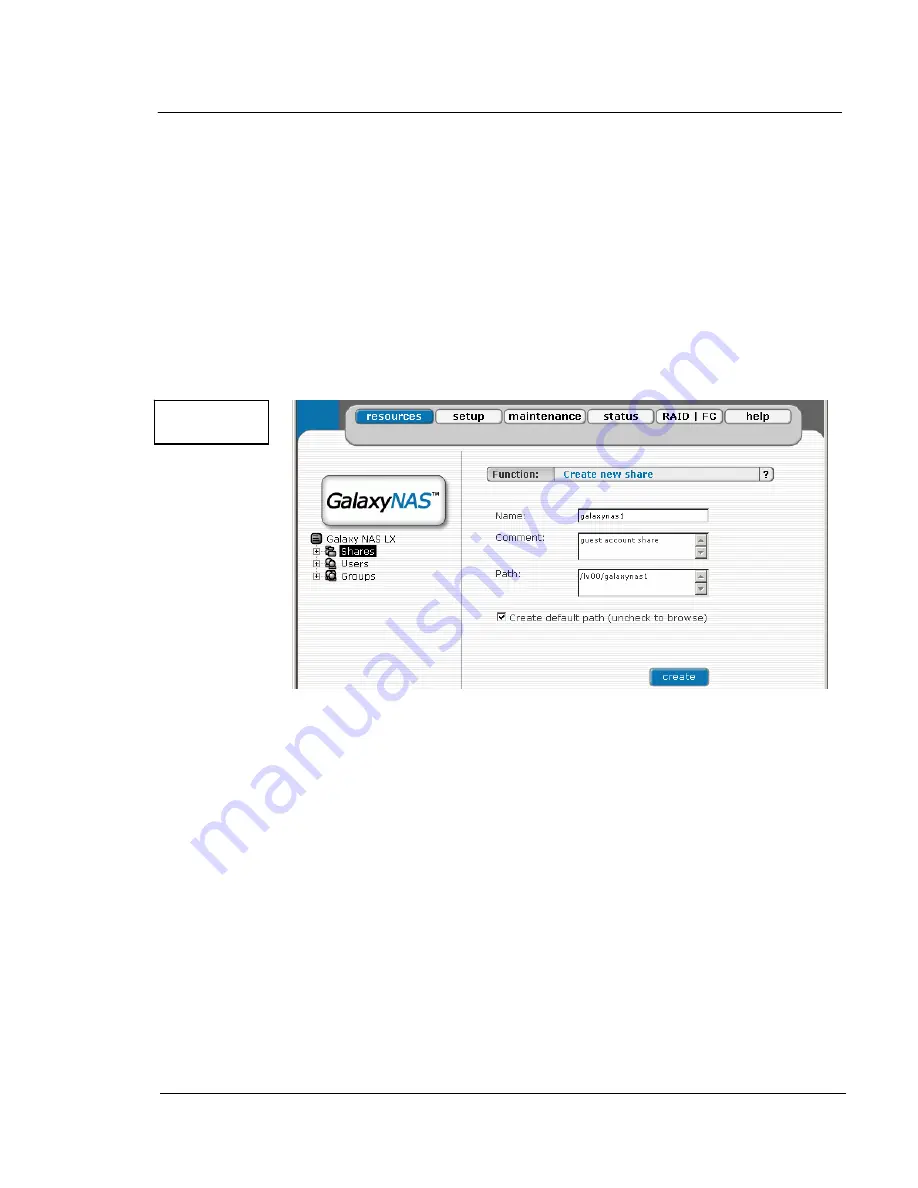
See figure 2.11 In the menu “Resources,” select “Shares” on the left-hand side of the tree
diagram. Now create the first share by giving it a name, comment and path. The default path
will be at the root level of the logical you are working in. When the share is created , the
various attributes and options for the share become available.
"
Note: un-check the ‘create default path “ button to place the new share in a
different path
"
Note: The workgroup/domain name that was configured in the GalaxyNASLX2 has
to match with the network settings. Otherwise, the configured shares are not visible in
the network environment.
"
Note: If you made changes to the workgroup and server name in the
GalaxyNASLX2 configuration, it can take some time until each workstation computer in
the Windows network detects the new name.
Figure 2.11
Содержание Galaxy LX Series
Страница 1: ...Galaxy LX2 Series Network Attached Storage System Configuration and System Integration Guide...
Страница 96: ......


