15
Video Operations
Importing a Still Image from a USB Flash Drive
This imports into the unit a still image saved on a USB flash drive.
Supported still-image formats and resolutions
Still-image file formats that can be imported are as follows.
Format
Bitmap (.bmp), 24-bit, uncompressed
Resolution
Maximum 4096×2160 pixels
File name
8 single-byte alphanumeric characters
* Be sure to append the “.bmp” file extension.
Importing a still image
* When you’re using a USB flash drive for the first time, be sure to
format it on the V-600UHD (p. 24).
1 .
Save the still image in the root directory of the USB
flash drive.
2 .
Connect the USB flash drive containing the saved
still image to the USB MEMORY port.
3 .
Select the [MENU] button
&
“System”
&
USB Memory/Still Image “STILL1 Load” or “STILL2
Load,” and press the [VALUE] knob.
4 .
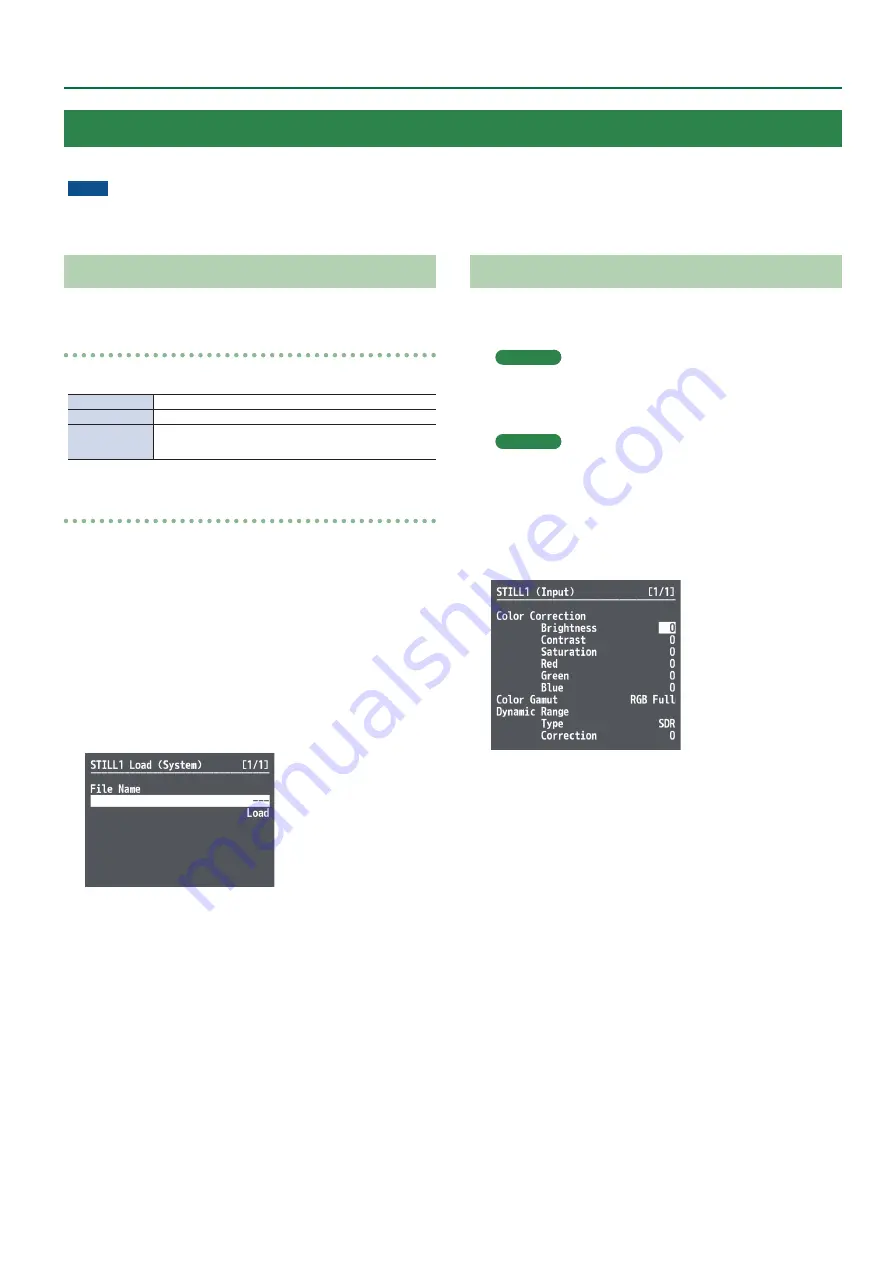
Use the [VALUE] knob to select the still image file
you want to import.
5 .
Select “Load,” and press the [ENTER] button.
The message “Are you sure?” appears.
If you want to cancel the operation, select “NO,” and press the
[VALUE] knob.
6 .
Select “YES,” and press the [VALUE] knob.
The still image is imported into the unit.
7 .
Press the [MENU] button to quit the menu.
Assigning a Still Image to Channel 7 or 8
This takes a still image imported from a USB flash drive and assigns it to
channel 7 or 8.
1 .
Channel 7
Select the [MENU] button
&
“System”
&
“HDCP,”
and press the [VALUE] knob.
Channel 8
Select the [MENU] button
&
“Input”
&
“PG/STILL2”
&
specify “STILL2” as the source
assignment
&
press the [VALUE] knob.
2 .
Select a menu item, then use the [VALUE] knob to
make the detailed settings.
&
Details on menu items: see p. 29.
3 .
Press the [MENU] button to quit the menu.
Using Imported Still Images
You can take a still image imported from a USB flash drive and assign it to channel 7 or 8, then output it in the same way as video.
NOTE
Depending on the USB flash drive, recognition of the flash drive might take some time.


