27
Getting Ready to Use the U-8
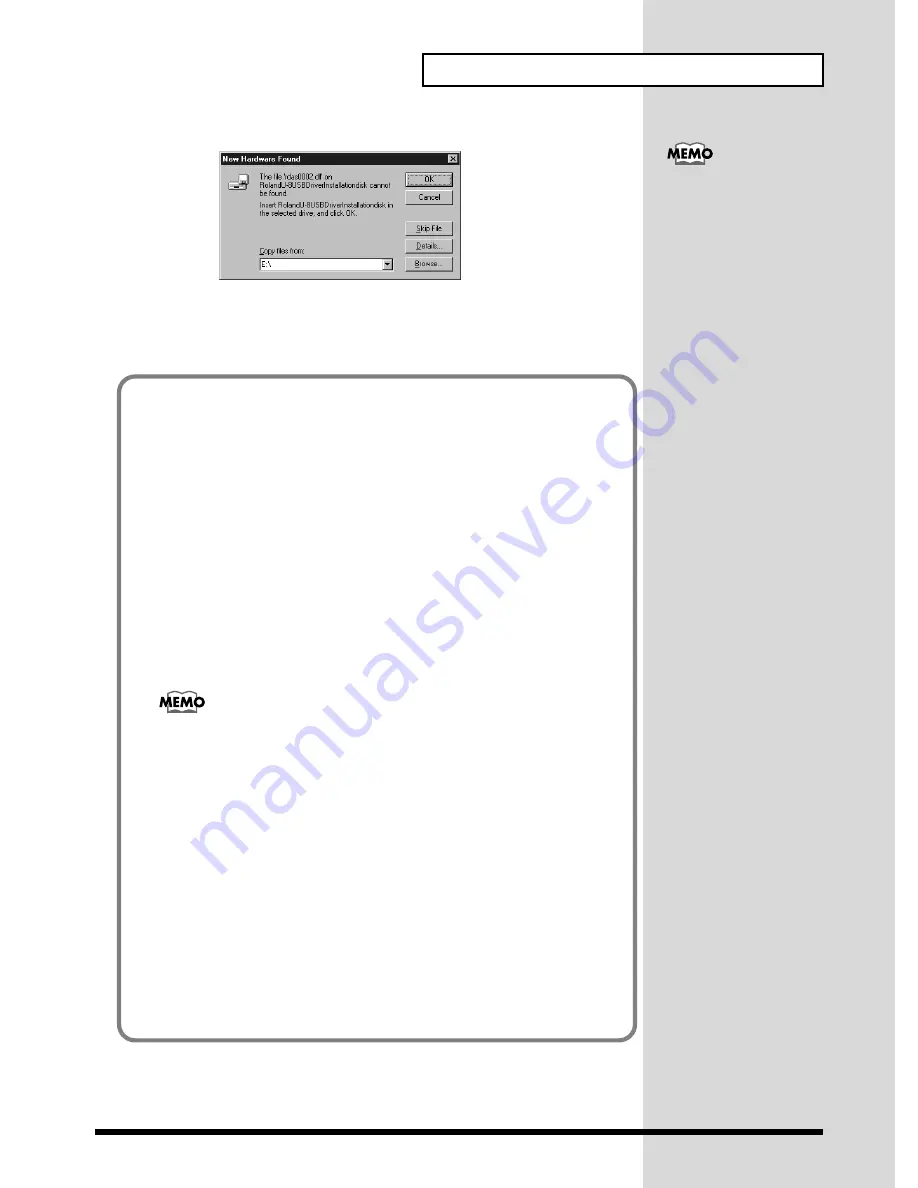
fig.05-03.e.eps_50
Alternatively, you can click
Browse
, select the root directory of your CD-
ROM drive, and click
OK
.
This completes the installation of the driver.
In this explanation we are
assuming that your CD-
ROM drive is drive E:, but
the drive letter may differ
on your computer. If the
drive letter is different on
your computer, input the
appropriate letter. To check
the drive letter of your CD-
ROM drive, double-click
the
My Computer
icon.
If Installation Doesn’t Proceed As It Should, Check the
Following Points
Is the included CD-ROM in the computer’s CD-ROM drive?
Make sure the CD-ROM is in the CD-ROM drive.
Is there enough free hard-disk space?
• Free up more hard-disk space.
Delete unneeded files (move them to the Recycle Bin), then right-
click the Recycle Bin and choose
Empty Recycle Bin
.
• Add another hard disk.
For details on installing an additional hard disk, refer to the
owner’s manuals for your computer and for Windows.
Was another program running during installation?
Quit all other programs, then repeat the installation.
For details on deleting the U-8 driver, refer to p. 57.
Furthermore, refer to "
Deleting Unneeded Drivers Installed
with the U-8 Connection
" (p. 58) before reinstalling the driver.
In addition to this, “
Troubleshooting
” on the included CD-ROM has
pointers to remedies for trouble during setup or installation.
1.
Place the included CD-ROM in the CD-ROM drive, then use Windows
Explorer to go into the
Manual
folder and open the
TechnicalGuide
folder.
2.
Start Internet Explorer or Netscape Navigator.
* You need to provide for an Web browser separately.
3.
From Windows Explorer, drag
troubleshoot.htm
to the Web browser
you started in step 2.
4.
Scroll down the window, then view “
Points Involving the USB
Connection and Installation of the Driver.
”
Содержание U-8CW
Страница 76: ...02233567 00 8 H2 21N ...


