26
Getting Ready to Use the U-8
■
Installing the U-8 Driver
1
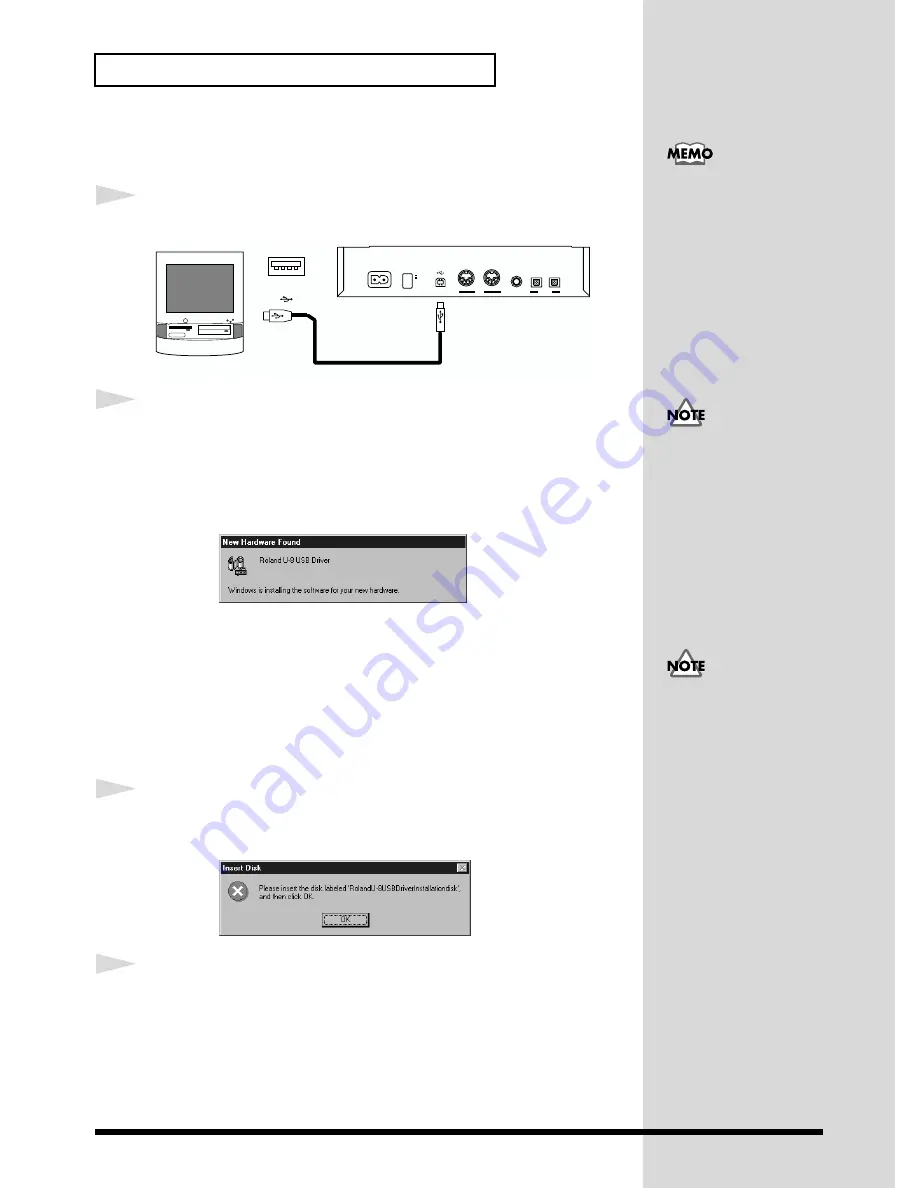
Connect the U-8 to the computer.
fig.04-11
2
With the CD-ROM inserted into your CD-ROM drive, turn on your
computer and start up Windows, and then turn on the U-8.
The first time you turn on the U-8 connected to the computer, Windows will
automatically starts searching for the U-8 software. The following dialog
will appear.
fig.05-01.e.eps_50
(942)
(943)
* If the display indicates
Unknown Device
or
USB Composite Device
, the
installation procedure cannot be continued, so click
Cancel
to terminate the
installation procedure.
Afterwards, while referring to "
If Installation Doesn’t Proceed As It Should,
Check the Following Points
" (p. 27), proceed to check the status of your
computer.
3
Insert Disk
dialog will appear. Insert the included CD-ROM into your CD-
ROM drive, and click
OK
.
fig.05-03a.e.eps_50
4
New Hardware Found
dialog will appear. Type your CD-ROM drive (
E:\
,
for example) in the
Copy files from
, and click
OK
.
If the U-8 driver is already
installed in the computer
that you are using, delete
the previously installed U-8
driver before performing
the installation. For details
on deleting the U-8 driver,
refer to “
Deleting the U-8
Driver
(p. 57).”.
PC
USB
U-8
FOOT SW
OUTPUT
INPUT
DIGITAL
MIDI
IN
OUT
USB
POWER
AC IN
OFF
ON
USB connector
( )
This unit is equipped with
a protection circuit. A brief
interval (a few seconds)
after power up is required
before the unit will operate
normally.
Always make sure to have
the volume level turned
down before switching on
power. Even with the
volume all the way down,
you may still hear some
sound when the power is
switched on, but this is
normal, and does not
indicate a malfunction.
Содержание U-8CW
Страница 76: ...02233567 00 8 H2 21N ...


