Operations 7
22
Switched Power Distribution Unit
EN
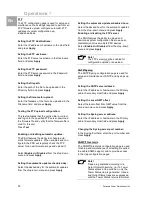
Setting the search bind password for Distin-
guished Name (DN):
Enter the Search Bind Password in the Search
Bind Password field and press Apply.
Setting the user search base Distinguished
Name (DN):
Enter the User Search Base DN in the User
Search Base DN field and press Apply.
Setting the user search filter:
Enter the User Search Filter in the User Search
Filter field and press Apply.
Setting the group membership attribute:
Enter the group membership attribute in the
Group Membership Attribute Field and press Ap-
ply.
Setting the group membership value type:
Select the appropriate value from the drop-down
menu and press Apply.
Configuring the authentication order:
Select Remote -> Local or Remote Only from
the drop-down menu and press Apply.
Note!
Rittal recommends NOT setting the au-
thentication order to Remote Only until
the LDAP has been fully configured and
tested.
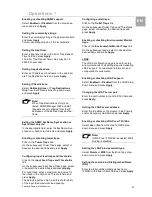
Configuring LDAP groups:
Click on the LDAP Groups link at the bottom of
the page.
Creating an LDAP group:
Enter a descriptive group name in the LDAP
Group Name field. Up to 24 alphanumeric and
other typeable characters (ASCII 33 to 126 deci-
mal) are allowed; spaces are not allowed. Press
Apply.
Removing an LDAP group:
Click on the Remove link in the Action column for
the group to be removed and press OK on the
subsequent confirmation window.
Changing an LDAP group’s access privilege level:
Click on the Edit link in the Action column for the
associated LDAP Group.
On the subsequent LDAP Group - Edit page,
select Admin, User, On-only, Reboot-only,
Power-user or View-only from the Access Level
drop-down menu and press Apply.
Granting or removing Environmental Monitoring
viewing privileges:
Click on the Edit link in the Action column for the
associated LDAP Group.
On the subsequent LDAP Group - Edit page,
select Yes or No from the Environmental Monitor-
ing drop-down menu and press Apply.
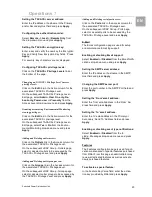
Adding and Deleting outlet access:
Click on the Outlets link in the Access column for
the associated LDAP Group.
On the subsequent LDAP Group - Outlets page,
select or deselect outlets to be accessed by the
LDAP Group and press Apply.
Adding and Deleting outlet group access:
Click on the Groups link in the Access column for
the associated LDAP Group.
On the subsequent LDAP Group - Groups page,
select or deselect outlet groups to be accessed by
the LDAP Group and press Apply.
Adding and Deleting serial port access:
Click on the Ports link in the Access column for
the associated LDAP Group.
On the subsequent LDAP Group - Ports page,
select or deselect ports to be accessed by the
LDAP Group and press Apply.
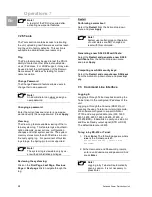
The configuration page is used for
setup and maintenance of all settings required to
enable support.
Enabling or disabling support:
Select Enabled or Disabled from the
drop-down menu and press Apply.
Changing the server port:
Enter the port number in the Port field and press
Apply.

