38
English
User Controls
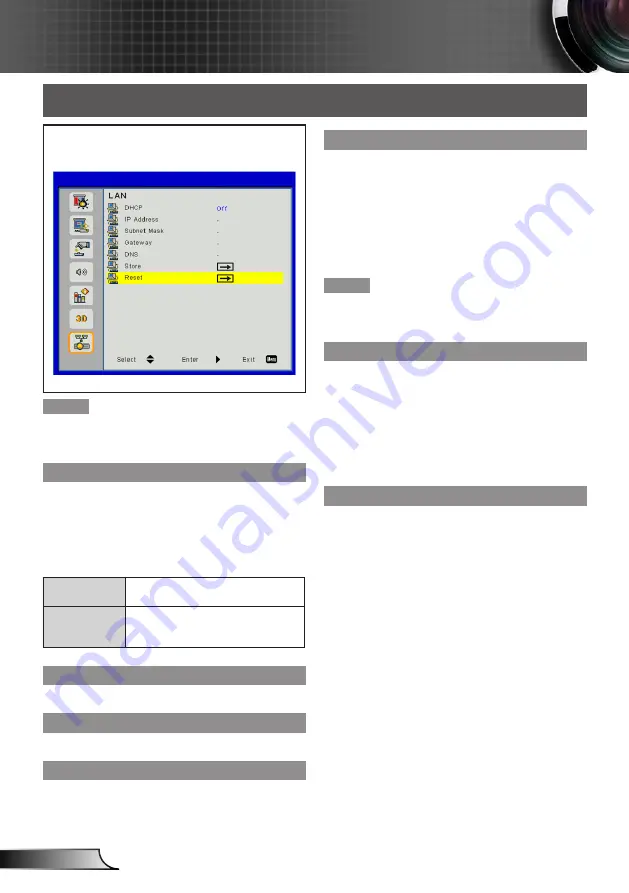
LAN
Select [Lan] from the Main Menu (see “How to
operate menu” on page 24) and then select the
item from the Sub Menu.
Note
Please consult the network administrator for following
y
LAN settings, if you want to connect the projector to
an existing LAN.
DHCP
Set whether to use DHCP server.
Press ▲▼ to select [DHCP].
1)
Press ►, <
2)
确认
> to display the setting
dialog box.
Press ▲▼ to switch [On]/[[Off].
3)
Press ► to execute.
4)
On
The projector will acquire the IP
address automatically.
Off
User must set the [IP address],
[Subnet Mask], [Gateway], [DNS]
manually.
IP Address
Select an IP address of projector connected to LAN.
Subnet Mask
Select Subnet Mask of projector for LAN connection.
Gateway
Select Gateway of projector for LAN connection.
DNS
Select DNS of projector for LAN connection.
Press ▲▼ to select [IP Address] / [subnet
1)
Mask] / [Gateway] / [DNS].
Press ►, <
2)
确认
> to display the setting
dialog box.
Press ▲▼◄► to input digit numbers.
3)
Press ► to execute.
4)
Note
Please execute “Store” Menu, if setup of [IP address],
y
[Subnet Mask], [Gateway], or [DNS] is changed.
Store
Save the changes made in network configuration set
-
tings.
Press ▲▼ to select [Store].
1)
Press ►, <
2)
确认
> to display the setting
dialog box.
Press ▲▼ to switch [Yes]/[No].
3)
Press ► to execute.
4)
Reset
Return the display parameters on all menus to the fac-
tory default settings.
Press ▲▼ to select [Reset].
1)
Press ►, <
2)
确认
> to display the setting
dialog box.
Press ▲▼ to switch [Yes]/[No].
3)
Press ► to execute.
4)


