English
58
User Settings
Picture Mode
Image Adjustment
Brightness
Contrast
Saturation
Standard
32
32
32
Color Temp & Wall color
Advanced
Medium
Select
Set
Exit
The Projector has a multilingual On Screen Display that allows
you to make image adjustments and change a variety of settings
How to operate the OSD
1.
To open the OSD, press “Menu” on the Control Panel or Remote
Control.
2.
When OSD is displayed, use keys to select any item in the
main menu. While making a selection on a particular page, press
or “Enter” key to enter sub menu.
3.
Use keys to select the desired item in the sub menu and press
or “Enter” key to view further settings. Adjust the settings by
using key or key.
4.
Select the next item to be adjusted in the sub menu and adjust as
described above.
● When there is no next menu in the submenu, press the
buttons to set related options.
● When there is a next menu in the submenu, the screen will
display the icon
. Press the
buttons to set related
options. If the next submenu contains option settings, press
the "ENTER" button to proceed with the next submenu option
setting (as above).
5. Press the "MENU" button to return to the previous menu setting.
6. Press the
buttons to change or adjust the setting and press
"ENTER" button to confirm the change.
7. After exiting, press the "MENU" button again, the OSD will close, and the
projector will automatically save the new settings.
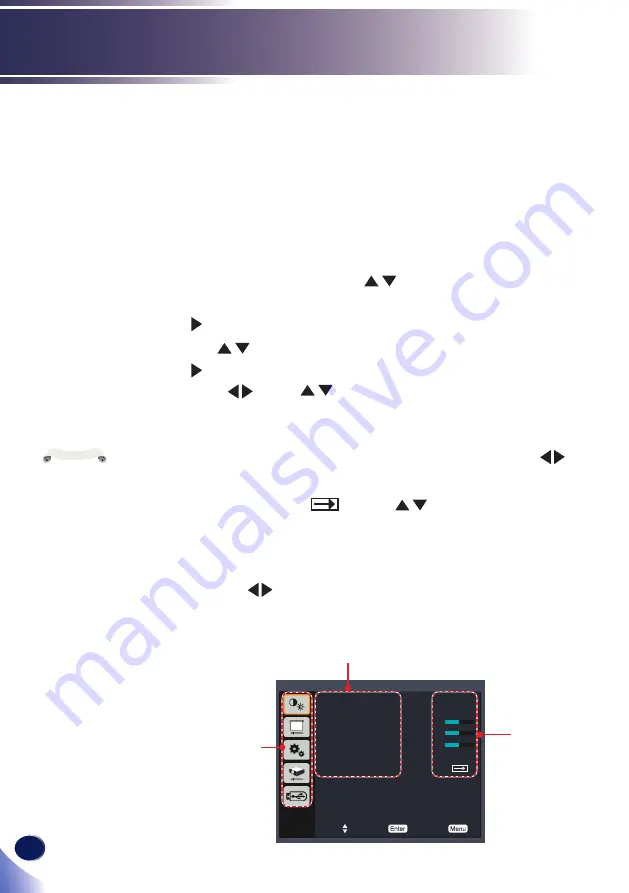
On Screen Display (OSD)
Submenu bar
Setting bar
Main-menu bar
If no button
operation is made
for approximately 10
seconds, the OSD will
be closed automatically.
Note


