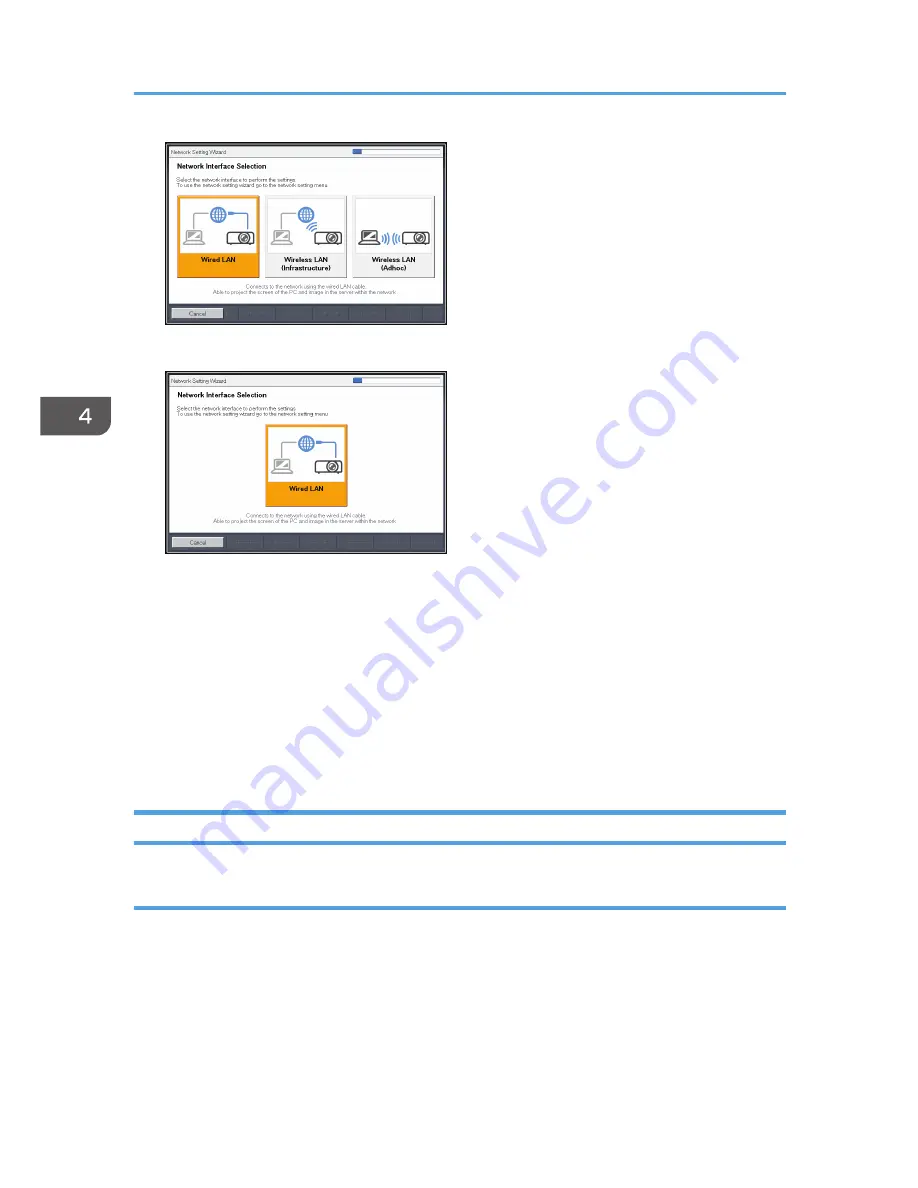
RICOH PJ X4240N
2.
Select [Disable DHCP (Manual Settings)] or [Enable DHCP (Auto Settings)].
If you select [Enable DHCP (Auto Settings)], proceed to Step 6.
3.
Specify the projector's IP address.
4.
Specify the subnet mask.
5.
Specify the default gateway.
6.
Select [OK] on the confirmation screen.
To project the image from a computer, see page 68 "Projecting a Computer's Screen via a
Network".
Configuring the Wireless LAN Settings for Infrastructure Mode
Configuring the settings by Simple Wireless LAN Setup
The projector supports the following simple wireless LAN setup method. Contact your network
administrator for the available simple wireless LAN setup method in your network environment and the
information required for configuring network settings.
Setup Method
• Using push buttons
Press the projector and access point keys or buttons to get them to connect to each other and
register the settings.
4. Using the Projector via a Network
64
Содержание IPSiO PJ X3240N
Страница 2: ......
Страница 7: ...Trademarks 140 INDEX 143 5 ...
Страница 60: ...3 Projecting Images from a USB Memory Device or Digital Camera 58 ...
Страница 108: ...5 Changing the Projector Settings 106 ...
Страница 116: ...6 Troubleshooting 114 ...
Страница 144: ...8 Appendix 142 ...
Страница 149: ...MEMO 147 ...
Страница 150: ...MEMO 148 EN GB EN US EN AU Y028 7513 ...
Страница 151: ... 2012 Ricoh Co Ltd ...
Страница 152: ...Y028 7513 AU EN US EN GB EN RICOH COMPANY LTD 8 13 1 Ginza Chuo ku Tokyo 104 8222 Japan http www ricoh co jp ...


