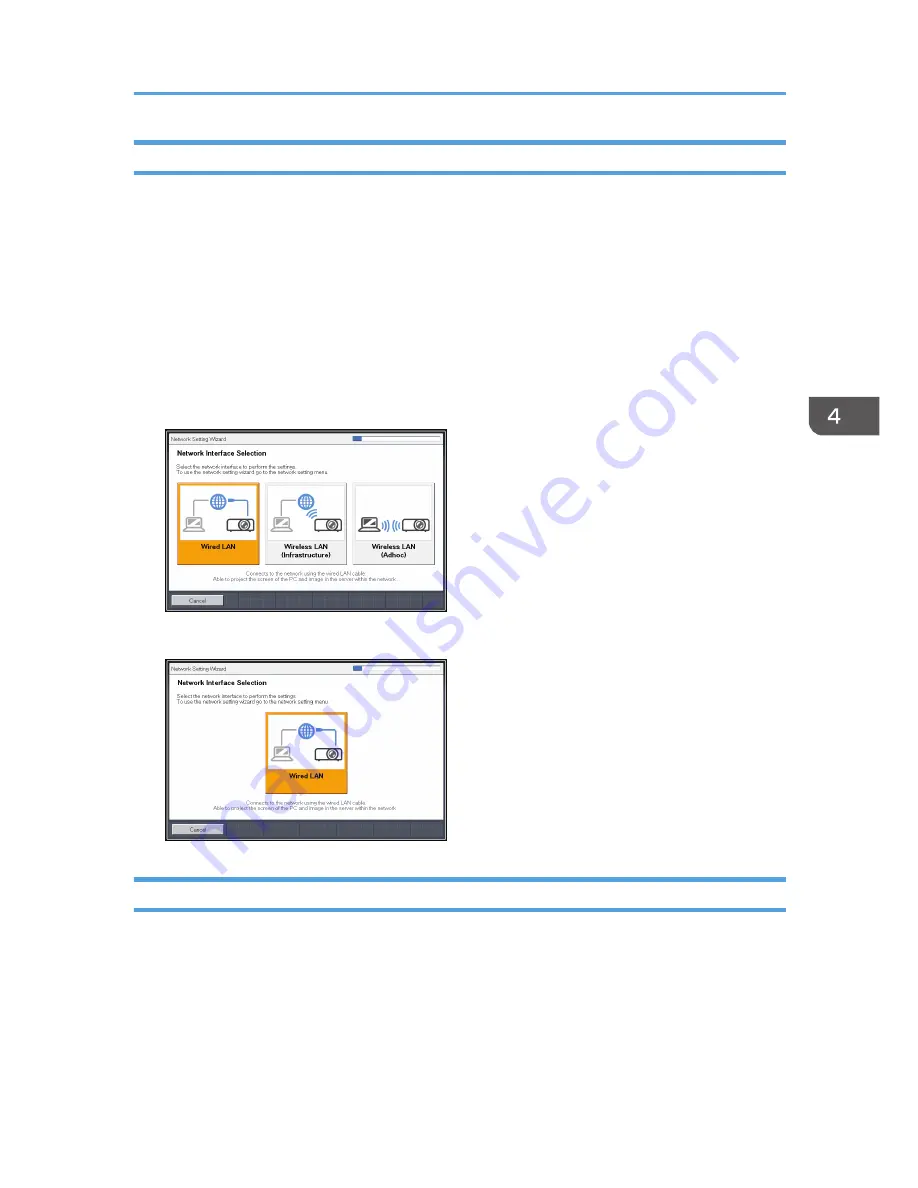
Opening the [Network Setting Wizard] Screen
You can open the [Network Setting Wizard] screen on the menu screen.
1.
Press the [Menu] button.
2.
Select the [Network/USB Settings] menu.
3.
Select [Network Settings].
4.
Select [Setup Wizard].
5.
Select [Network Setting Wizard].
The [Network Setting Wizard] screen appears.
RICOH PJ X3340N/WX3340N/WX4240N
RICOH PJ X4240N
Configuring the Wired LAN Settings
Connect an Ethernet cable to the projector before configuring the settings.
Contact your network administrator for the information required for configuring network settings.
1.
Select [Wired LAN] on the [Network Setting Wizard] screen.
RICOH PJ X3340N/WX3340N/WX4240N
Connecting the Projector to a Network
63
Содержание IPSiO PJ X3240N
Страница 2: ......
Страница 7: ...Trademarks 140 INDEX 143 5 ...
Страница 60: ...3 Projecting Images from a USB Memory Device or Digital Camera 58 ...
Страница 108: ...5 Changing the Projector Settings 106 ...
Страница 116: ...6 Troubleshooting 114 ...
Страница 144: ...8 Appendix 142 ...
Страница 149: ...MEMO 147 ...
Страница 150: ...MEMO 148 EN GB EN US EN AU Y028 7513 ...
Страница 151: ... 2012 Ricoh Co Ltd ...
Страница 152: ...Y028 7513 AU EN US EN GB EN RICOH COMPANY LTD 8 13 1 Ginza Chuo ku Tokyo 104 8222 Japan http www ricoh co jp ...


