


Item
Specifications
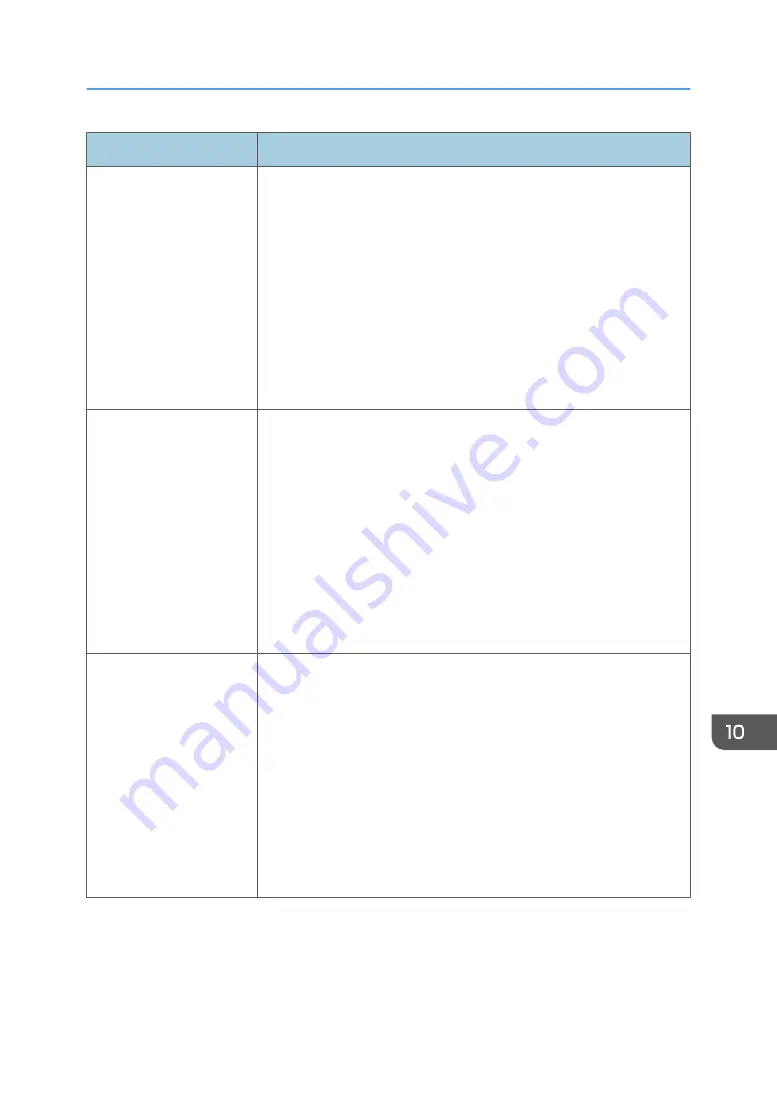
Noise emission (Sound
power level: Main unit
only)
• IM 550F
Stand-by: 30.8 dB (A)
Copying: 68.8 dB (A)
• IM 600F
Stand-by: 30.3 dB (A)
Copying: 69.6 dB (A)
• IM 600SRF
Stand-by: 30.2 dB (A)
Copying: 69.1 dB (A)
Noise emission (Sound
power level: Complete
system)
• IM 550F
Stand-by: 30.8 dB (A)
Copying: 73.6 dB (A)
• IM 600F
Stand-by: 30.9 dB (A)
Copying: 73.8 dB (A)
• IM 600SRF
Stand-by: 31.0 dB (A)
Copying: 74.5 dB (A)
Noise emission (Sound
pressure level: Main unit
only)
• IM 550F
Stand-by: 21.3 dB (A)
Copying: 58.1 dB (A)
• IM 600F
Stand-by: 20.9 dB (A)
Copying: 59.6 dB (A)
• IM 600SRF
Stand-by: 20.6 dB (A)
Copying: 58.6 dB (A)
List of Specifications
301
Содержание IM 550 Series
Страница 2: ......
Страница 34: ...4 Press Disable Mode 5 Press OK 6 After completing the procedure press Home 1 Getting Started 32...
Страница 76: ...1 Getting Started 74...
Страница 94: ...2 Copy 92...
Страница 168: ...5 Scan 166...
Страница 176: ...6 Document Server 174...
Страница 182: ...7 Web Image Monitor 180...
Страница 218: ...8 Adding Paper and Toner 216...
Страница 326: ...The Ethernet interface and wireless LAN board cannot be used simultaneously 10 Specifications for the Machine 324...
Страница 332: ...10 Specifications for the Machine 330...
Страница 340: ...MEMO 338...
Страница 341: ...MEMO 339...
Страница 342: ...MEMO 340 EN GB EN US EN AU D0BW 7024...
Страница 343: ...2019...
Страница 344: ...D0BW 7024 AU EN US EN GB EN...