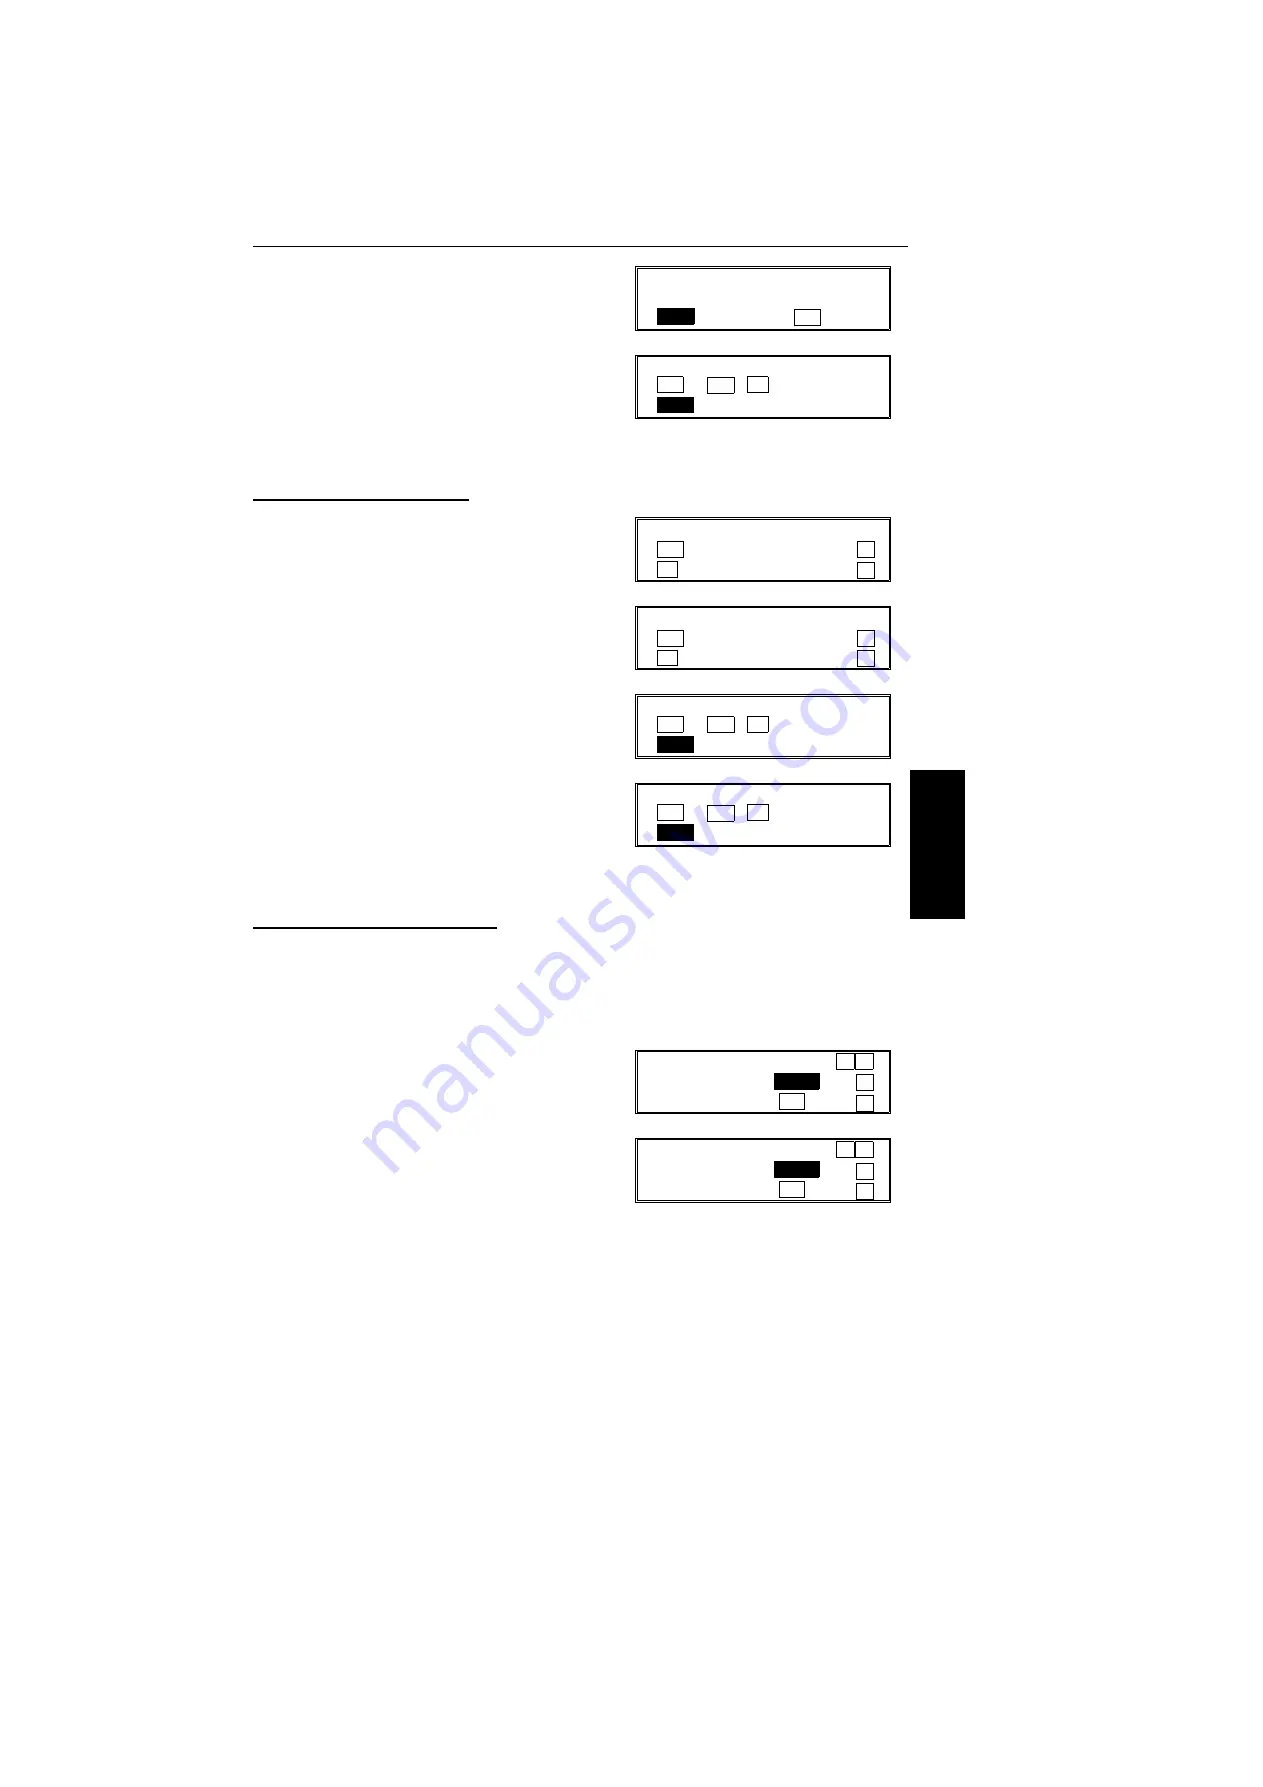
3. Yes.
4. Input the Memory Lock ID that you will be
using. Example: 6 7 5 4 from the ten key
pad.
5. Store the ID: Yes and Function.
Editing the Memory Lock ID
1. Function 6 0 2 2 2 2 6 and 1.
2. Press
until the screen is as shown
opposite.
3. Yes.
4. No and input a new number.
5. Yes and Function.
Switching Memory Lock On/Off
Before you can use Memory Lock, you have to switch it on using Function 62.
After you switch Memory Lock on,
<MEMORY LOCK>
will appear on the display
when the machine is in standby mode.
Note:
If you switch Memory Lock on, Forwarding will be automatically disabled.
1. Function 6 0 2 2 2 2 6 and 2.
2. Scroll through the features with
until the
screen is as shown opposite.
MEMORY LOCK ID
ID SETTING
_ YES TO END
MEMORY LOCK ID
YES OR CLR
•
NO
6754
OWN NUMBER (G3)
YES TO SET PREVIOUS
↑
NO TO CANCEL NEXT
↓
MEMORY LOCK ID
YES TO SET PREVIOUS
↑
NO TO CANCEL NEXT
↓
MEMORY LOCK ID
YES OR CLR
•
NO
6754
MEMORY LOCK ID
YES OR CLR
•
NO
5478
LINE TYPE (PSTN) SELECT
←
→
DP
TT
↑
YES TO END
↓
MEMORY LOCK SELECT
←
→
ON
OFF
↑
YES TO END
↓
ADV
A
N
C
ED
FE
A
T
U
R
ES
ADVANCED FEATURES
RECEPTION
99


