1394 Interface Unit Type 4510
49
4
DDDD
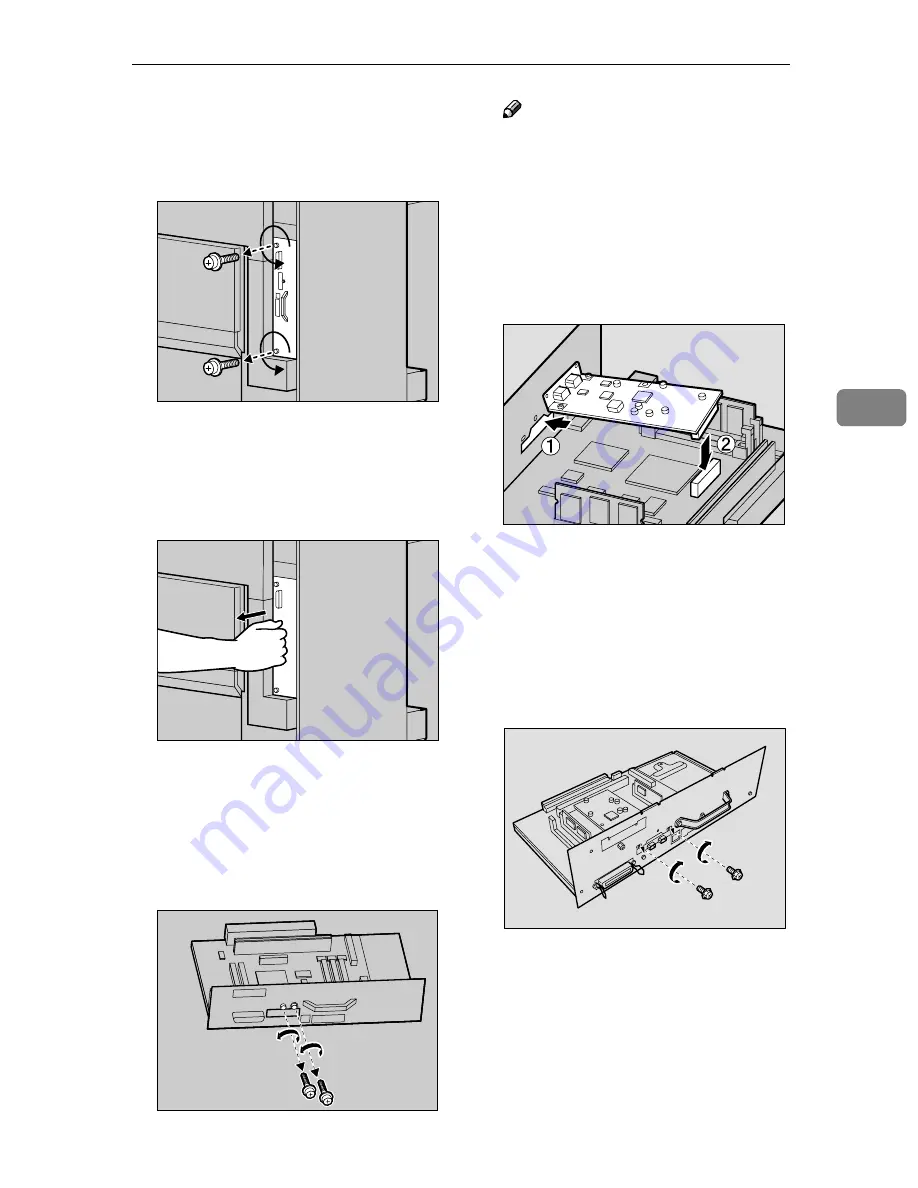
Remove the two screws fastening
the controller board to the back of
the printer using the provided
screwdriver.
The removed screws will be used
later to fasten the controller board.
EEEE
Holding the handle, slowly pull
out the controller board.
FFFF
Put the controller board down on
a flat surface.
GGGG
Remove the small cover plate us-
ing the provided screwdriver, as
shown.
Note
❒
The removed screws will be
needed in step
I
.
HHHH
Install the 1394 interface unit into
the controller board. Insert the tip
of the 1394 interface unit into the
attachment area (
A
A
A
A
), and then
push it in the direction of the ar-
row (
B
B
B
B
).
Check the 1394 interface unit is
connected firmly to the controller
board.
IIII
Using the screwdriver provided,
tighten the two screws removed
in step
GGGG
, securing the 1394 inter-
face unit.
ZDJP025J
ZDJP025J
ZHXP140J
ZHXP040J
ZHXP131J
Содержание CL7000 - Aficio D Color Laser Printer
Страница 12: ...x ...
Страница 18: ...Guide to Printer Parts 6 1 ...
Страница 36: ...Setting Up 24 2 ...
Страница 44: ...Preparing to Print 32 3 ...
Страница 106: ...EN USA G080 6900 ...


