Ishida Uni-7 & Uni-5 Touch Screen Scale and Printer Setup Manual
Rev 4, B0674R / B0664J, March 2014
8
Uni-7+5_Setup_Manual
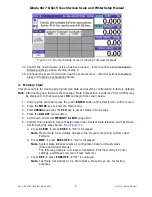
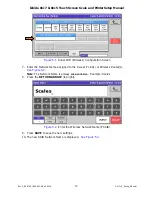
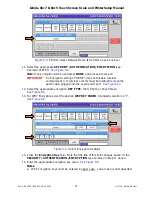
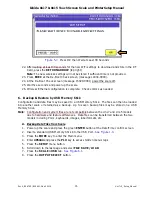
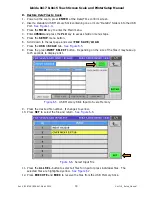
Figure 1.10.
Normal Startup Screen Following Firmware Upgrade
27. Confirm the new firmware version has been loaded – refer to section 1A. Checking the
Firmware Version above, starting at step 4.
28. Configure the scale for USA and clear the scale memory – refer to sections 2. Memory
Clear and 3. Basic Configuration below.
2. Memory Clear
This procedure is for clearing all programmed data and resetting configuration to factory defaults.
Note
: After loading new firmware the message "Data Composition is Different" (0114-0000) may
be displayed. In that case press
OK
and begin from step 3 below.
1. Power up the scale and press the green
ENTER
button at the Date/Time confirm screen.
2. Press the
MODE
key to enter the Main menu.
3. Enter
495344
and press the
PLU
key to access hidden menu steps.
4. Press the
ADJUST
menu button.
5. Scroll down and select
MEMORY CLEAR
(page 2/3).
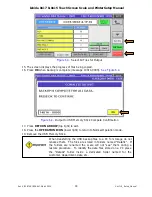
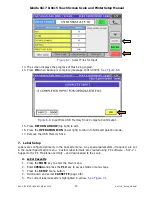
6. Perform three standard clears: Master Data Clear, System Data Initialize, and Test Data
Set following the steps below.
See Figure 3.1.
a. Press
CLEAR
press
EXEC
"OK" is displayed.
Note
: Master Data Clear deletes all data in the Program menu and custom Label
Formats.
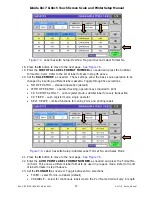
b. Press
INIT.
press
EXECUTE
"OK" is displayed.
Note
: System Data Initialize resets all configuration data to default values
(Setup and Adjust Menus).
The following data are not cleared: Calibration, Ethernet settings, Printer
settings, and Images (stored in Flash memory).
c. Press
SET
press
EXECUTE
"OK" is displayed.
Note
: Test Data Set creates PLUs, Store Name, Preset Keys, etc. for testing
purposes.


