Ishida Uni-7 & Uni-5 Touch Screen Scale and Printer Setup Manual
Rev 4, B0674R / B0664J, March 2014
10
Uni-7+5_Setup_Manual
8. Press the
RETURN ARROW
(top right).
9. Press the
ADJUST
menu button.
10. Select
DATE TIME
.
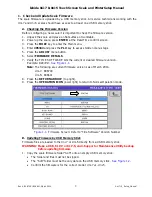
11. Enter Date and Time values as needed. Enter the data in the formats noted on the
display.
Note
: The Time is entered in a 24-hour format.
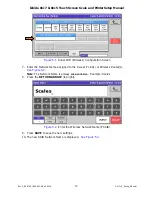
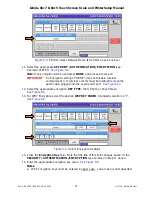
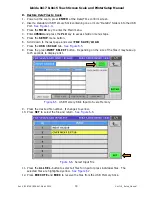
See Figure 2.2.
Figure 2.2.
Date and Time
12. Press
SET
and
EXEC
to save the Date and Time.
13. Press the
OPERATION ICON
(lower right) to return to Normal Operation mode.
4. Ethernet Configuration
This section covers setting the Uni-7 and Uni-5 IP Address, Subnet Mask, etc. After completing
this section, refer to Section 5. Wireless Configuration to complete communications setup of
wireless scales.
Note
: If the scale will be hardwired to the network, disconnect the patch cable from the internal
bridge connected to the scale's LAN port.
See Figure 1.3.
1. Press the
MODE
key to enter the Main menu.
2. Enter
495344
and press the
PLU
key to access hidden menu steps.
3. Press the
SETUP
menu button.
4. Select
MACHINE
No. (COMMS)
(page 1).
5. Select the
IP ADDR
tab.
6. Enter the scale’s IP Address and press the
IP ADDRESS
field.
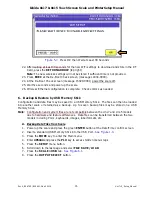
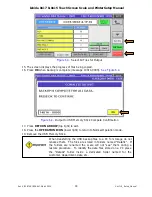
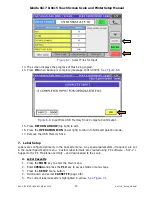
See Figure 4.1.
7.
Enter the scale’s
Subnet Mask
and press
SUBNET MASK
.
Example: 255.255.255.0
8. Enter the scale’s Default Gateway and press
DEFAULT GATEWAY
.
Example: 0.0.0.0
Note
: If the scale will be on a Wide Area Network the customer must provide the
Gateway IP Address.
If the scale is not connected to a WAN set the Default Gateway as 0.0.0.0 to avoid
communication problems.


