Ishida Uni-7 & Uni-5 Touch Screen Scale and Printer Setup Manual
Rev 4, B0674R / B0664J, March 2014
21
Uni-7+5_Setup_Manual
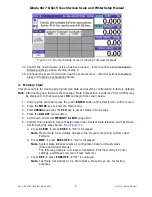
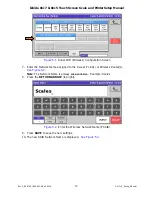
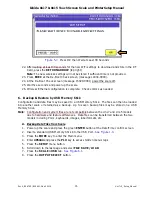
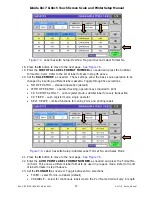
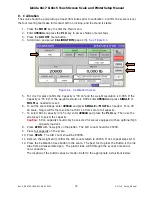
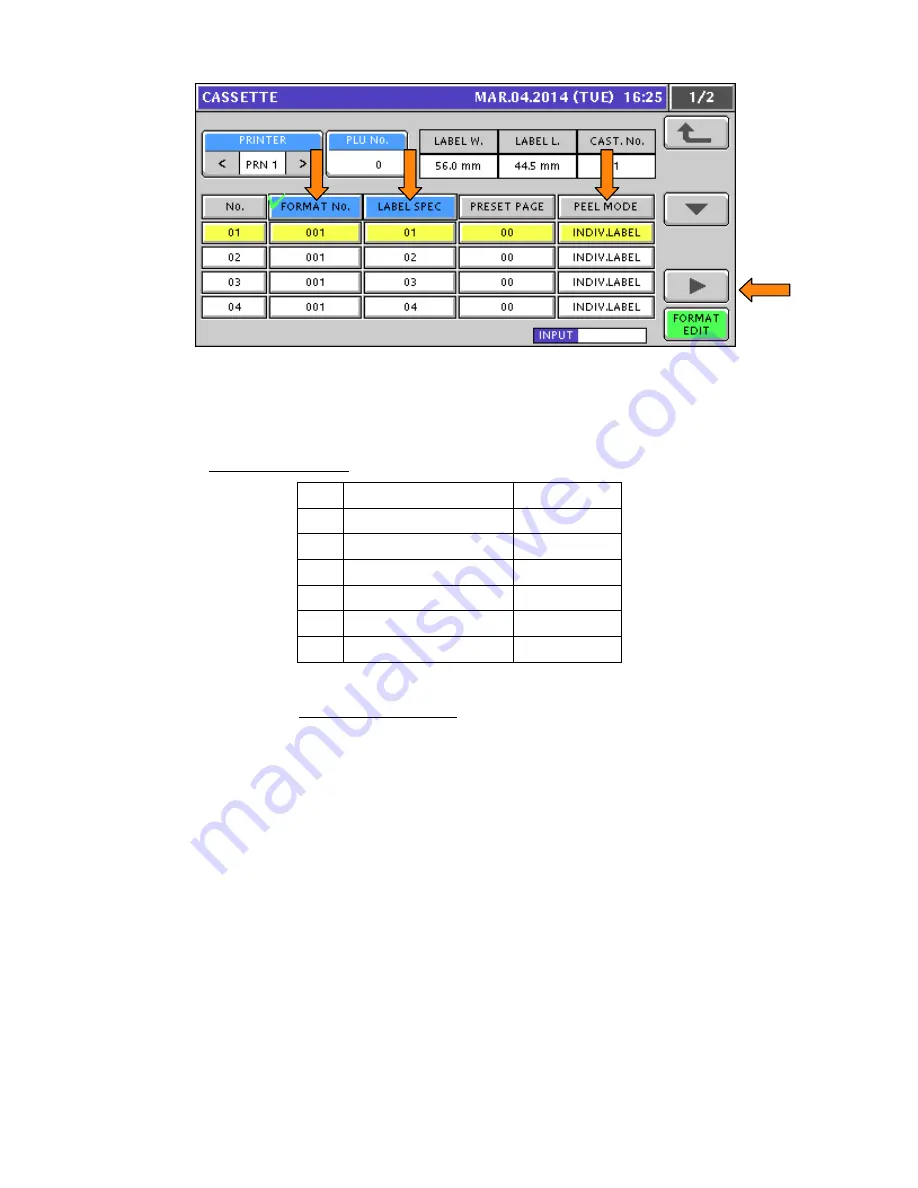
Figure 7.1.
Label Cassette Setup: Format No., Label Spec, and Peel Mode
6. Enter the label format number and press the highlighted
LABEL FORMAT NUMBER
field.
The default formats are listed in the table below.
Note
: Use the SLP-V i-Support or SLP-5 Maintenance Utility to download from the
Uni-7 Label Library for a more complete selection of label formats.
No. Description
Size
1
Standard
60x44mm
2
Safe Handling
64x85mm
3
Safe Handling
64x59mm
5
Extended Text
64x59mm
6
Coupon
64x84mm
7
Bakery w/ Nutrition
66x145mm
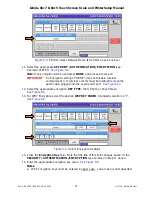
7. If the label requires special settings enter the
LABEL SPEC
value.
Note
: See section B. Label Specification below for details.
8. Set the
PEEL MODE
as needed. Toggle between two selections.
•
INDIVIDUAL LABELS – individual labels will print and remain at the peel bar (default)
•
WITH BACKING – labels remain on the backing paper which is not taken up on the
winding spool
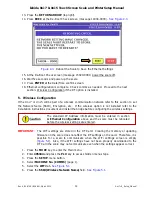
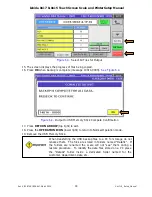
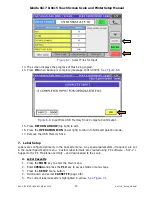
9. Press the
button to move to the next page.
See Figure 7.2.
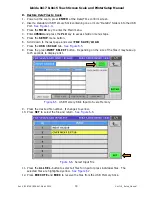
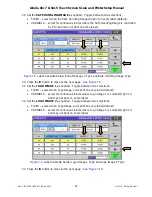
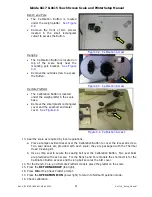
10. Set the
PRINT MODE
as needed. Toggle between two selections.
•
MANUAL – press the Print key to issues labels (default)
•
AUTO – automatic label printing based on stable weight
11. Set the
LABEL TYPE
as needed. Toggle between two selections.
•
DIE-CUT – labels are a fixed size with a space (gap) between them (default)
•
CONTINUOUS – label paper is a continuous strip (no gaps) torn to length as needed


