Ishida Uni-7 & Uni-5 Touch Screen Scale and Printer Setup Manual
Rev 4, B0674R / B0664J, March 2014
16
Uni-7+5_Setup_Manual
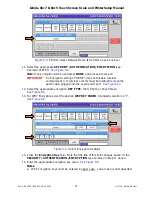
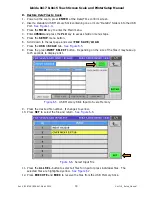
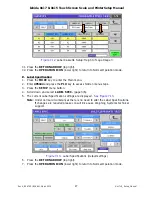
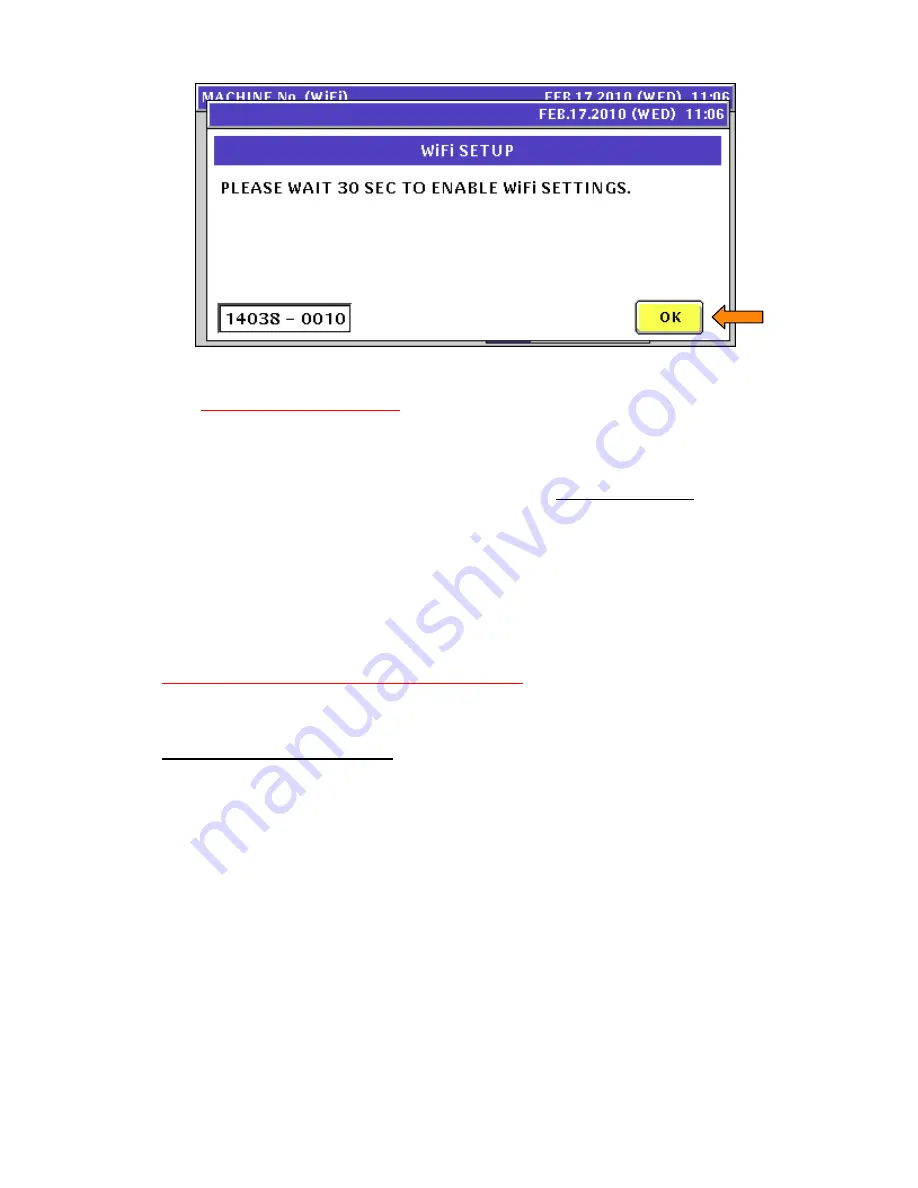
Figure 5.7.
Press OK then Wait at Least 30 Seconds
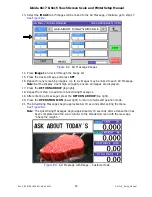
22. After waiting at least 30 seconds for the new WiFi settings to download and store in the RF
Card, press the
RETURN ARROW
(top right).
Note
: The new wireless settings will not be stored if sufficient time is not provided.
23. Press
EXEC
at the Re-Boot Check screen (message 14034-0000).
24. At the Re-Boot Check screen (message 15029-0001) power the scale off.
25. Wait five seconds and power up the scale.
26. Wireless Ethernet configuration is complete. Check comms as needed.
6. Backup & Restore by USB Memory Stick
Configuration and data files may be saved to a USB Memory Stick. The files can then be loaded
into another scale or retained as a backup. Up to seven backup files may be stored on a USB
Memory Stick.
Note
: Configuration and system files are not compatible between the Uni-7 and Uni-5 models
due to hardware and feature differences. Data files can be transferred between the two
models including PLUs, keyboards, images, label formats, etc.
A. Backup Data Files from Scale
1. Power up the scale and press the green
ENTER
button at the Date/Time confirm screen.
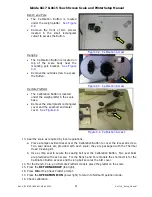
2. Insert a standard USB Memory Stick into the USB Port.
See Figure 1.3
.
3. Press the
MODE
key to enter the Main menu.
4. Enter
495344
and press the
PLU
key to access hidden menu steps.
5. Press the
SETUP
menu button.
6. Scroll down to the last page and select
FILE SAVE / LOAD
.
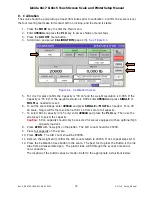
7. Press the
SCALE > USB
tab.
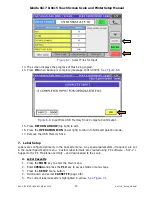
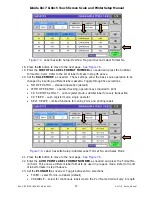
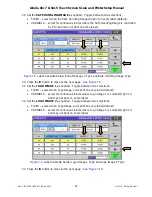
See Figure 6.1.
8. Press the
OUTPUT SELECT
button.

