Page 17
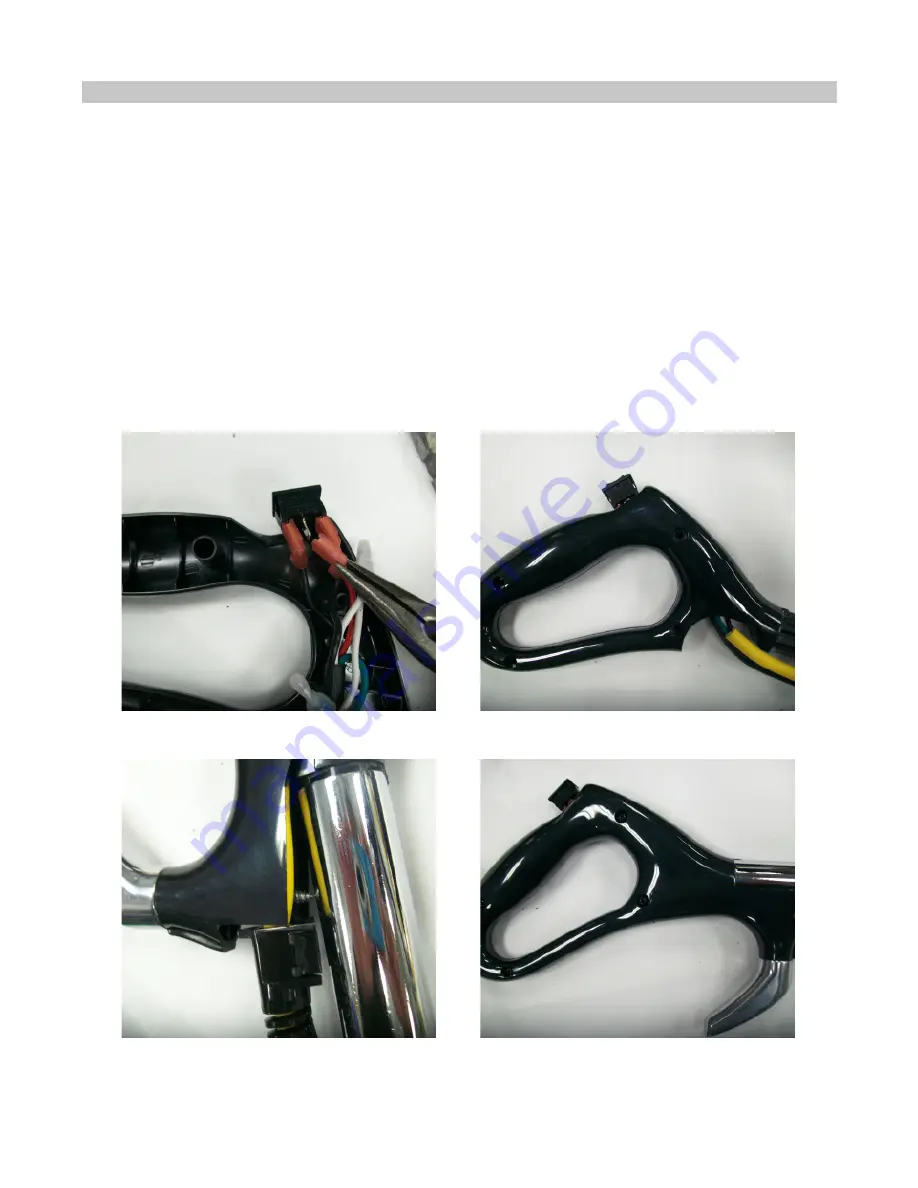
5. Disconnect the power cord leads from the switch and uncrimp from motor cord. (Fig.A)
6. Discard old cord
7. Connect the new power cord leads to the switch and motor cord (See wiring diagrams on pages 33-35
8. Put handle grip back together being careful not to pinch any wires and slide the grip into the handle
tube.Let the switch hang out of the opening. (Fig A)Do not put the screws in at this time
9. Line up the hole in the cord strain relief with the hole in the handle tube and the handle back.(Fig.B)
10. Insert the top of the handle back into the grip, line up the holes, and replace the cord hook and cord
hook screw. (Fig C)
11. Put (4) screws back into handle grip. (fFig. D) Be sure the short screw goes in the uppermost part of
the handle.
12. Press the switch back into place
Fig. A
Fig. B
Fig. C
Fig. D
II. Maintenance
F. Replacing the Power Cord (RSL2, RSL3, RSL3C, RSL4, RSL5, RSL5C)


