background image

MAN-000020-00 REV A 


480VAC Models 

RV05-4kW-90A-36V-P 

RV05-5kW-120A-36V-P 
RV05-6kW-150A-36V-P 

RV05-4kW-75A-48V-P 

RV05-5kW-100A-48V-P 
RV05-6kW-125A-48V-P 


Installation & Operation Manual 


4005 Felland Road, Suite 116 


Madison, WI 53718 


USA 

© Power Designers USA LLC 

A NEW ERA IN CHARGING TECHNOLOGY 


Содержание RV05-4kW-75A-48V-P

Страница 1: ...90A 36V P RV05 5kW 120A 36V P RV05 6kW 150A 36V P RV05 4kW 75A 48V P RV05 5kW 100A 48V P RV05 6kW 125A 48V P Installation Operation Manual 4005 Felland Road Suite 116 Madison WI 53718 USA Power Designers USA LLC A NEW ERA IN CHARGING TECHNOLOGY ...

Страница 2: ...BASIC CHARGE CYCLE OPERATION 18 GETTING STARTED 20 CHARGER MAIN MENU 24 TROUBLESHOOTING 31 RETURN MATERIAL PROCESS 37 LIMITED WARRANTY 38 SOFTWARE LICENSE AGREEMENT 40 APPENDIX A WALL MOUNT DIMENSIONS AND CLEARANCES 41 APPENDIX B POST STAND DIMENSIONS 42 APPENDIX C SHELF STAND DIMENSIONS 43 APPENDIX D NOTES ON TEMPERATURE COMPENSATION 44 APPENDIX E RECOVERY CYCLE FOR SULFATED BATTERY CURRENT AND T...

Страница 3: ...r charge cycle In a typical application the savings can be greater than 400kWHr per battery per year The REVOLUTION chargers are the lightest and most efficient chargers available on the market The REVOLUTION chargers can support standard opportunity and fast charge cycles The REVOLUTION chargers also offer programmability All charger settings and features can be easily customized to match workloa...

Страница 4: ...All tools should be adequately insulated to avoid the possibility of shorting connections Inspect cables often for damage to the insulation Replace cracked or worn cables immediately Improper Connections If the charger is incorrectly wired to input or output devices or wiring is not in accordance with local safety codes and standards the Revolution charger and or its components are at risk of bein...

Страница 5: ...st be ensured Do not restrict fan inlets or exhaust outlets Do not mount the charger in a confined space or where the exhaust air will recirculate No User Serviceable Parts If service is required contact Power Designers USA LLC or its service representative These instructions assume a certain level of competence by the installer and or user The following practices and codes contain relevant inform...

Страница 6: ... First Aid and Sanitation respectively applicable to electric storage battery charging and maintenance areas EMC Compliance This device complies with Part 15 section 103 of FCC Rules as a digital device used exclusively as a power system in public utilities or industrial plants Operation is subject to the following two conditions 1 This device may not cause harmful interference 2 This device must ...

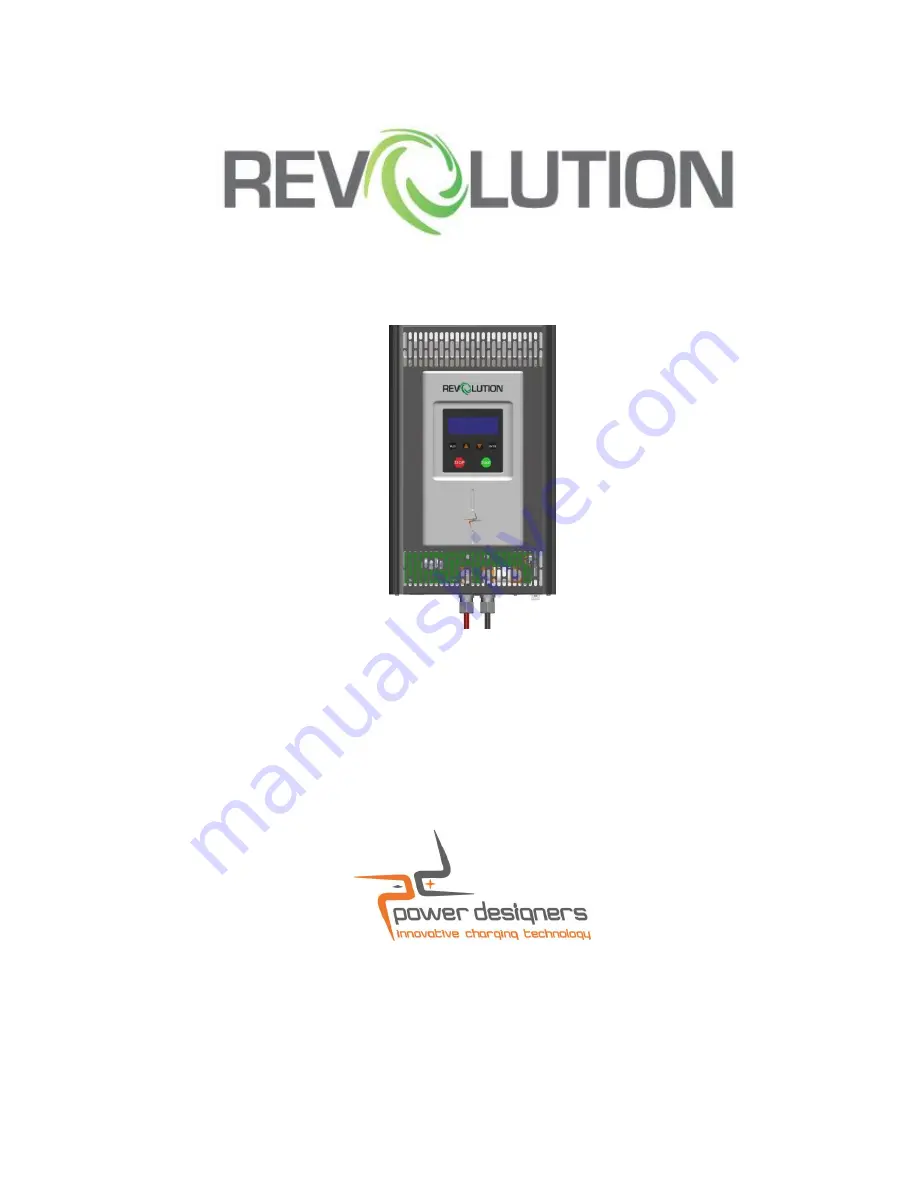
Страница 7: ...odel Numbers RV05 4kW 90A 36V P RV05 4kW 75A 48V P RV05 5kW 120A 36V P RV05 5kW 100A 48V P RV05 6kW 150A 36V P RV05 6kW 125A 48V P Figure 1 REVOLUTION RV05 Battery Charger Features LCD keypad Knockout for input wiring Strain reliefs for output cables ...

Страница 8: ...wer 3 9kW Max 5 2kW Max 6 5kW Max Pk Pk Voltage Ripple 1 Efficiency Total Charge Cycle Efficiency 90 Peak Efficiency 92 Input Protection Under voltage Over voltage transients Output Protection Over current Over voltage Charger Over temperature Battery Over temperature Battery reverse polarity Operating Conditions Ambient Temperature 0 40o C Humidity 10 90 RH noncondensing User Interface LCD Keypad...

Страница 9: ...r 3 9kW Max 5 2kW Max 6 5kW Max Pk Pk Voltage Ripple 1 Efficiency Total Charge Cycle Efficiency 90 Peak Efficiency 92 Input Protection Under voltage Over voltage transients Output Protection Over current Over voltage Charger Over temperature Battery Over temperature Battery reverse polarity Operating Conditions Ambient Temperature 0 40o C Humidity 10 90 RH noncondensing User Interface LCD Keypad C...

Страница 10: ...l Display LCD keypad or the DC cables If any damage is apparent contact the shipping carrier Do not install or operate the charger if it has any visible damage 1 Preparing for the Installation Failure to meet these minimum requirements may result in a voided warranty Adequate Cooling Required To prevent damage from overheating proper airflow must be ensured Do not restrict fan inlets or exhaust ou...

Страница 11: ...er vertically observing the minimum spacing shown below Figure 2 RV05 NEC minimum spacing Ensure that the charging area is well ventilated dry and clean Do not expose the charger to rain or snow The charger is NOT designed for outdoor use ...

Страница 12: ...een the sides of the charger and any adjacent walls or barriers and 12 of spacing between the bottom of the charger and the floor or any other obstruction Figure 3 RV05 minimum spacing Ambient Temperature Range 0 40 C Ambient Humidity Range 10 90 RH non condensing ...

Страница 13: ...a Figure 4 RV05 mounting hole bolt pattern Charger should be fastened to the mounting surface using 1 4 or 5 16 hardware User provided Threaded mounting studs protruding from surface are recommended for ease of installation Charger Weight 56 lbs maximum ...

Страница 14: ...ng on its back remove the 2 8 32 screws securing the cover to the bottom surface and set aside Shift the cover slightly toward the top of the charger about 1 5 as shown Figure 5 RV05 Cover Fastener Removal Lift the cover up and off set aside Figure 6 RV05 Cover Removal ...

Страница 15: ...erson is recommended and fasten the Charger to the mounting surface Figure 7 Mounting the Charger Once the Charger has been securely mounted electrical installation can proceed CAUTION Do not allow debris to fall inside the Charger during the mounting and installation process ...

Страница 16: ... VAC 3 four wire Wye or Delta electrical supply with a separate ground Figure 8 Nameplate 480 VAC current draw is 10 A circuit protection at 125 should be 15 A Figure 8 AC input wiring diagrams 2 Verify that the source circuit is locked and tagged out before connecting power to the charger 3 Determine whether the or conduit hole will be utilized and carefully punch out the appropriate piece from t...

Страница 17: ...gue terminal to the ground GND wire and connect it to the GND terminal Figure 9 Tighten the nut to 15 in lb 2 in lb 6 Strip the conductors back 0 5 inch 12 mm and connect them to the terminal block Figure 10 labelled L3 L2 L1 Tighten the terminal screws to 12 in lb 2 in lb NOTE The charger is not phase rotation sensitive Be sure any excess wire is kept away from the fans and output connections ...

Страница 18: ...urce circuit and verify proper AC voltage to the Charger All line to line voltages should be 480 VAC 10 and matched within 10 VAC De energize the source circuit 9 Verify that the source circuit is locked and tagged out Once electrical installation is complete the cover and 2 8 32 screws fastening the cover can be replaced THE CHARGER IS NOW READY FOR OPERATION ...

Страница 19: ...f chargers through each charger s front panel LCD keypad Figure 11 This is the main user interface for viewing operation and fault messages It also allows limited charger programming options For programming information see Charger Main Menu page 24 of this manual Figure 11 User interface LCD keypad LCD Function keys ...

Страница 20: ...acity This mode continues until the battery voltage rises to an average cell voltage of 2 4 volts CV voltage and the charge cycle then transitions into the CV mode This voltage is partially inflated above the true battery voltage due to the fact that current is being pushed into the battery and the internal battery resistance causes the battery voltage to artificially rise above the resting batter...

Страница 21: ...5 for a fixed amount of time Typically 3 6 hr and ensures that all cells are fully and equally charged Figure 15 Finish charge termination criteria Opportunity Charging Opportunity charging utilizes a temperature sensor thermistor on the battery to allow more rapid recharge of the battery without the risk of damage to the battery The thermistor may be mounted to an intercell strap or post external...

Страница 22: ... VOLTAGES AND CURRENTS ARE PRESENT IN THE AC MAINS WHEN ENERGIZED ONLY TRAINED PERSONNEL SHOULD PERFORM THESE CHECKS USING PROPER EQUIPMENT AND PROCEDURES If the charger does not power up carefully verify the source circuit and wiring to the charger and correct any problems If appropriate check that all fuses in the local disconnect switch box on the wall are intact and that the supply voltage for...

Страница 23: ...O START with a timer count down message as shown below The timer will count down from 5 to 1 before the charge cycle starts If either the Start or Auto Start screens are not displayed the battery has not been detected Make sure that the battery cables are connected properly If the charger is not set to start automatically start the charge cycle by pushing the green START button on the keypad The c...

Страница 24: ...g amps A returned amp hours AH and battery voltage V The right side of the screen has a thermometer icon which gives the current battery temperature F or C To stop the charge cycle select the STOP button A PAUSED message appears Selecting STOP for the second time stops the charger completely and defaults to the PUSH START screen Selecting START from the CHARGING STOPPED screen starts a new charge ...

Страница 25: ...MAN 000020 00 REV A 23 On this screen appears the total charging time and total returned amp hours along with the final state of charge of the battery ...

Страница 26: ...or the PUSH START screens are displayed Pushing the ENTER key selects the charger MAIN MENU screens The up down arrow keys scroll between the various screens The BACK button is used to return to the previous screen and or back to the main menu Selecting the ENTER button within a main menu will select a setting go to the next screen or toggle between two screens 1 Manual Equalize a While in MAIN ME...

Страница 27: ...he following displays will be observed depending on the setup of the Charger 2 Desulfation Cycle One of the unique features of this charger is the ability to run a safe tailored recovery cycle for sulfated batteries This can easily be done through the DESULFATION CYCLE screen a Connect the battery to be recovered If the charger is set to auto start the charge cycle press the stop button until you ...

Страница 28: ...riate battery voltage Pressing toggles the battery voltage setting Select the correct voltage and select ENTER The Battery Capacity screen appears Pressing allows the user to enter the correct battery amp hour capacity The recovery charge current is fixed at 5A 100 Ahrs 5 of rated capacity d Press the ENTER key once the correct value is selected The Cycle Duration timer screen appears ...

Страница 29: ...alue then select ENTER Next the START DESULFATION CYCLE screen appears e Push START to initiate the desulfation cycle Once the cycle is complete a CYCLE COMPLETED message appears NOTE The desulfation cycle is a separate cycle activating it does not affect other charger settings See Appendix E for instructions on how to determine the recovery charge current and timer setting ...

Страница 30: ...e history displays the charge number the date and time when the charge was started the charge duration end battery voltage the total amp hours returned to the battery and the Charger status STATUS indicates whether the cycle was completed successfully COMPLETED interrupted by the user STOPPED interrupted due to a power outage or disconnection TURNED OFF or interrupted due to a fault e g OV FAULT f...

Страница 31: ...le in MAIN MENU press until the LIFETIME SUMMARY screen appears b Pressing the ENTER key will display a screen summarizing charger lifetime summary stats since installation This screen allows verification of charger usage First charge date and time total charge hours amp hours and kW hours and the total number of cycles completed since installation This information may be used to compare usage on ...

Страница 32: ...00020 00 REV A 30 5 Charger Model a While in MAIN MENU press until the MODEL SN screen appears b Pressing the ENTER key displays the charger model number manufacturing ID and firmware revision for reference ...

Страница 33: ...FF position wait 30 seconds and then return it to the ON position c If the charger display still does not illuminate carefully verify the source circuit and wiring to the charger and correct any problems If appropriate check that all fuses in the service disconnect switch box on the wall are intact and also that the supply voltage for all three phases AC mains line to line is 480 V 10 and matches ...

Страница 34: ...will be displayed on the upper right of the display while the charge cycle is under way The Warning Symbol is not displayed once the charge cycle is complete The appearance of the Charge History screen under these circumstances may be similar to The Serial Number of the faulted module is displayed along with a fault code When contacting the Dealer or Power Designers USA LLC make sure to note the s...

Страница 35: ...ults follow 1 AC Fault Possible Causes AC line voltage outside of allowable limits 432VAC 528VAC AC phases matched within 10V Fuse blown in AC service Troubleshooting a Select STOP to revert to the Connect Battery or Push START screens b Remove power disconnect the battery and verify the AC supply and connections to the charger c Restart the charge cycle by connecting the battery and selecting STA...

Страница 36: ...ontact the Dealer or Power Designers USA LLC 3 Over Current Primary Over Current Fault Possible Causes Damaged DC output cables open or short Troubleshooting a Select STOP to revert to the Connect Battery or Push START screens b Verify that the output cables are in good working condition and are properly connected to the battery c Restart the charge cycle by selecting START d If the fault persists...

Страница 37: ... START e If the fault persists contact the Dealer or Power Designers USA LLC 5 Charger Timeout Faults The screen indicates which timer has caused the problem TRICKLE CHARGE CC CHARGE or CV CHARGE Possible Causes Programmed charge timers are set incorrectly Programmed charge parameters are set incorrectly Battery has shorted cell s Troubleshooting a Select STOP to revert to the Connect Battery or P...

Страница 38: ... waits for an 8 C 14 F drop before re starting the charge cycle The Charger increments the delay until an 11 C 20 F drop is required before restart If the battery temperature limit is exceeded once again the Charger will stop the charge cycle and display the following screen Possible Causes Charge and or discharge rates too high CV and Finish modes running too often Room temperature excessive Trou...

Страница 39: ...this manner a Return Material Authorization RMA form must be completed and submitted to Power Designers USA LLC Upon receipt of the completed RMA form Power Designers USA LLC will issue an RMA number for the return Based on the serial number of the specific charger s and the particular problem encountered Power Designers USA LLC will either repair or replace the defective components under warranty...

Страница 40: ...urly rate for the technician s services b Service during the Remaining Term of the Limited Warranty Period During the remaining term of the Limited Warranty Period you must contact the PD Service Group at 608 216 9295 for service A PD service technician will determine if the unit qualifies for limited warranty repairs Once the determination is made to be defective in material or workmanship the Co...

Страница 41: ...Buyer harmless from and against any claim demand or cause of action including expenses costs and damages related to the same each a Claim in an amount not to exceed the Aggregate Limit brought against Buyer by any third party to the extent the Claim is based on the allegation that the Products infringe or violate the intellectual property rights of any third party provided that 1 Buyer promptly no...

Страница 42: ...gs or free from viruses To the maximum extent permitted by applicable law the software and documentation are provided as is and the licensor disclaims all other warranties and conditions expressed or implied including but not limited to implied warranties of merchantability fitness for a particular purpose conformance with description title and non infringement of third party rights To the maximum...

Страница 43: ...MAN 000020 00 REV A 41 APPENDIX A WALL MOUNT DIMENSIONS AND CLEARANCES Recommended mounting hardware 1 4 or 5 16 ...

Страница 44: ...MAN 000020 00 REV A 42 APPENDIX B POST STAND DIMENSIONS ...

Страница 45: ...MAN 000020 00 REV A 43 APPENDIX C SHELF STAND DIMENSIONS ...

Страница 46: ...emperature compensation factor is 2 mV C VPC The REVOLUTION opportunity charger implements two temperature compensation coefficients 1 The battery low compensation coefficient Batt Low Temp Comp is activated when the battery temperature is different than 77 F but lower than the high compensation temperature limit High Comp Temp Figure C1 2 The battery high compensation coefficient Batt High Temp C...

Страница 47: ...p the current ONLY to the next highest current in increments of 5 A For capacities over 1200 Ahrs select 60 A the maximum value allowed 3 Time battery capacity in Ahrs current 4 If necessary round the time to the nearest increment of 15 minutes For capacities over 1200 Ahrs select 24 hours 24 00 5 If the time calculated is greater than 24 hours the maximum timer setting allowed a second cycle is r...

Страница 48: ...powerdesigners com service powerdesigners com Main Office Phone 608 231 0450 Main Office Fax 608 231 9979 Service Department 608 216 9295 Phones are answered between 9 a m and 5 p m Monday through Friday Central Time After hours calls are answered by voice mail and returned on the next business day Questions and comments can also be submitted via fax or email ...

Отзывы: