


11
Intera 3.2
Quick Start
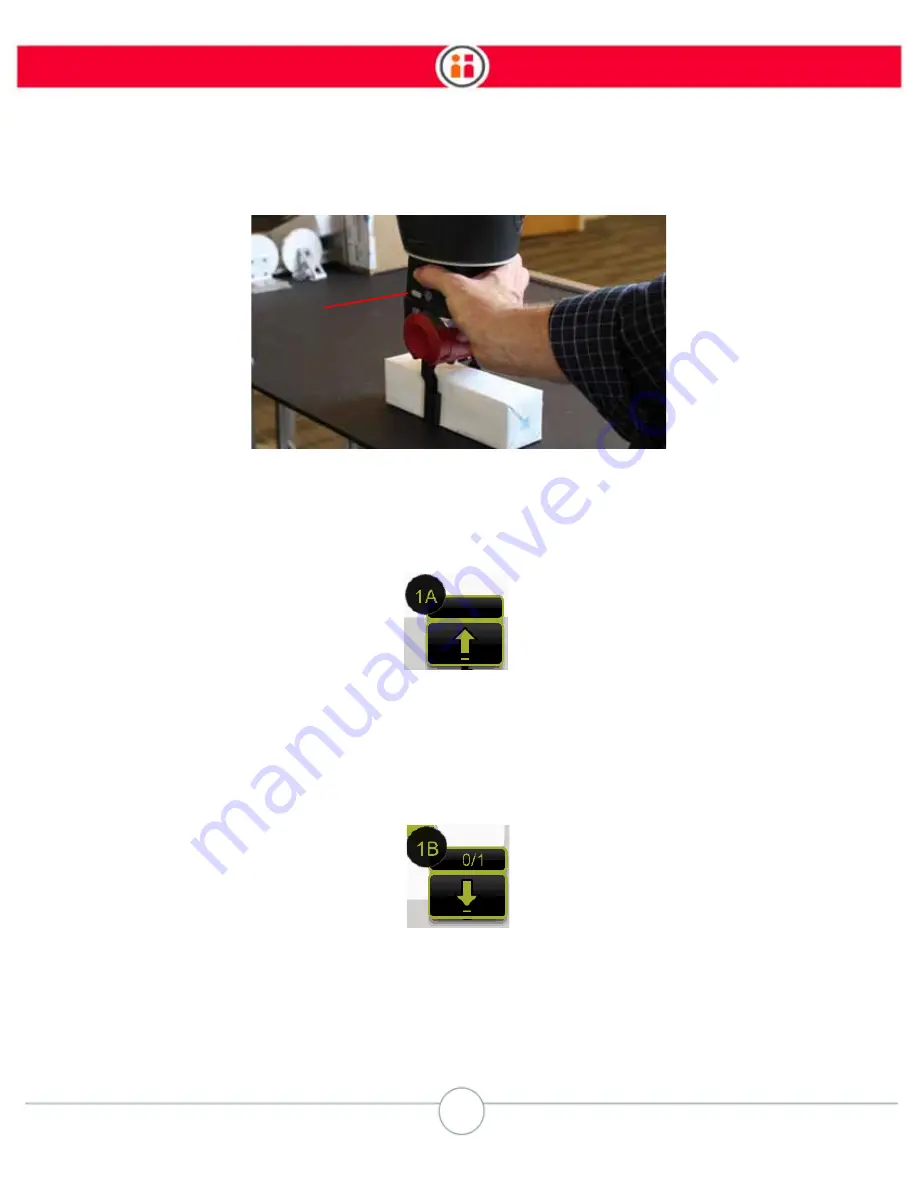
Baxter grabs the object and nods its head acknowledging your instruction. If you look at Baxter’s
display, you’ll see an icon for a Pick, plus a sub-task number and letter. (For details, see “Tasks,
Sub-tasks, and Actions” on page 28.)
Still squeezing the training cuff, move the arm to the location where you want Baxter to place the
object, then press the Grasp button again to release the object. Baxter nods and releases the
object.
The Task Map displays the icon for a Place (along with sub-task number and letter).
Reset the object to its original position, select Run or Reset, and watch Baxter perform the task.
You just trained your first task using Baxter.
Grasp button
Содержание Baxter
Страница 1: ...user guide for intera 3 2 software ...
Страница 7: ...5 Intera 3 2 Contents Appendix G Safety Mats 177 Appendix H Support Warranty 179 ...
Страница 100: ...98 Intera 3 2 Hold ...
Страница 108: ...106 Intera 3 2 Nudge You cannot nudge transit waypoints You can use the Navigator on either arm when in Nudge mode ...
Страница 118: ...116 Intera 3 2 Robot Positioning System 3 Select Create New ...
Страница 180: ...178 Intera 3 2 Note Unless shown as a jumper in the above diagram all other wiring is pin for pin on each connector ...
Страница 182: ......
Страница 183: ...Last updated April 17 2015 P N 26004 Rev C ...


