Refer to the
RCU Help Manual
for more information.
2
Select the Assay for which LQC will be performed. Touch
Run LQC
, located at the bottom of
the screen. If prompted, enter the Operator ID and Password (
Figure 7
), if required, using
either the touchscreen keyboard or the barcode scanner. To accept the displayed information,
touch
Accept
.
NOTE
The Operator ID and the Password are case sensitive.
3
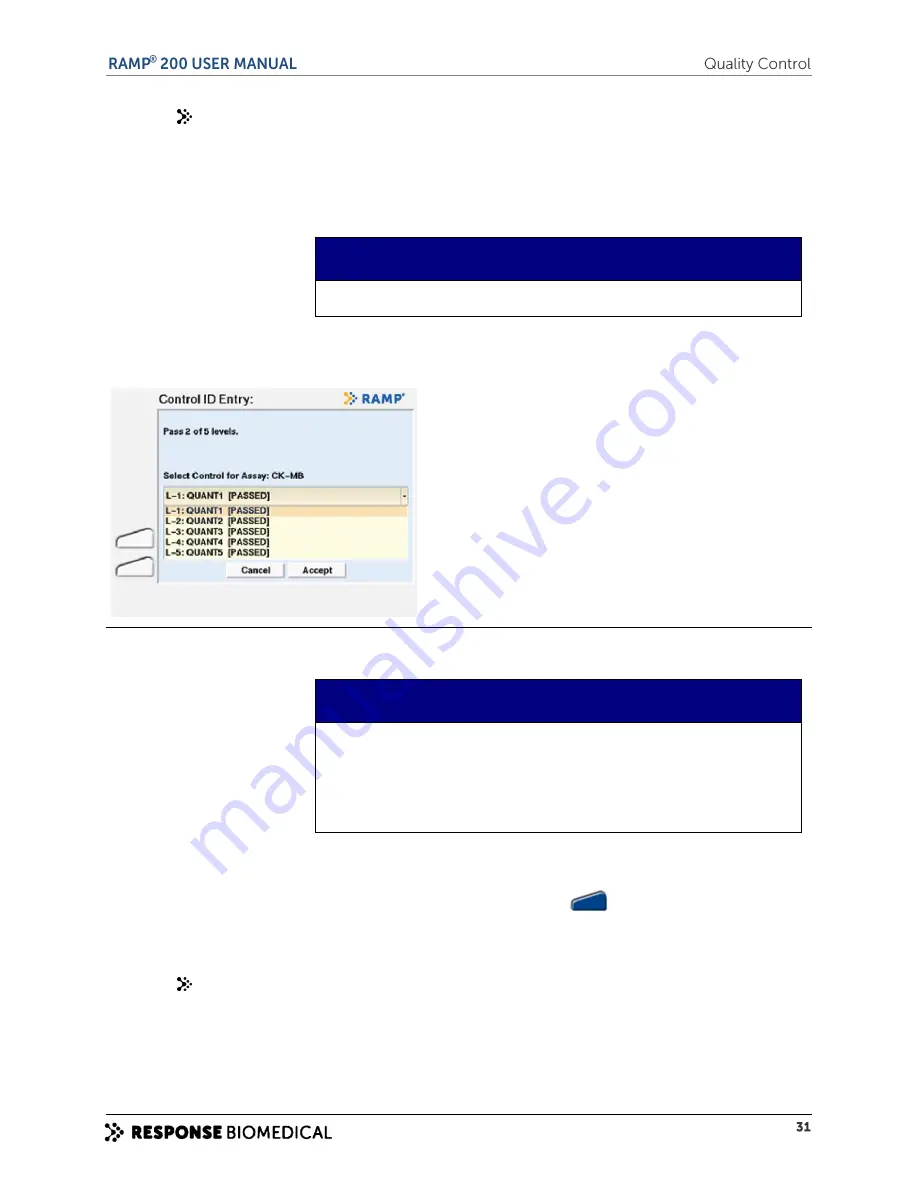
If prompted, select the appropriate Control ID using the drop-down menu (
Figure 11
). Touch
Accept
.
Figure 11
Control ID Entry Screen
NOTE
If LQC has failed for the selected Assay, the maximum number of
LQC attempts before Assay lockout is displayed.
If an Assay is locked due to failed LQC attempts, then the LQC
timer must be reset through the RCU.
4
When prompted to
Add Control & Insert
the Test Cartridge on the display screen, the LED
on a free TM port flashes blue and the corresponding icon
on the display will illuminate
blue.
Refer to the RAMP® Test Kit and quality control IFUs for more information.
5
Prepare the sample and Test Cartridge as specified in the Test Kit IFU and firmly insert the
cartridge into the flashing port.
Содержание RAMP 200
Страница 7: ...A ...
Страница 13: ...B ...
Страница 15: ...C ...
Страница 20: ...Figure 4 RAMP 200 Test Module rear panel label ...
Страница 21: ...D ...
Страница 25: ...E ...
Страница 31: ...F ...
Страница 37: ...G ...
Страница 44: ...H ...
Страница 54: ......
Страница 55: ...I ...
Страница 62: ...J ...
Страница 65: ...K ...
Страница 73: ...L ...
Страница 85: ...M ...
Страница 94: ......


