25
www.renishaw.com/xm60
XM-60 and XM-600 multi-axis calibrator
Mechanical set-up
•
In order to take relative measurements between the tool and the
workpiece, the launch must always be attached to the structure that
holds the workpiece, for example, the machine bed or the chuck on a
lathe. See
for XM set-up best practice.
•
When the XM system is used on
a machine where the workpiece
moves, the conduit should be
fixed to the machine bed to stop it
dragging, misaligning, or causing
the launch to move during machine
motion. Magnetic cable clamps are
included in the kit for this purpose.
•
There may be situations when sufficient magnetic force is not
available to securely mount the launch unit. This could occur when
there is a requirement for overhanging the launch unit, or the machine
bed is not magnetic. In this case, additional fixturing components
(such as the machine tool fixturing kit or other mounting accessories)
may be required.
•
In general, metrology performance is improved when the system is
used with fewer accessories. Use only the minimum amount of fixturing
components required to align the system to the axis under test.
Testing precautions
Thermal stabilisation
To meet the quoted specifications the XM system must be thermally stable.
Thermal stability is achieved 45 minutes after the laser/launch and receiver
are powered on. Therefore it is recommended to turn the laser/launch and
receiver on at the earliest opportunity.
The receiver and the launch must be removed from the case during the
thermal stabilisation period and should be placed at least 200 mm away from
each other.
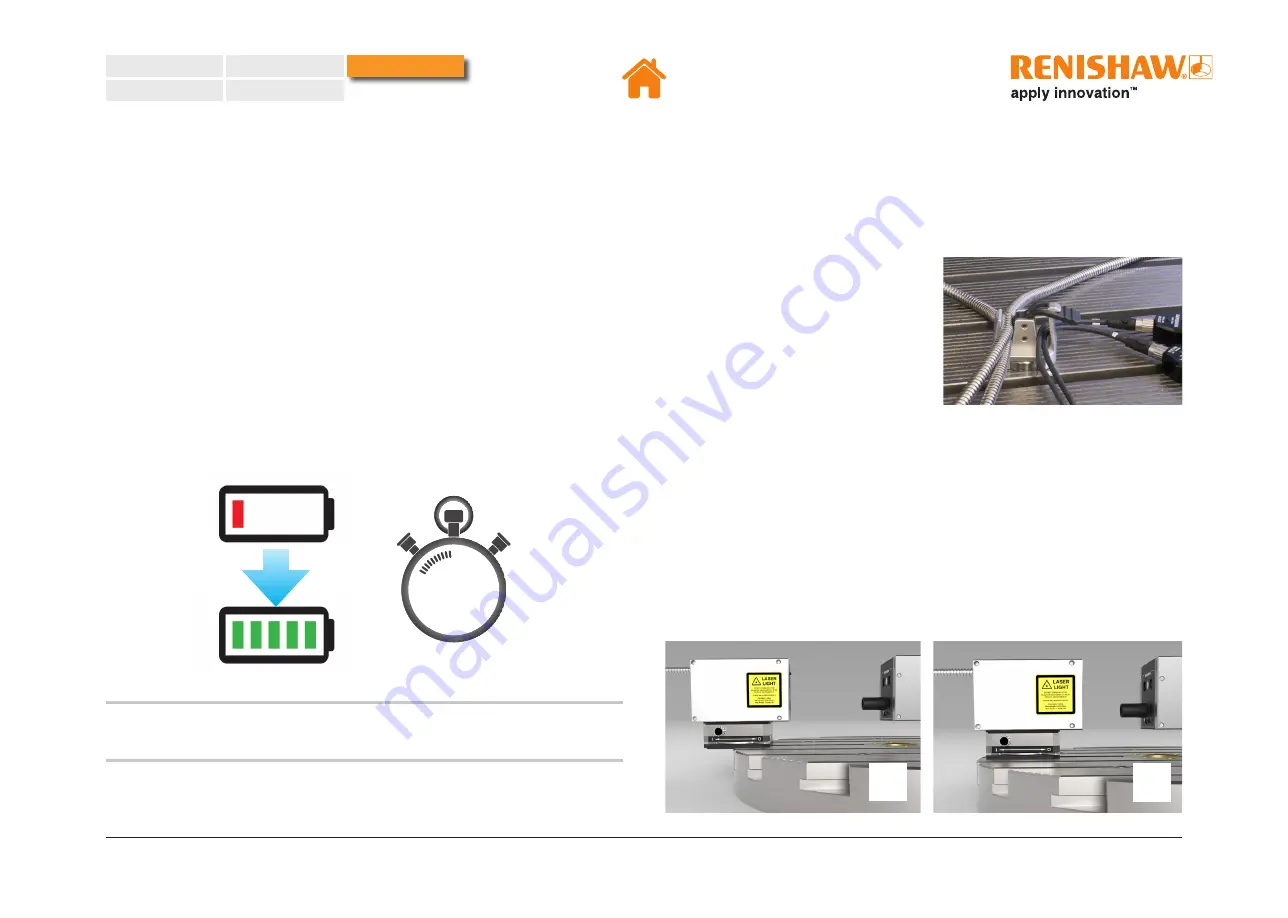
To avoid the need for further thermal stabilisation, once discharged the
receiver battery should be changed within 30 seconds.
NOTE:
An uninterruptible power supply can be used when moving
the XM system from one machine to the next.
30
seconds


