E5
Operation
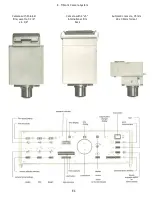
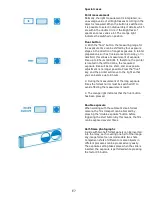
⚫ Turn on controller box with main switch. The switch
cap lights up red, along with the exposure time display,
as well as more signals that indicate a state of readiness.
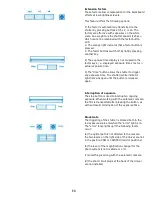
⚫ Select camera
The data for all three cameras are stored in the controller
simultaneously. The left-hand settings are for the left-
hand camera, the middle settings for the upper camera,
and the right settings for the right-hand camera.
⚫ With one of the three selection keys, the microscope
beam path to the desired camera is set and the
connector for this camera is ready for operation. The
window with the film sensitivity indicator lights up.
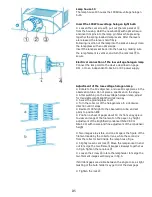
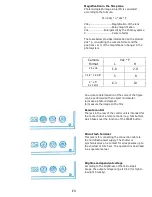
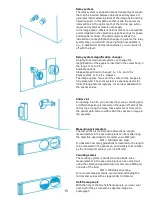
⚫ Setting the film speed is proportional by turning the
upper knob with a coin. The set DIN or ASA values can be
read in the middle of the window at the indicator mark.
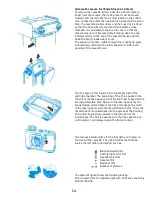
The camera format is set with the lower knob. The
indicator means:
8.......... 8mm movie camera
16.........16mm film camera
35.........24 x 36mm automatic camera
3 1/4”....3 1/4” x 4 1/4” Polaroid cut film adapter
4 X 5”....Camera body with international camera back for
the use of 4 x 5 sheet-film holders; 9 x 12 cm Polaroid
cassette adapter for roll film; and 70mm film.
- ...........This position is kept free for a not yet specified
camera format.
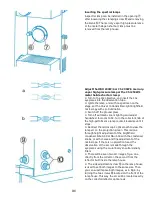
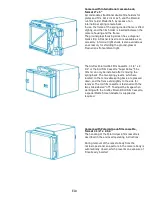
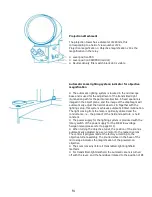
⚫ The eyepiece mounts are adjusted by turning so that
the lines of the double circle appear separated and as
sharp as possible.
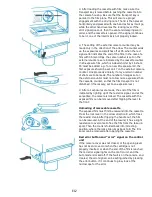
⚫ With the pushbutton pressed, the double circles for
focusing, as well as the format limit lines, are switched
on. These appear as illuminated figures in the insertion
tube. The brightness of the illuminated figures should be
adjusted with the image brightness knob. The indicator
light indicates the power-on state.
At the same time the microscopic image should not be
necessarily focused, since in certain circumstances a
defocussing of the image is recommended; the
microscopic image with coarse and fine focus is adjusted
so that the double circle appears sharp.
The illuminated figures are automatically switched off
during exposure, so that no incorrect exposure of the film
will take place.
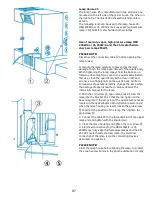
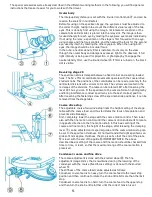
⚫ Set the lever to CAM (red dot) for the camera. In the
PRO position, the shutter release is disabled, and the
“error”red light is lit
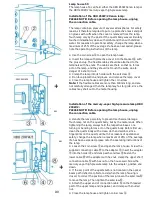
⚫ In the case of fainter preparations, however, the prism
can be pivoted to the EYE position (100% light in the
viewing tube) for the purpose of focusing. In the EYE
position, the shutter release is blocked, the red “error”
light is lit, and the illuminated figures are not visible
Содержание Univar
Страница 1: ...Reichert Univar Manual...
Страница 2: ......
Страница 48: ...D6 blank no content...
Страница 58: ...E2 blank no content...

