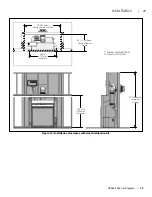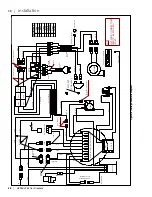
• 50 feet (15.25m) of cable is supplied with this kit, if more venting is required, use 706-033 - 100 feet (30.5m) PVK CABLE and connect it as shown on
the wiring diagram in Figure 4.
• Allow for an extra 24”-30” (60-75cm) of cable at the PVK control box for future servicing.
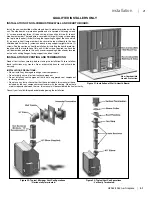
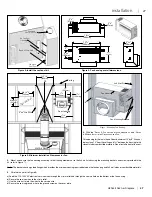
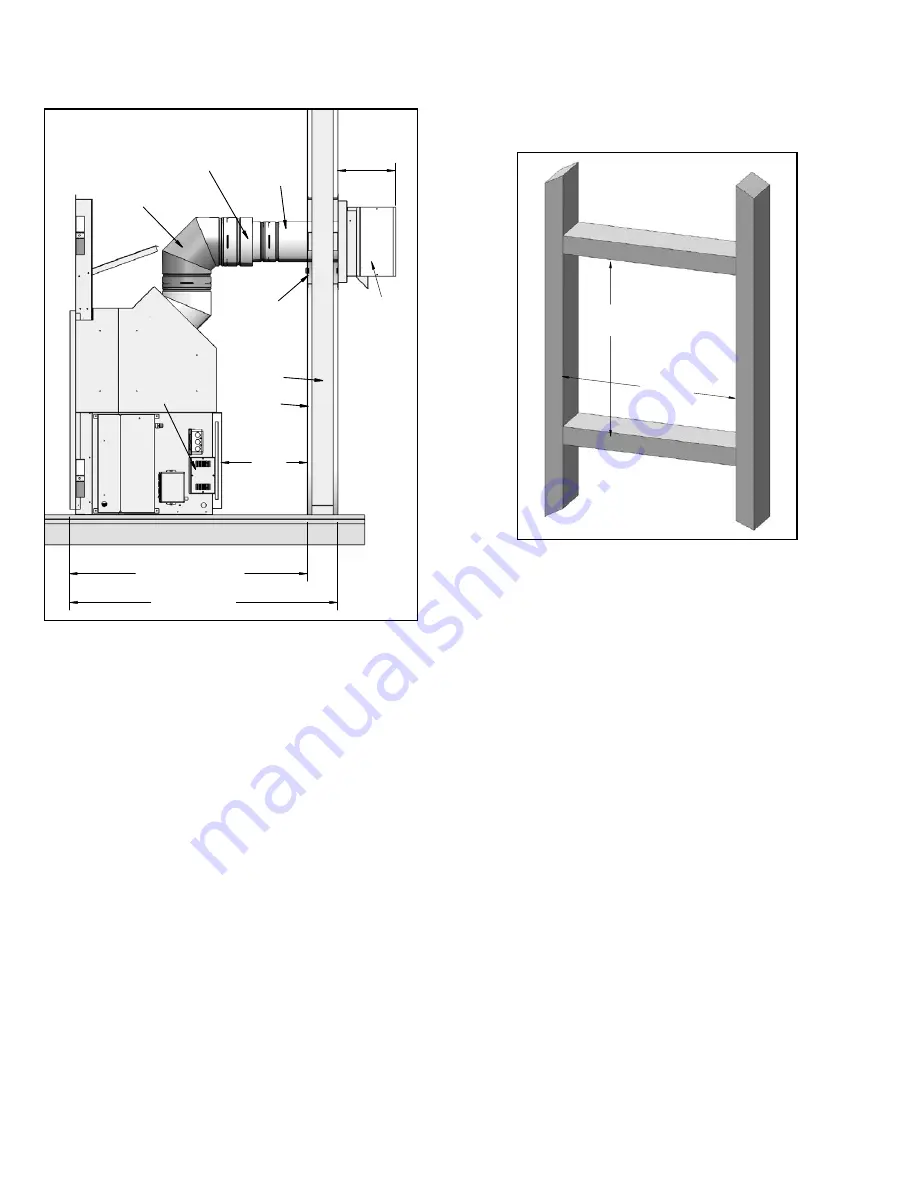
2. Reduce the venting size from 5” x 8” to 4” x 6-5/8 with a vent reducer, see Figure 1.
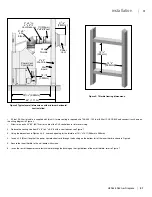
3. Using the dimensions in Figures 4 & 5, frame an opening for the thimble of 14½” x 14½” (368mm x 368mm).
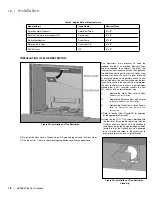
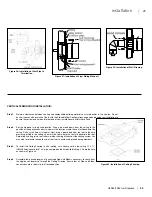
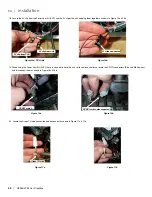
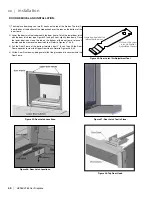
4. Insert a 2 ft (61cm) length of the power vent electrical cord through the bushing on the bottom left of the inner thimble, shown in Figure 6.
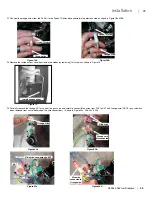
5. Secure the inner thimble to the wall board with screws.
6. Insert the rest of the power vent electrical cord through the bushing on the right bottom of the outer thimble, refer to Figure 7
39
1
/
16
" (992mm)
44" (1.11m)
9
7
/
16
"
(240mm)
14
1
/
8
"
(359mm)
5" x 8"
90o
Elbow
1ft (305mm)
4" x 6" Vent
5" x 8" to
4" x 6
5
/
8
"
Vent Reducer
Wall
Thimble
Power Vent
Control Box
Power
Vent
Wall
Board
2" x 4"
Wall Stud
Figure 4 Typical overall dimensions with minimum horizontal
vent installed.
14
1
/
2
"
(368mm)
14
1
/
2
"
(368mm)
Figure 5: Thimble framing dimensions.
4” x 6-5/8” vent
HZ965/L965 Gas Fireplace |
31
31
|
installation
Содержание Horizon HZ965E
Страница 52: ...SAFETY SCREEN INSTALLATION 52 HZ965 L965 Gas Fireplace 52 installation ...
Страница 66: ...66 HZ965 L965 Gas Fireplace 66 parts list ...
Страница 72: ......
Страница 73: ...HZ965 L965 Gas Fireplace 73 73 notes ...
Страница 74: ...74 HZ965 L965 Gas Fireplace 74 notes ...
Страница 75: ......

