42
42
9-WI-FI APPLICATION
Stove serial number
On the stove’s warranty card and inside the pellet hopper.
MAC address
Found on the label on the “ET” page inside the document
envelope inside the store.
Registration Code (Reg.Code)
Found on the label on the “ET” page inside the document
envelope inside the store.
Item model
Autocomplete field. If it does not autocomplete after scanning the
stove serial number, capture the QR Code on the bottom of the
page and check the relative FAQ.
Item code
(autofill field)
Stove description
For example: “Living room stove”
Stove location
(optional data)
Authorisation to anonymously sharing the operation data
(optional authorisation)
4. Press the “SAVE STOVE” button (the stove will be added to the “My stoves” list).
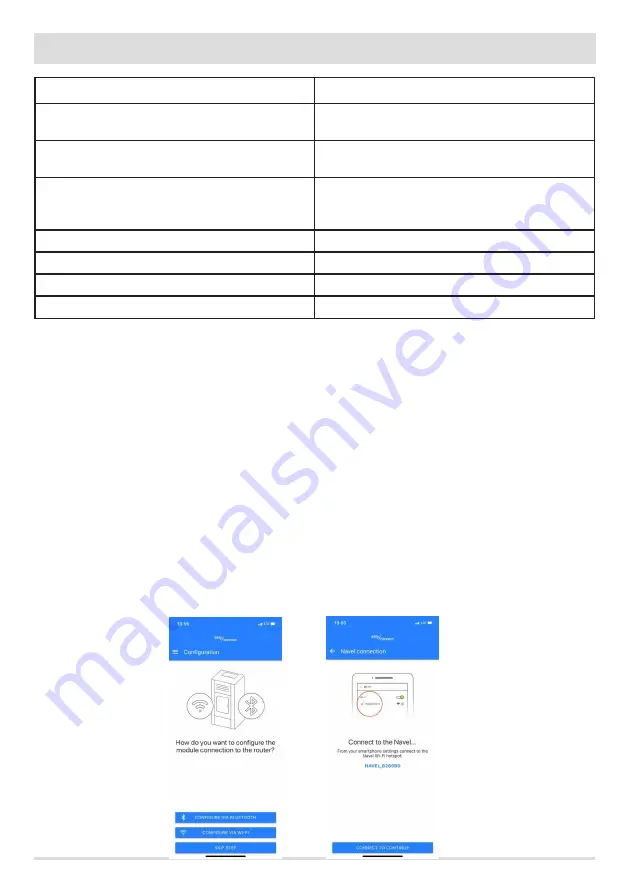
5. The set up screen for the Wi-Fi module to the router will appear.
4 - ROUTER/WI-FI KIT SET UP
1. Press “CONFIGURE VIA WI-FI” on the configuration screen. “Navel Connection” will appear
2. Close the app, find the Wi-Fi settings on your smartphone and connect to the “NAVEL_xxxxxx” network. Pay attention to any messages
that may disconnect your smartphone from the newly connected Wi-Fi network.
3. Once connected, reopen the app and press “CONNECT AND CONTINUE”
4. Press “CONTINUE WITHOUT INTERNET” and confirm with “OK”
5. A screen will appear with the list of available WI-FI networks.
6. Select the home WI-FI network and connect by pressing “CONNECT” (this only happens when you connect for the first time - your
smartphone should then automatically connect to your home network)
7. Close the APP and in your smartphone’s Wi-Fi settings, disconnect from the “NAVEL_xxxxxx” Wi-Fi network
8. Open the APP and confirm (“DONE for IOS or “X” at top right for Android)
9. Wait for the “Set up completed” message
10. Press “GO TO THE LIST” and select the stove
Note. If you want to pair the Wi-Fi module with the router later, simply press the 3 dots next to the stove you want to connect to the home
router and select “Set up Wi-Fi”
Содержание SELECTA 35Q S1
Страница 32: ...30 F C w C 30 6 INSTALLATION AND DISASSEMBLY on the front open the decorative door F remove the two screws w...
Страница 46: ......
Страница 47: ......


