Chapter 5
31
Using the DVD Menu
Graphics contained within this publication are for representation only.
The Sound Menu
The
Sound
menu lets you select different sound settings to match the equipment you have connected to your unit.
Digital Output
Digital output lets you choose which type of digital audio is output from your unit. If you’ve used an optical cable to connect a Dolby Pro Logic,
Dolby Digital, or DTS receiver, you must adjust this setting. There are two options:
•
Dolby Digital: Choose this setting if you connected a Dolby Digital receiver.
•
DTS: Choose this setting if you connected a DTS receiver or decoder to your unit.
The default is Dolby Digital. To change the digital output:
1. From the main menu, highlight and select the
Sound
option and press OK (the
Sound
menu is displayed).
2. Highlight the
Digital Output
option and press OK.
3. Highlight the desired output and press OK.
4. Press the left arrow key to return to the main menu.
Notes: If you set Digital Output to DTS, you must have your unit connected to a receiver or decoder with the DTS feature and
the disc you play must support the DTS audio format. If you choose DTS and your receiver or decoder doesn’t support DTS, you
won’t hear any audio.
If you don’t want to make any changes, press CLEAR to return to the main menu or GO BACK to return to the Speaker Setup
menu.
Sound Logic
The Sound Logic feature compresses the dynamic range (quietest sound to loudest sound) of a disc’s
soundtrack. For example, action scenes might be very loud, while whispered dialog is quiet. The Sound Logic
feature evens out the range of the volume by making loud sounds quieter and soft sounds louder. The Sound
Logic option is a toggle, it can be turned on or off.
The default setting is off. To turn the Sound Logic feature on:
1. From the DVD’s main menu, highlight
Sound
and press OK (the
Sound
menu appears).
2. Highlight the
Sound Logic
option and press OK.
3. Press the left arrow button to return to the main menu.
Note: The performance of the Sound Logic feature varies depending on the type of equipment you have connected to your TV/
DVD and the audio format of the disc you’re playing.
The Languages Menu
The
Languages
menu enables you to choose different language options for audio, subtitles, Disc Menu items
and DVD main menu items. The default for all Language menu items is English.
Changing the Player Menus, Disc Menus, Audio or Subtitles Language Preferences
You can choose one of the languages for the text that appears within the on-screen menu system.
1. From the main menu, highlight and select the
Languages
option (the
Languages
menu is displayed).
2. Highlight the language option for the language you want to change and press OK (the language choices
are displayed).
3. Highlight the language you want to use and press OK. The menu appears with your selection shown next
to the language option.
4. Press the left arrow button or press GO BACK to return to the previous menu.
Notes: If you change the Player Menu Language, the entire DVD’s menu system will be displayed in the selected language.
The option Original in the Audio Language menu is the language in which the audio was originally recorded.
How to Set Other in Disc Menus, Audio or Subtitles Language
If the language you want to use isn’t listed, you can use the
Other
option to select the language of your
choice.
1. From the main menu, highlight and select the
Languages
option (the
Languages
menu is displayed).
2. Highlight the language option you want to change to Other
and press OK (the language options are
displayed).
3. Highlight
Other
and press OK.
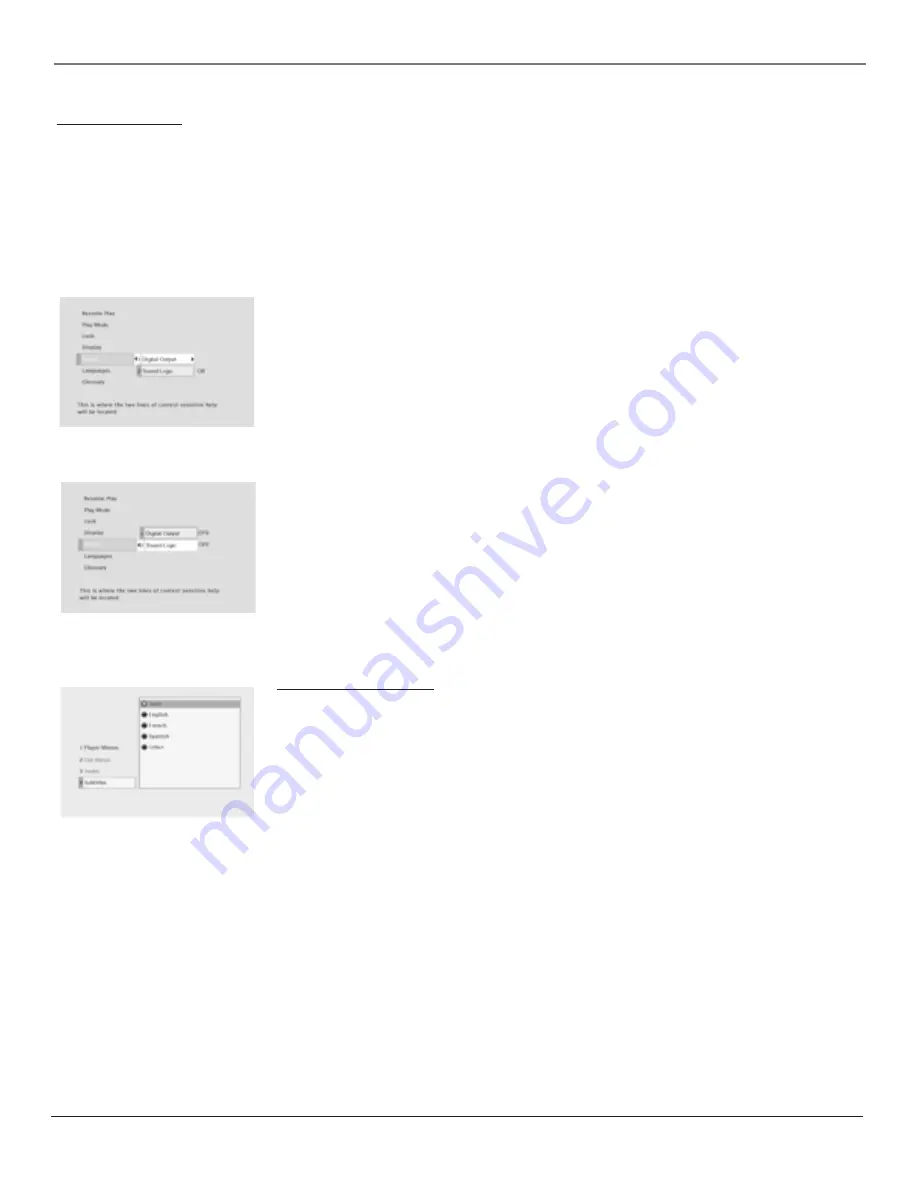
Select the Digital Output option from
the Sound menu.
Select the Sound Logic option from the
Sound menu and press OK to toggle
Sound Logic on or off.
Select the language option you want to
change.
(steps continued on next page)
Содержание SCENIUM L37WD14
Страница 1: ...HDTV DVD MonitorUser sGuide ...


