Connection: Digital Media Re TV + Cable Box
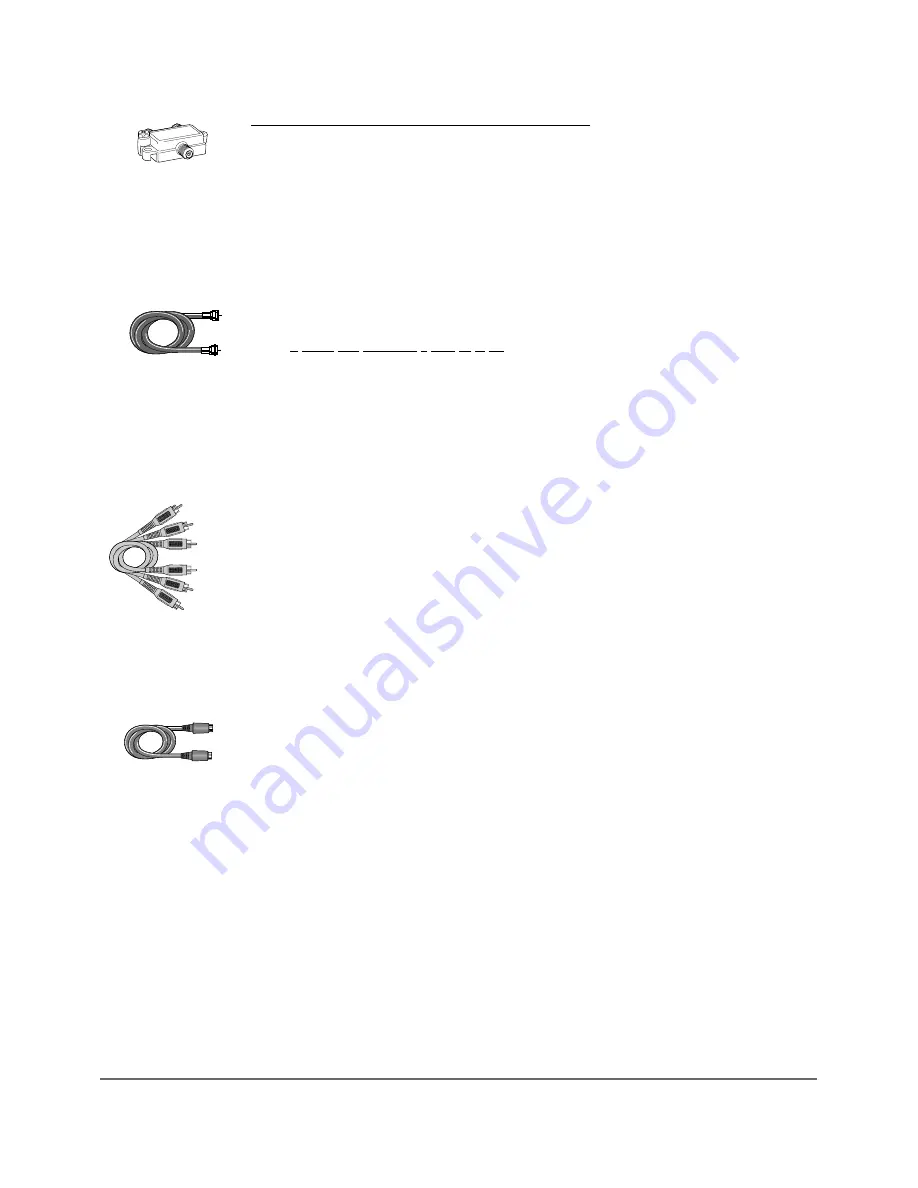
1. Connect the RF Signal Splitter (provided) to split the cable signal
Note: Before you connect the Digital Media Recorder, you’ll need to disconnect some of the cables first in order
to re-connect them.
1a.
Disconnect the RF Coaxial cable that originates from the cable signal coming into your house, and goes
to the cable box. Connect this RF Coaxial cable to the RF Signal Splitter that was packed with your Digital
Media Recorder — connect the cable to the end of the RF Signal Splitter that has only one connector.
1b.
Use the RF Coaxial cable that was packed with your Digital Media Recorder, and connect one end to the
RF Signal Splitter — connect the cable to the end that has two connectors (it doesn’t matter which of the two
connectors you use). Connect the other end of this cable to the Cable Signal Input jack on the cable box.
1c.
Connect another RF Coaxial cable to the cable box’s TV Output Jack (sometimes labeled OUT TO TV); and
connect the other end to the RF ANTENNA/CABLE INPUT jack on the back of the Digital Media Recorder.
1d.
Connect another RF Coaxial cable to the other connector that’s available on the RF Signal Splitter.
Connect the other end of that cable to your VCR’s Antenna Input jack (sometimes labeled CABLE/ANTENNA
IN). If you’re NOT connecting a VCR, go to 1e.
1e.
Connect another RF Coaxial cable to the other connector that’s available on the RF Signal Splitter.
Connect the other end of that cable to your TV’s Antenna Input jack (sometimes labeled CABLE/ANTENNA).
For more information about the other INPUT jacks on the back of the Digital Media Recorder, go to page 54.
2. Connect the VCR to the TV (optional)
If you connected a VCR (step 1d above), connect one end of an RF Coaxial cable to the VCR’s Output jack
(sometimes labeled OUT TO TV) and the other end to the TV’s Input jack (sometimes labeled CABLE/ANTeNNA).
If you didn’t connect a VCR, skip this step and proceed to step 3.
3. Connect the Digital Media Recorder to the TV
You need to connect cables to the Digital Media Recorder’s OUTPUT jacks to the TV’s INPUT jacks in order to
see the content from the Digital Media Recorder (whether it’s a TV program, something you recorded to the
hard disk drive, or a disc you’re playing).
3a. Connect the audio cables.
A set of audio/video cables was packed with your Digital Media Recorder. Connect the audio cables to the
OUTPUT AUDIO L (left – white) and R (right – red) jacks on the back of your Digital Media Recorder, and to
the corresponding Audio Input jacks on your TV (sometimes labeled AUDIO IN L and R).
3b. Connect the video cable. The cables you use for the video determine the quality of the picture you’ll see on
your TV when you’re playing DVDs. For more information about cables and signal quality, go to page 56.
Connect the video cable (yellow) to the OUTPUT COMPOSITE VIDEO jack on the back of your Digital Media
Recorder, and to the Video Input jack on your TV (sometimes labeled VIDEO IN)
OR
3c. If your TV has an S-VIDEO jack, connect one end of the S-Video cable (provided) to the S-VIDEO jack on the
back of the TV and the other end to the OUTPUT S-VIDEO jack on the back of the Digital Media Recorder.
OR
3d. If your TV has Component Input Jacks (Y, Pb, Pr), you can achieve even greater picture quality by connecting
the Digital Media Recorder to the TV using these jacks (COMPONENT VIDEO OUTPUT, Y, Pb, Pr on the DVD
Recorder). For more explanation, go to page 56.
4. Attach the AC power cord to the unit.
5. Insert the the other end of the AC power cord into an AC outlet (or power strip).
Go to page 11
Chapter 1: Connections and Setup
7
Notes: This connection enables you to watch one channel while you record another channel to the DVD Recorder’s hard disk drive by splitting the
cable signal. If your cable box is necessary for premium channels, you won’t be able to access them when watching TV directly (i.e., without
going through the Digital Media Recorder by tuning the TV to its VIdeo Input Channel).
RF Signal
Splitter
(provided)
RF Coaxial cable
Audio video cables
S-Video cable
Содержание Scenium DRS7000N
Страница 1: ...User s Guide DRS7000N Digital Media Recorder User s Guide ...
Страница 63: ...This page intentionally left blank ...
Страница 64: ...This page intentionally left blank ...


