Execute a SmartMacro
To execute a SmartMacro that has been previously programmed, follow these steps:
12. Program additional commands in the order you want them
to be stored in the SmartMacro. To add commands to the
SmartMacro, repeat steps 9-11 above, using the original
remotes to program. Remember: Each time you program a
SmartMacro from a different component, you must put your
original remote in that component mode. If the original
remote is a dedicated remote, e.g., a DVD remote only, this
step is not needed.
13. When finished, press and release the LCD
OK
key. You can store
up to 20 learned commands under one SmartMacro.
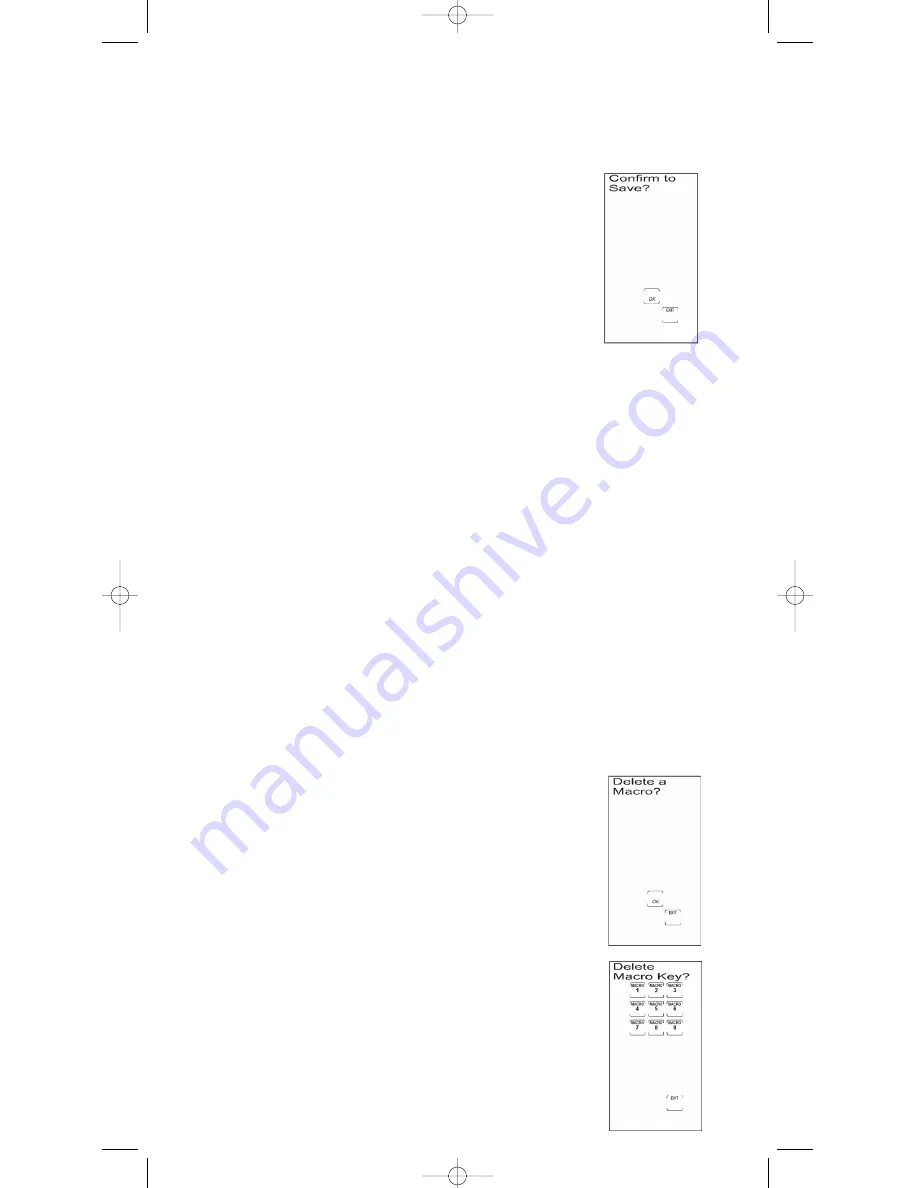
14. Once you are finished programming the Macro, press and
release the LCD
OK
key on the Confirm to Save? Screen to
confirm and save.
15. The touchscreen returns to the Set SmartMacro? Screen.
16. The SmartMacro programming is complete. To exit the Setup
Mode, press and release the LCD
EXIT
key, followed by the
LCD
OK
key on the Exit Setup Screen.
Note:
If the LCD
EXIT
key does not respond, press and release
the
SETUP
key repeatedly until the Exit Setup Screen appears.
1. Press and release the
SETUP
key, the
BACKLIGHT
key, or
any LCD touchscreen key to activate the LCD touchscreen.
2. Press and release the LCD
MACRO
key.
Note:
If no Macros are programmed, the No Macro Stored
Screen is displayed.
3. Press and release the programmed LCD
MACRO
key number
corresponding to the sequence you wish to activate.
4. If the keypress beep is enabled, you hear a series of beeps as
the Macro executes. The number of beeps you hear corresponds
to the number of Learned commands within the SmartMacro.
Delete a SmartMacro
To delete a SmartMacro that has previously been programmed, follow these steps:
Note
: If no Macros have been previously programmed,
this option is not shown in Setup Mode.
1. Press and hold the
SETUP
key on the rubber keypad for
2-3 seconds until the LED indicator light remains on and the
touchscreen shows the Code Setup Mode? Screen.
2. Release the
SETUP
key.
3. Press and release the
SETUP
key repeatedly until the Delete
a Macro? Screen appears. Press and release the LCD
OK
key.
4. The LCD displays the Delete Macro Key? Screen. Press and
release the LCD
MACRO
key (1-9) to select the previously
programmed Macro you wish to delete.
Note:
When deleting a Macro, only the programmed Macro
key(s) are displayed on the LCD touchscreen.
21
Delete a SmartMacro (continued on next page)
RCU_1010_RF_IB_RevA.qxd 9/24/03 10:30 AM Page 21


