31
6) Apply a liberal coat of cement to pipe leaving no
voids.
7) QUICKLY assemble parts while cement is fluid! If
you wait too long, re-coat pipes.
8) Push pipe completely into socket of fitting, rotating
1/4 turn to achieve proper orientation until it bot-
toms out.
9) Hold pipe and fitting together for 30 seconds, then
carefully clean off excess with a cloth. The glue
bonds by melting the PVC and they will re-harden
during curing.
10) Allow connections a sufficient time to cure before
disturbing (follow manufacturer instructions).
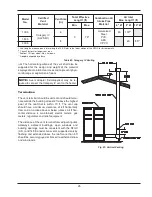
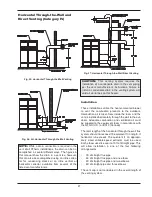
11) A special sidewall vent adapter/termination must
be used as supplied by Raypak per our listing.
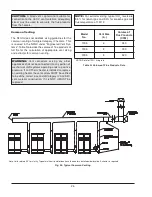
12) Rooftop installations must use a category IV listed
vent cap.
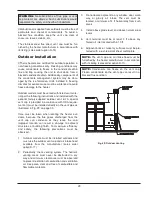
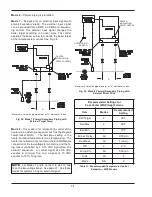
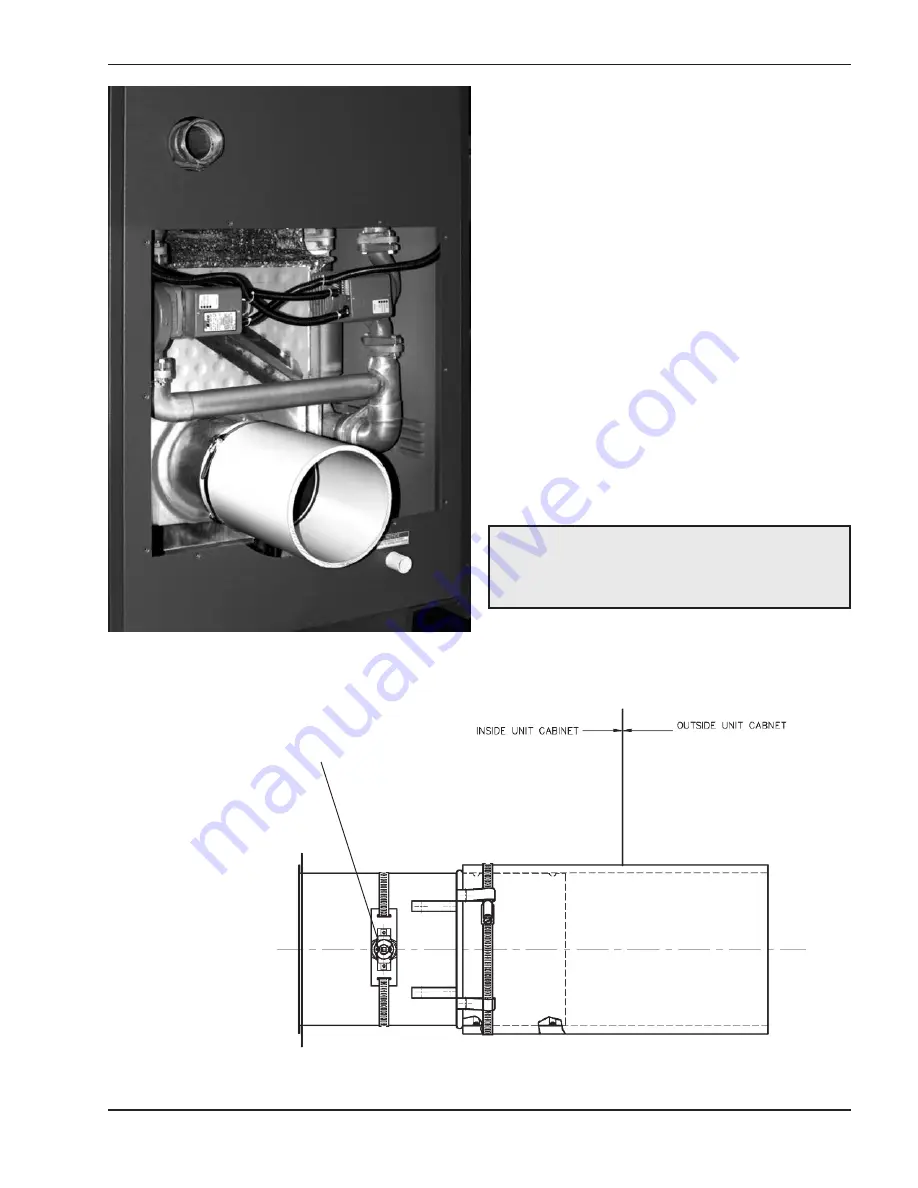
Fig. 30: PVC Vent Adapter
(Rear panel and vent limit switch removed for clarity)
VENT TEMPERATURE LIMIT
Fig. 31: PVC Vent Adapter
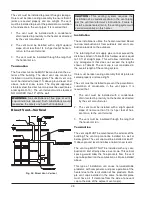
WARNING:
Remember that vent pipes must be
adequately and securely supported; the vent weight
must not be supported by the heater; this may cause
unwarrantable damage.
Содержание Xtherm 1005
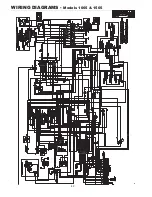
Страница 42: ...42 WIRING DIAGRAMS Models 1005 1505 ...
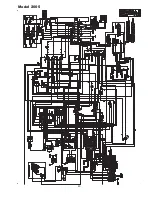
Страница 43: ...43 Model 2005 ...
Страница 58: ...58 ...
Страница 59: ...59 ...
Страница 60: ...60 www raypak com Raypak Inc 2151 Eastman Avenue Oxnard CA 93030 805 278 5300 Fax 805 278 5468 Litho in U S A ...

