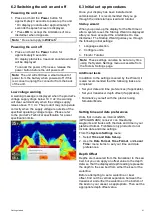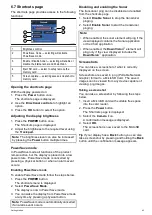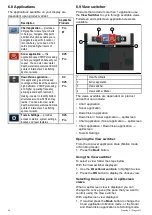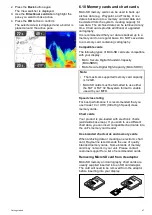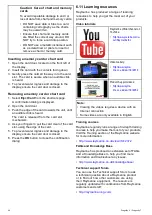
6.2 Switching the unit on and off
Powering the unit on
1. Press and hold the
Power
button for
approximately 3 seconds to power up the unit.
* On display products after approximately 5
seconds the splash screen is displayed.
2. * Press
OK
to accept the Limitations of Use
disclaimer when it appears.
Note:
* Does not apply to
Wi-Fish
™
.
Powering the unit off
1. Press and hold the
Power
button for
approximately 6 seconds.
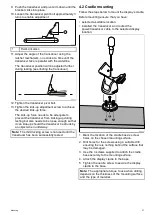
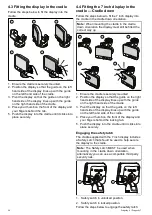
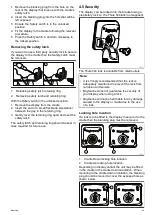
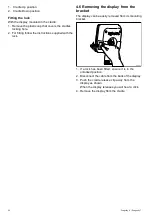
On display products a 3 second count-down timer
will be displayed.
To cancel the power off process, release the
power button before the unit powers off.
Note:
The unit will still draw a small amount of
power from the battery when powered off, if this
is a concern unplug the connector from the back
of the unit.
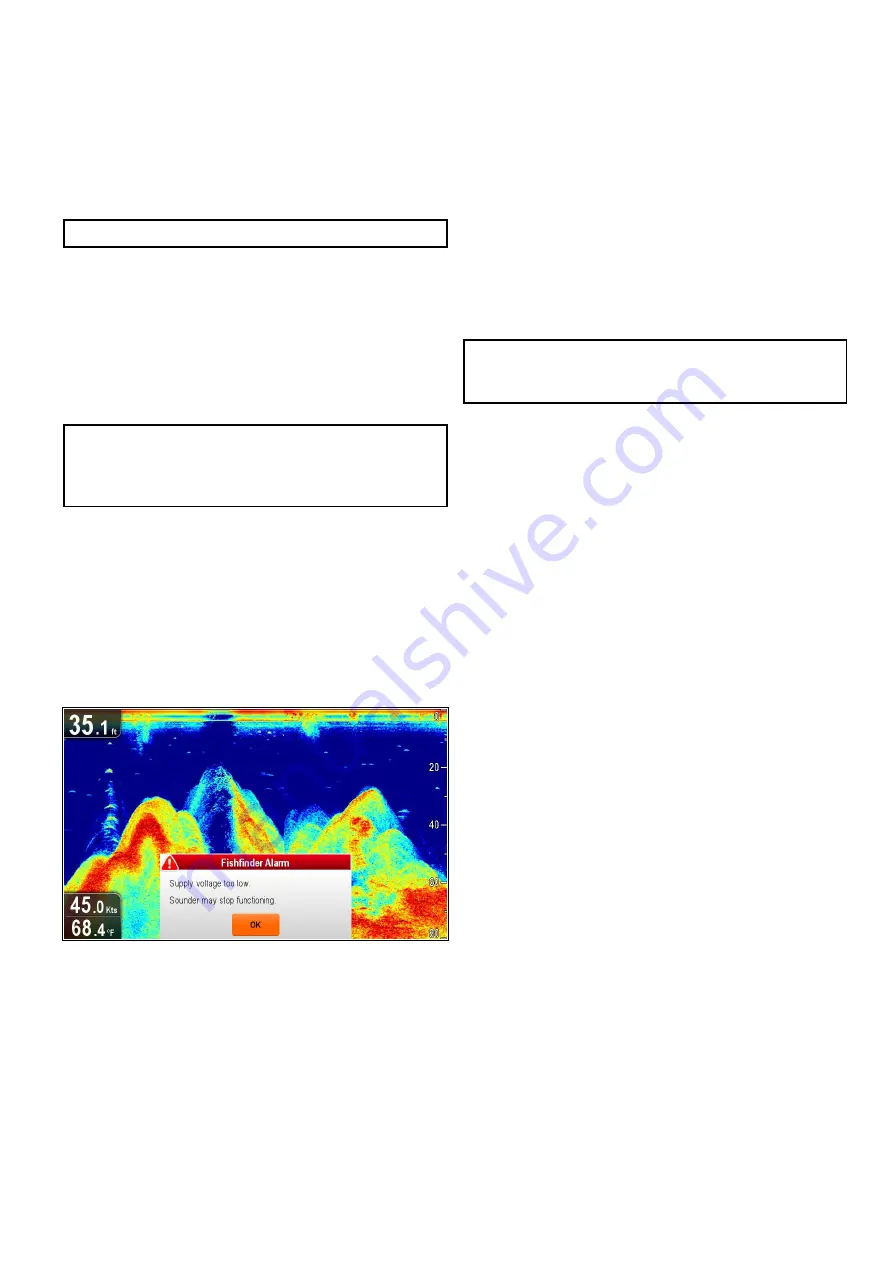
Low voltage warning
A warning message is displayed when the product’s
voltage supply drops below 10 V dc; the warning
will clear automatically when the voltage supply
raises above 11 V dc. The product may not operate
correctly when the supply voltage is outside of the
speciied operating voltage range. Please refer
to the product’s Technical speciication for power
speciication limits.
6.3 Initial set up procedures
Once your display has been installed and
commissioned, it is recommended that you go
through the initial startup wizard and tutorial.
Startup wizard
When you power-up the display for the irst time or
after a system reset, the Startup Wizard is displayed
after you have accepted the Limitations On Use
disclaimer. The Startup Wizard guides you through
the following initial settings:
1. Language selection.
2. Conigure units.
3. Finish / Tutorial.
Note:
These settings can also be set at any time
using the System Settings menu accessible from
the Tools & Settings page.
Additional tasks
In addition to the settings covered by the Wizard, it
is also recommended that the following tasks are
completed:
• Set your date and time preferences (if applicable).
• Set your transducer depth offset (if applicable).
• Familiarize yourself with the product using
Simulator Mode.
Setting time and date preferences
Units that include an internal GNSS
(GPS/GLONASS) receiver can timestamp
waypoints and tracks with the date and time in your
preferred format. Fishinder only products do not
include date and time settings.
From the
System Settings
menu:
1. Select
Time and Date Set-up
.
2. Use the
Date Format
,
Time Format
, and
Local
Time:
menu items to set your time and date
preferences.
Depth Offset
Depths are measured from the transducer to the sea
bed, but you can apply an offset value to the depth
data, so that the displayed depth reading represents
the depth to the sea bed from either the keel or the
waterline.
Before attempting to set a waterline or keel
offset, ind out the vertical separation between the
transducer and either the waterline or the bottom of
the keel on your vessel, as appropriate. Then set the
appropriate depth offset value.
Getting started
41
Содержание Dragonfly 6
Страница 2: ......
Страница 4: ......
Страница 24: ...24 Dragonly 6 Dragonly 7...
Страница 82: ...82 Dragonly 6 Dragonly 7...
Страница 96: ...96 Dragonly 6 Dragonly 7...
Страница 104: ...104 Dragonly 6 Dragonly 7...
Страница 108: ...108 Dragonly 6 Dragonly 7...
Страница 109: ...Chapter 13 Technical speciication Chapter contents 13 1 Technical speciication on page 110 Technical speciication 109...
Страница 112: ...112 Dragonly 6 Dragonly 7...
Страница 113: ...Chapter 14 Spares and accessories Chapter contents 14 1 Accessories on page 114 Spares and accessories 113...
Страница 115: ......
Страница 116: ......

