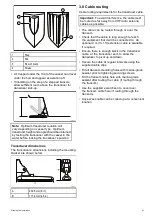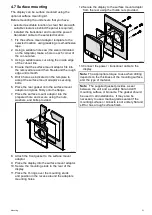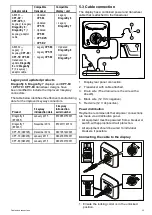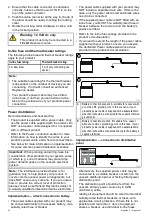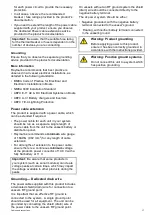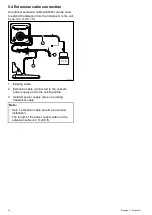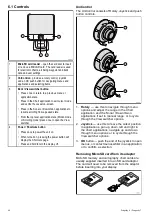
4.7 Surface mounting
The display can be surface mounted using the
optional surface mounting kit.
Before mounting the unit ensure that you have:
• selected a suitable location (a clear, lat area with
suitable clearance behind the panel is required).
• installed the transducer and routed the power /
transducer cable to the selected location.
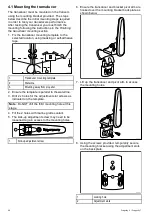
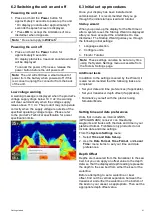
1. Fix the surface mount adaptor template to the
selected location, using masking or self-adhesive
tape.
2. Using a suitable hole saw (the size is indicated
on the template), make a hole in each corner of
the cut-out area.
3. Using a suitable saw, cut along the inside edge
of the cut-out line.
4. Ensure that the surface mount adaptor its into
the removed area and then ile around the rough
edge until smooth.
5. Drill 4 holes as indicated on the template to
accept the surface mount adaptor’s securing
bolts.
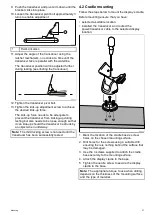
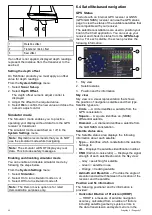
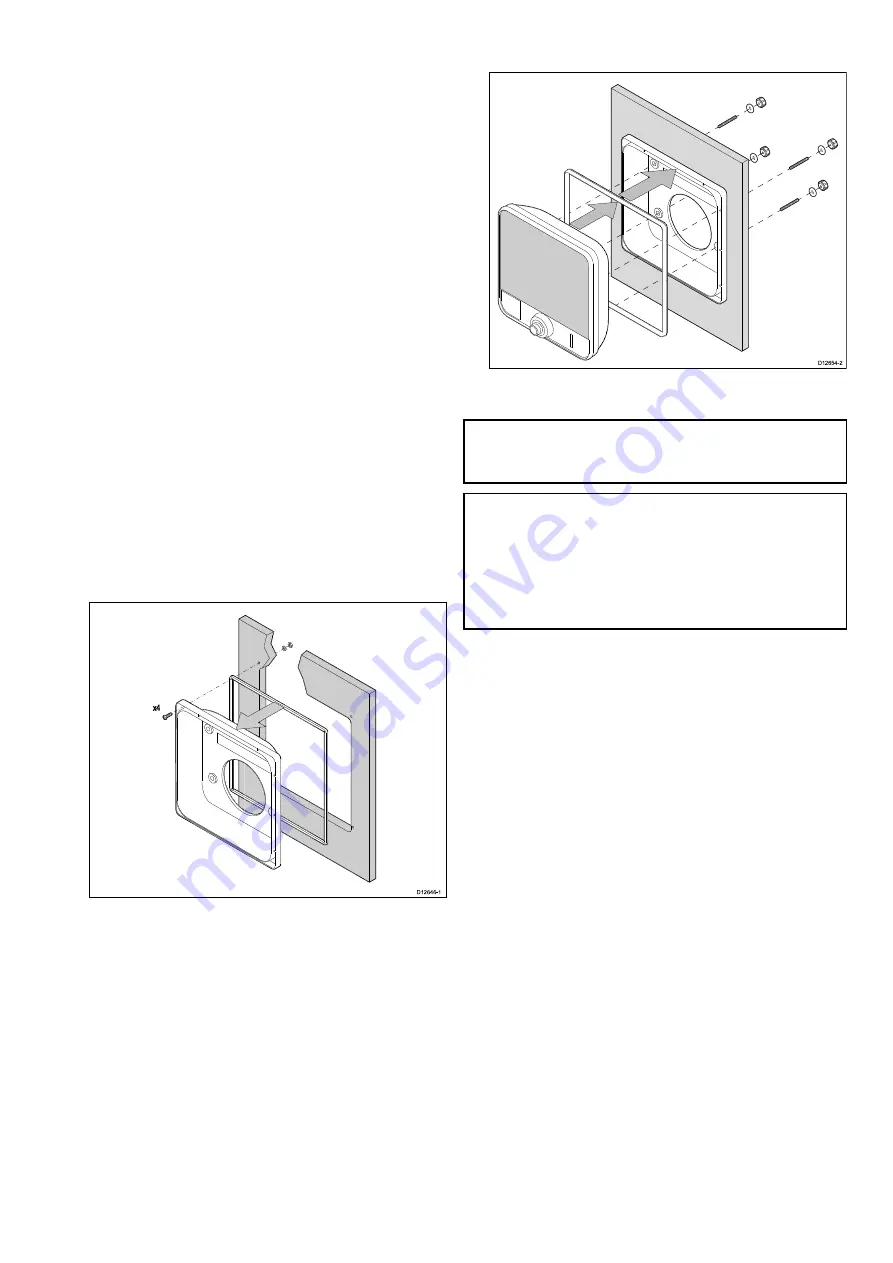
6. Place the rear gasket onto the surface mount
adaptor and press irmly onto the lange.
7. Place the surface mount adaptor into the
prepared hole and secure using the nuts,
washers, and bolts provided.
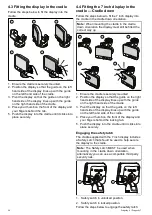
8. Attach the front gasket to the surface mount
adaptor.
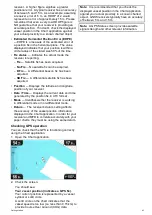
9. Place the display into the surface mount adaptor.
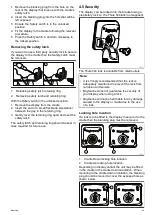
10.Secure the mounting studs to the rear of the
display.
11. Place the O-rings over the mounting studs
and position in the recess around the adaptors
mounting holes.
12.Secure the display to the surface mount adaptor
from the rear using the thumb nuts provided.
00
13.Connect the power / transducer cable to the
display.
Note:
The appropriate torque to use when drilling
depends on the thickness of the mounting surface
and the type of material.
Note:
The supplied gasket provides a seal
between the unit and a suitably lat and stiff
mounting surface or binnacle. The gasket should
be used in all installations. It may also be
necessary to use a marine-grade sealant if the
mounting surface or binnacle is not entirely lat and
stiff or has a rough surface inish.
Mounting
31
Содержание Dragonfly 6
Страница 2: ......
Страница 4: ......
Страница 24: ...24 Dragonly 6 Dragonly 7...
Страница 82: ...82 Dragonly 6 Dragonly 7...
Страница 96: ...96 Dragonly 6 Dragonly 7...
Страница 104: ...104 Dragonly 6 Dragonly 7...
Страница 108: ...108 Dragonly 6 Dragonly 7...
Страница 109: ...Chapter 13 Technical speciication Chapter contents 13 1 Technical speciication on page 110 Technical speciication 109...
Страница 112: ...112 Dragonly 6 Dragonly 7...
Страница 113: ...Chapter 14 Spares and accessories Chapter contents 14 1 Accessories on page 114 Spares and accessories 113...
Страница 115: ......
Страница 116: ......

