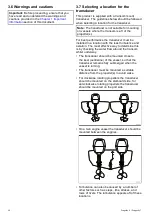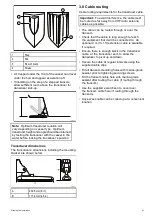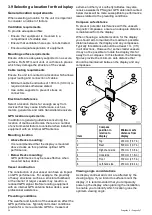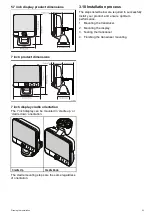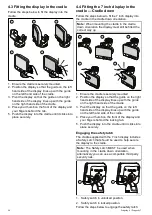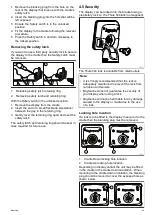
1. Remove the blanking plug from the hole on the
rear of the display that lines up with the cradle’s
safety latch.
2. Insert the blanking plug into the hole that will be
left exposed.
3. Ensure the Safety Latch is in the unlocked
position.
4. Fit the display to the cradle following the relevant
procedure.
5. Push the Safety Latch in and turn clockwise to
the locked position.
Removing the safety latch
If you want to use a third party security lock to secure
the display to the cradle then the Safety Latch must
be removed.
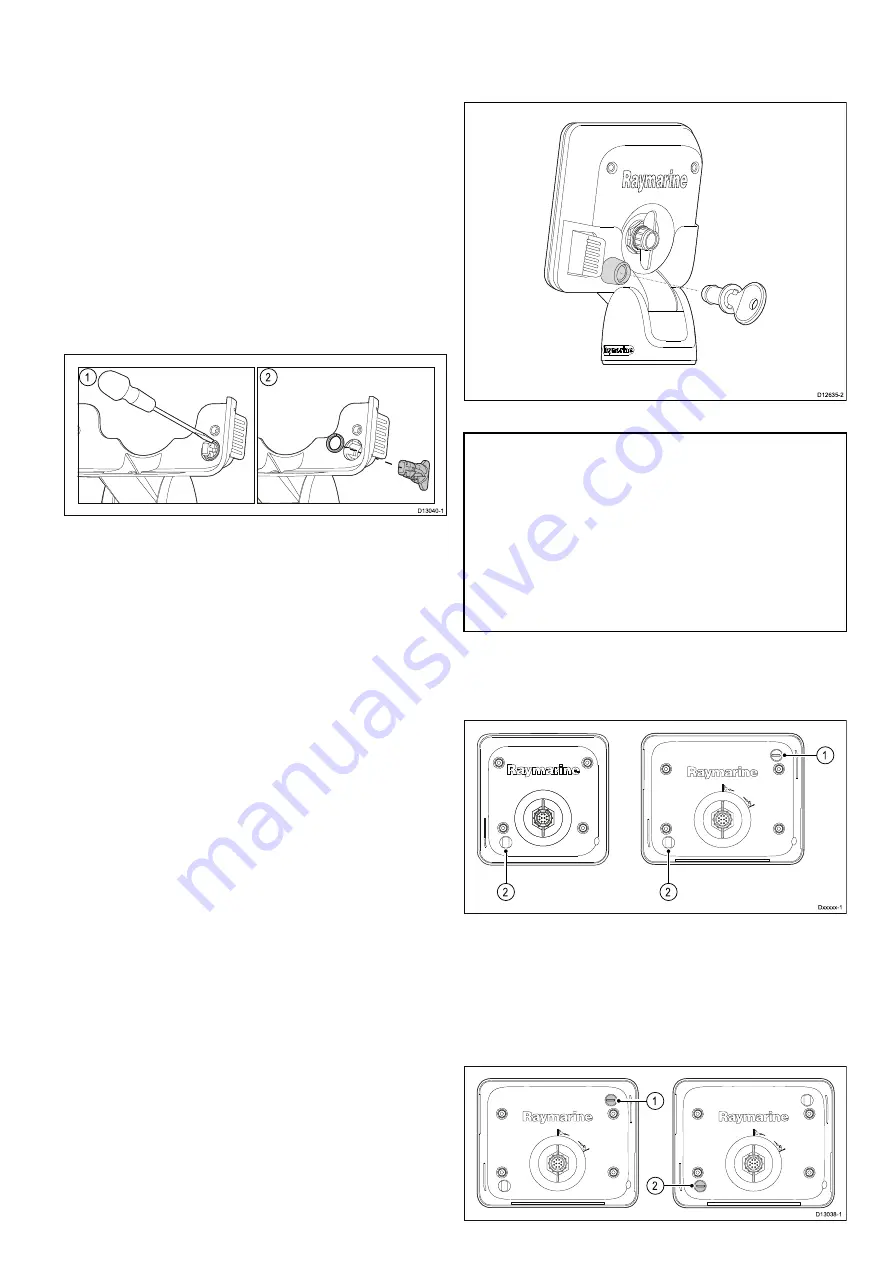
1. Releasing safety latch retaining ring.
2. Removing safety latch and retaining ring.
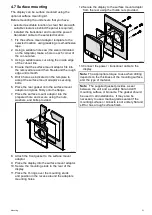
With the Safety Latch in the unlocked position:
1. Remove the display from the cradle.
2. Insert the end of a small lat blade screwdriver
between the gap in the retaining ring.
3. Gently lever the retaining ring apart and over the
safety latch.
The safety latch and retaining ring should be kept in
case required for future use.
4.5 Security
The display can be locked into the bracket using a
proprietary lock i.e. the Thule 544 lock (not supplied).
The Thule 544 lock is available from retail outlets.
Note:
• It is strongly recommended that the lock is
adequately maintained to prevent the lock from
corrosion and seizure.
• Raymarine does not guarantee the security of
your display when using a lock.
• Raymarine will not be held liable for any damage
caused to the display or cradle due to the use
of a lock.
Locking hole location
If a lock is to be itted to the display to secure it to the
cradle then the blanking plug must be removed.
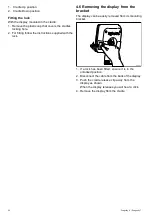
1. Cradle Down locking hole location.
2. Cradle Up locking hole location.
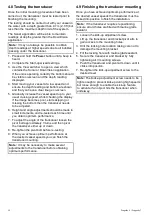
Depending on display variant the unit may be itted
in the cradle in the cradle down orientation. When
mounting in the cradle down orientation, the blanking
plug should be moved to cover the exposed hole as
shown below.
Mounting
29
Содержание Dragonfly 6
Страница 2: ......
Страница 4: ......
Страница 24: ...24 Dragonly 6 Dragonly 7...
Страница 82: ...82 Dragonly 6 Dragonly 7...
Страница 96: ...96 Dragonly 6 Dragonly 7...
Страница 104: ...104 Dragonly 6 Dragonly 7...
Страница 108: ...108 Dragonly 6 Dragonly 7...
Страница 109: ...Chapter 13 Technical speciication Chapter contents 13 1 Technical speciication on page 110 Technical speciication 109...
Страница 112: ...112 Dragonly 6 Dragonly 7...
Страница 113: ...Chapter 14 Spares and accessories Chapter contents 14 1 Accessories on page 114 Spares and accessories 113...
Страница 115: ......
Страница 116: ......


