12
8.
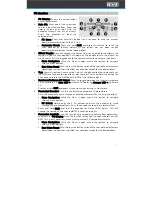
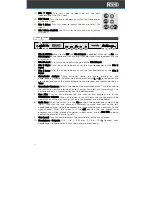
FX Assign Buttons: Press these buttons to assign which channel
will receive effects from the associated toggle: Decks 1 or 3 (Left
side) or Decks 2 or 4 (Right side).
Note: FX assignments can only be changed when the effect is
inactive.
9.
FX Depth: Turn this knob to adjust the “wet-dry” mix of the effects
on the corresponding deck. For some effects, this will also change
the value of parameters that are also controlled with the Depth
knob.
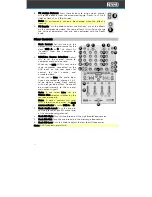
Mixer Controls
1.
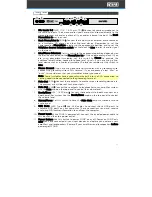
Deck Source: Set this knob to the
desired MIDI and audio source for the
deck, USB A or B.
This allows DJ
“handoffs” from one computer to
another.
2.
USB/Line Source Selection: Adjust
this to set the channel source to
computer audio or line audio.
When set to USB, MIDI is sent to the
same computer connected to the
USB port on the rear panel for
control for that channel and
associated deck.
When set to Line, the audio input
signals are routed to channels 3 & 4
to be digitally mixed. Deck control
will no longer be in effect. Audio will
be mixed internally to the cue and
main output signals.
Note: If you select Line, set the
Phono/Line selector switches on the
rear panel properly.
Note: A deck’s controls will send
MIDI information only when its deck
source selector is set to USB A or B.
3.
Deck Audio Level: Turn this knob to
set the pre-fader, pre-EQ audio level
of the corresponding channel.
4.
Deck EQ High: Turn this knob to adjust the high (treble) frequencies.
5.
Deck EQ Mid: Turn this knob to adjust the mid-range frequencies.
6.
Deck EQ Low: Turn this knob to adjust the low (bass) frequencies.
Note: All EQ controls are full-kill.
14
1
7
8
9
10
11
1
2
2
13
15
17
19
20
21
22
4
6
5
12
3
8
9
Содержание Four
Страница 1: ...User Guide Powered by Serato DJ Pro...
Страница 38: ...Manual Version 1 0...


