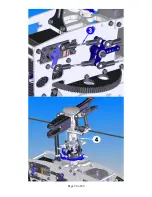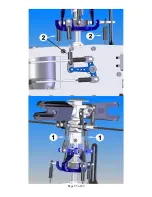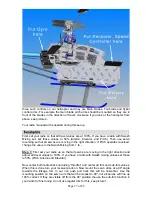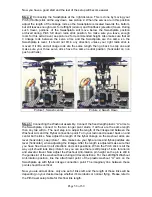
First adjust the servo arm position like you did with the swash, make sure your trim and
sub-trim values are centered. Attach the servo arm so it's 90
o
to the tail pushrod
(vertical). Now adjust your two plastic ball ends, for the push rod, so they are screwed on
about half way onto the threaded pushrod guide end piece. This will allow you have
maximum amount of adjustment available in both directions. Use the outer holes on the
tail blade grips for the ball link attachments. When this is done cut the carbon pushrod to
a length that will achieve about 3
o
of positive pith on your tail blades, when the servo is
in its neutral (vertical) position. Then glue the two end pieces on to the pushrod with CA
glue, don't forget to insert the pushrod guides first.
When this is done you should have 3
o
of positive tail blade pitch. The tail should spin
counter clockwise looking at the right side of the helicopter with the nose to your right
and tail to your left. See pictures 5-8.
Note: Please consult the instruction for your Gyro for setting the overall travel and limits
to ensure proper operation and travel of Tail Pitch Slider.
The throttle cure will be affected by several conditions; some of them are, motor choice,
blades choice, elevation, temperature, helicopter weight and type of helicopter. So in
order to explain this I will explain what you are looking for. Your goal is to achieve a
constant head speed once the helicopter is airborne. If you ad pitch (climb) you need to
ad power (throttle) to compensate for the added resistance a higher blade pitch creates.
If during climb your head speed drops, then you need to add throttle to that particular
stick position, and reversed if you have an increase in rpm. If during max climb out you
experience an increase in head speed then you need to give the blades a higher pitch,
do not try to adjust the max climb rpm by reducing throttle. There are other ways of
achieving this by using cyclic mixing, however we will stay away from this for now.
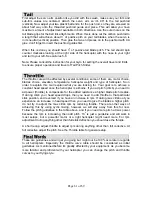
Follow the pitch guidelines in the table above, and if you need more pitch at max power
because the rpm is increasing, then add pitch. 10
o
is just a guideline and will work in
most setups, but a powerful motor or a light helicopter might need more. For rpm
adjustment during anything other than full stick deflection you should use the throttle.
A short recap, adjust throttle to adjust rpm during anything other than full collective. At
full collective adjust the pitch. See the Throttle table for general setup.
These are guidelines and will get you going but might not be 100% accurate in regards
to all helicopters. Especially the throttle curve table should be considered as initial
guidelines. As mentioned before it's greatly affected by your equipment. As you become
more familiar and proficient with your helicopter you can change the pitch and throttle
curves to your flying style.
Page 61 of 69
Содержание Little Sweetie 10 Pro
Страница 1: ...Page 1 of 69...
Страница 7: ...Page 7 of 69 REQUIRED TOOLS Dremel Tools and Sandpapers would be helpful for building...
Страница 8: ...HARDWARE OPTIONAL ACCESSORIES GLUES AND THREAD LOCK COMPOUNDS RADIO MOUNTING ACCESSORIES Page 8 of 69...
Страница 13: ...Page 13 of 69 ASSEMBLY SECTION 1 REAR FRAMES Bag 1...
Страница 17: ...Page 17 of 69 SECTION 2 MAIN FRAMES Bag 2...
Страница 25: ...Page 25 of 69...
Страница 27: ...Page 27 of 69...
Страница 28: ...Page 28 of 69...
Страница 37: ...Page 37 of 69...
Страница 42: ...SECTION 5 A ROTOR HEAD for Little Quickie 10 Bag 5 Page 42 of 69...
Страница 44: ...Page 44 of 69...
Страница 53: ...Page 53 of 69...
Страница 54: ...Page 54 of 69...
Страница 55: ...Page 55 of 69...
Страница 59: ...Picture 3 Swash Up Picture 4 Head Picture 5 Tail Center Picture 6 Tail Positive Thrust Page 59 of 69...


