Quasar CF-3211/CF-4221 User and Installation Guide
102
i)
Select
Static IP
(preferable for security and Latitude users). In the IP Address,
Gateway, and Netmask, enter the respective LAN/VLAN (optional DNS) values.
ii)
Click
Apply
. When prompted with instructions to search again after one minute,
click
OK
.
iii)
After one minute, click
Device Search
. The communication settings should now
be changed and ready to install the camera on the network. Access it either via
the browser-based viewer or Latitude NVMS.
7.
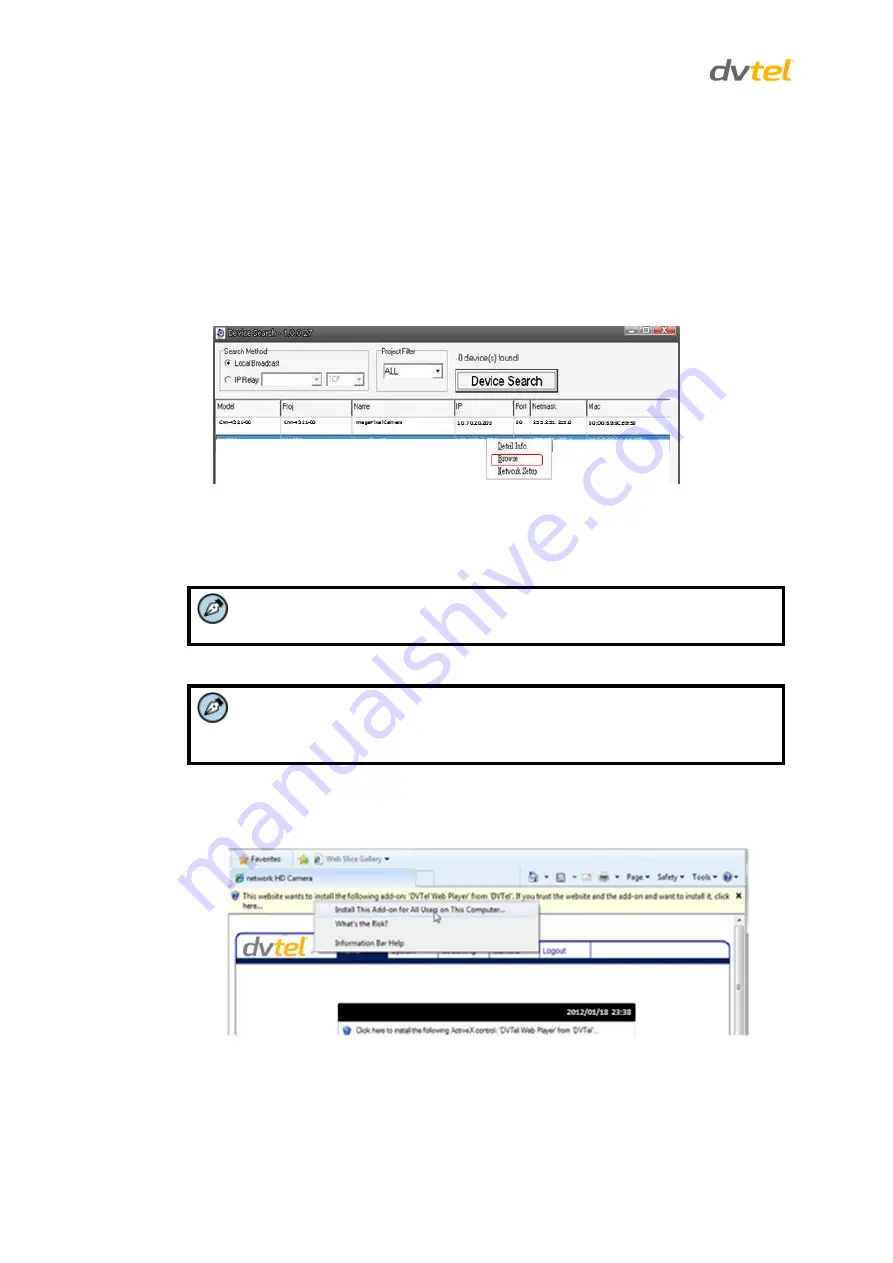
Right-click and select
Browse
to directly access the camera via a web browser. The
default web browser opens and requests access to the camera IP address.
Figure 92: Device Search Application – Select Browse
8.
When the web browser contacts the camera IP, do the following:
a)
Log in using the default user name
Admin
and password
1234
.
Note:
ID and password are case-sensitive.
Note:
It is strongly advised that administrator’s password be altered for security
reasons.
b)
If the Information Bar (just below the URL bar) prompts for permission to install the
ActiveX Control for displaying video in the browser (see the figure below), right-click
on the Information Bar. Select Install ActiveX Control to allow the installation.
Figure 93: Device Search Application – Select Install ActiveX Control


