


Quantum PX506 and PX510 Unpacking and Installation Instructions
Document 81-81338-01 D01
June 2005
Installing Additional Libraries
35
Setting Network Information
0
To view or edit the network information:
1
From the
Setup
screen, use the up and down arrows to highlight
Network
and press
Enter
.
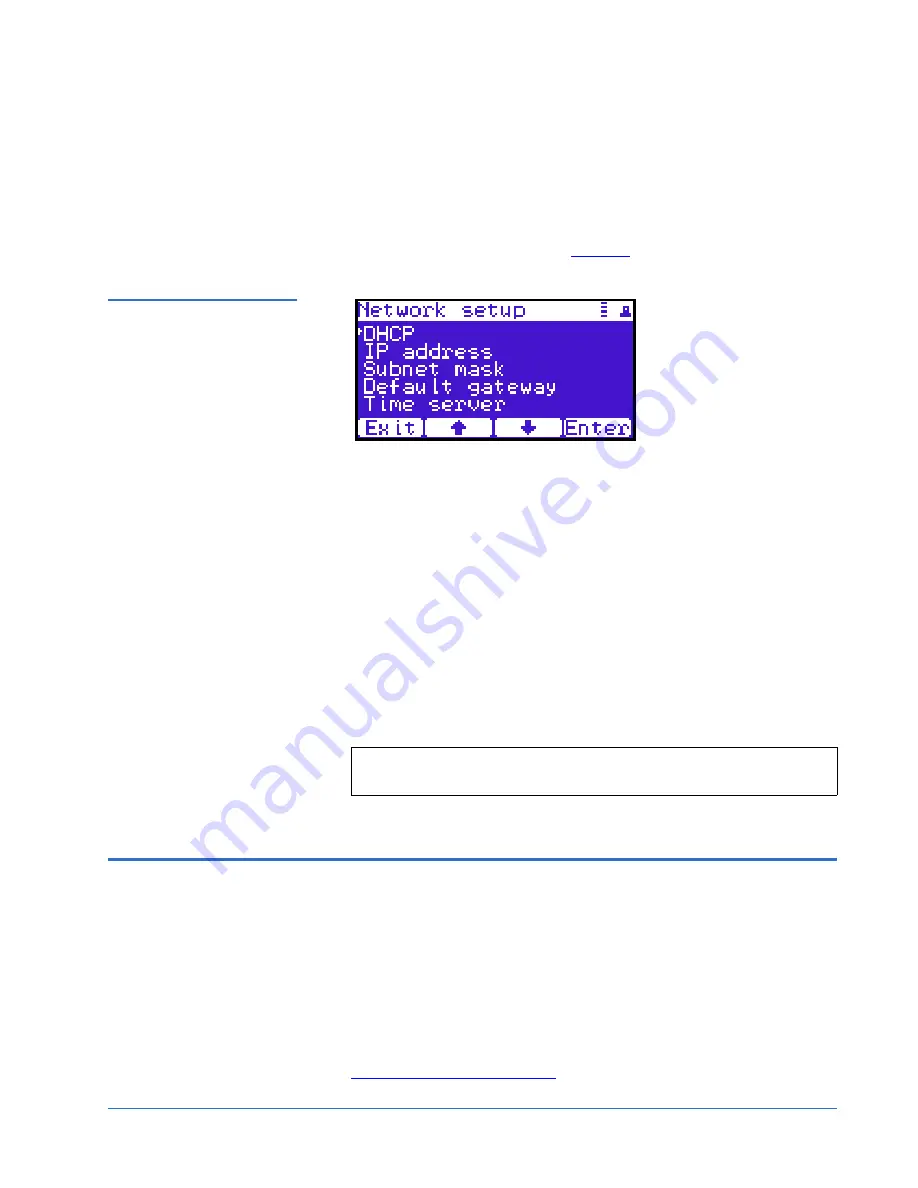
The
Network
screen displays (see
figure 29
):
Figure 30 Network Screen
The
Network
screen allows you to view or edit the following network
settings:
• DHCP
• IP address
• Subnet mask
• Default gateway
2
Use the up and down arrows to select the network setting you wish to
view or edit and press
Enter
.
When you are finished viewing/editing the network information, press
Back
to return to the
Setup
screen. The library is initially configured and
ready for use. Refer to the
PX500 Series User’s Guide
(PN 81-81290) for
information on diagnostic tests.
Installing Additional Libraries
0
The PX506 and PX510 library modules can be used as stand-alone libraries, or
combined with other PX500 Series library modules in a standard 19-inch rack
to form a larger library system (called a multiple library stack). The multiple
library stack appears as a single large capacity library to the host and can pass
cartridges through the library.
Installing additional libraries and configuring for a multiple library stack
consists of the following steps:
•
Removing the FlexLink Covers
Note:
Close the service call and register the installation with
Quantum customer support.


