34
HD1049 installation and user manual
(2) Set the recording time pressing the buttons.
①
Day
②
Start Time
③
End Time
④
Channel
(3) Press OK button when finished setting the recording time.
(4) Repeat the above steps to set up more recording times.
(5) Press APPLY to save settings.
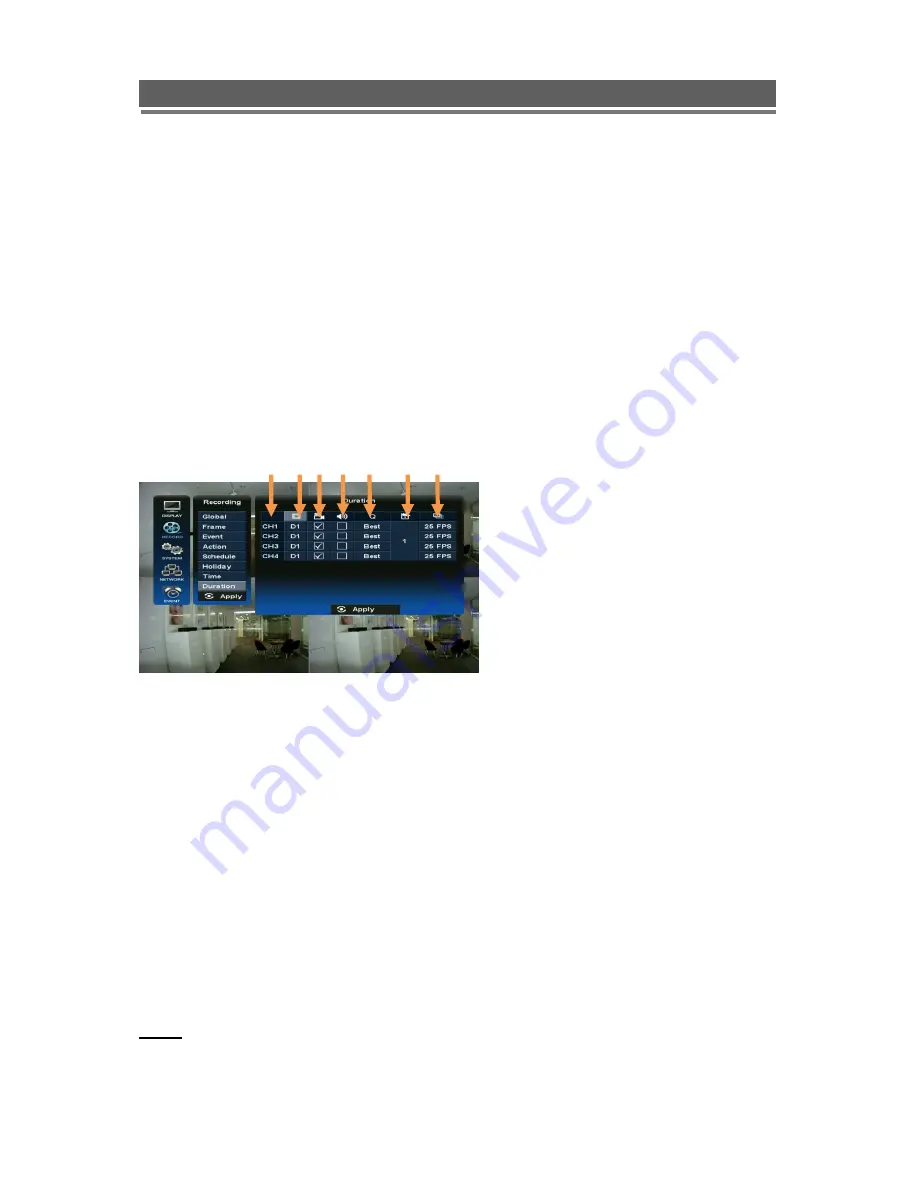
2-8. Duration
The Duration mode allows the user to set the number of days that they require to record for.
The resolution; whether cameras are active or not and whether audio is being recorded can
each be set per channel. The user then sets the number of days of recording required, then
the E4000 will automatically calculate best record rate to achieve these settings
①
Channel
▲
Channel 1~8
▼
Channel 9~16
②
Resolution
Each channel can be individually configured for record rate. (CIF/2CIF/D1)
③
Recording On/Off
Specify whether to record a video or not for each camera.
④
Audio recording On/Off
Specify whether to record an audio or not for each camera.
⑤
Quality
Specify the record quality for each camera. (Good/Standard/Best)
⑥
Duration
Specify how many days DVR will record on the HDD.
⑦
Recording FPS
It is changed automatically by the duration value.
NOTE:
If the duration recording is in set, all the frame menu settings will be returned to the
factory default.
① ②③④ ⑤ ⑥ ⑦
Содержание HD1049
Страница 1: ...HD1049 Installation and User manual HD1049 HD SDI Digital Video Recorder...
Страница 2: ...2 HD1049 installation and user manual This page is intentionally left blank...
Страница 4: ...4 HD1049 installation and user manual This page is intentionally left blank...
Страница 55: ...55 HD1049 installation and user manual Explanation of Screen Buttons...
Страница 84: ...84 HD1049 installation and user manual 3 SENSOR Install Processing Please refer the below block diagram...
Страница 89: ...89 HD1049 installation and user manual Subject to change without notice QTUM...


