27
HD1049 installation and user manual
Password Entry
The password entry display can be set to time out after a period of time.
Blending
The transparency of the menu window can be set between 0 and 6, 0 is solid, 6 being very
transparnt.
HDD
The HDD display on the status bar can be changed to HDD (recordable capacity) or Duration
(recordable time).
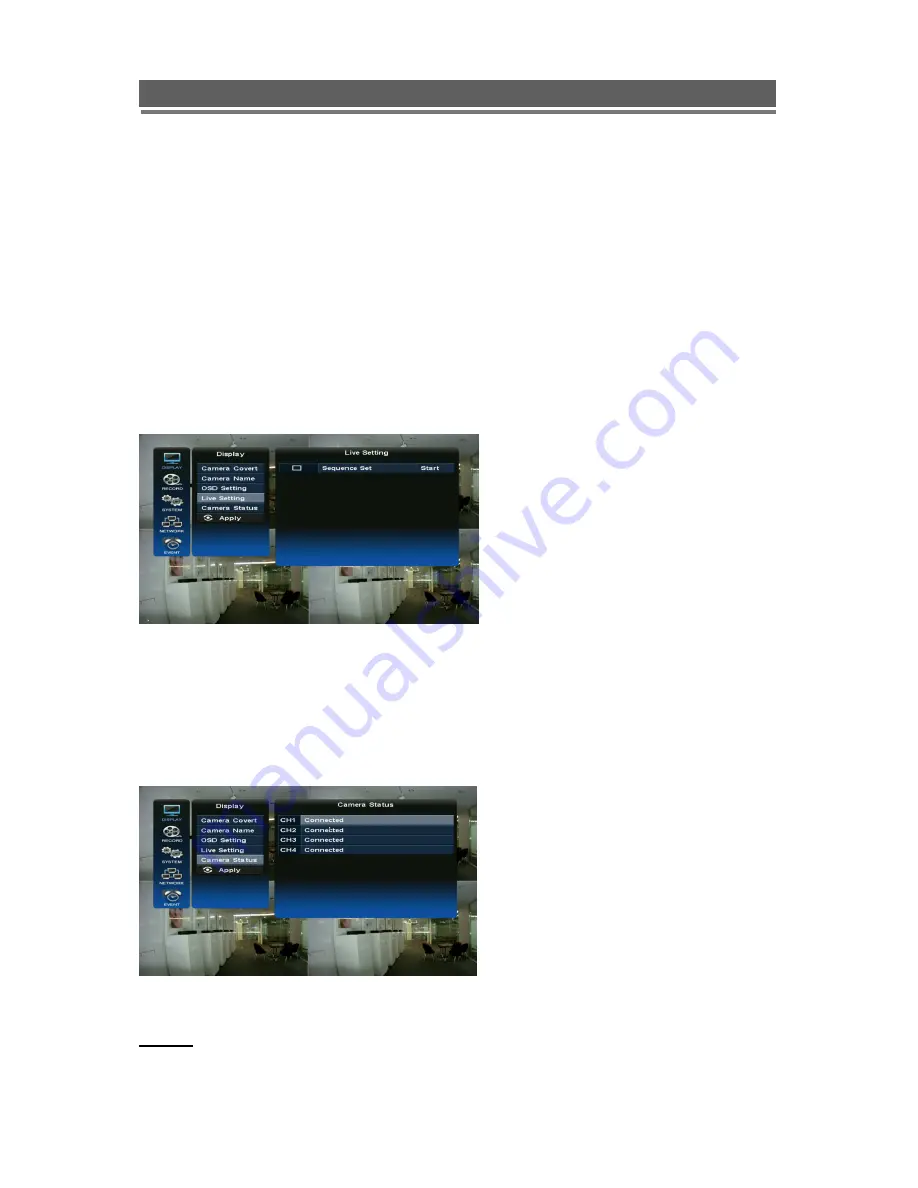
1-4. Live Setting
The live settings are used to set up a
sequence of full screen camera images.
The display will change to allow individual
sequence times to be set per channel.
Use the select key to turn the cell and
then the Up and Down keys to change
the values.
Use the right button to move to “Start”
press select, the main monitor out put will
display this sequence.
Alternatively use the mouse to select the sequence required then select the duration.
Click “Start” to turn the sequence on.
To interrupt the sequence, simply select any camera.
1-5. Camera Status
APPLY: In order to save any modified setting value, press “SEL” key when the
“APPLY” section is highlighted. This action can be carried out within each Sub Menu.
Select which cameras will be connected.
Any cameras not connected will not be able
to have any record rates set against them in
the Record set up tables.
Содержание HD1049
Страница 1: ...HD1049 Installation and User manual HD1049 HD SDI Digital Video Recorder...
Страница 2: ...2 HD1049 installation and user manual This page is intentionally left blank...
Страница 4: ...4 HD1049 installation and user manual This page is intentionally left blank...
Страница 55: ...55 HD1049 installation and user manual Explanation of Screen Buttons...
Страница 84: ...84 HD1049 installation and user manual 3 SENSOR Install Processing Please refer the below block diagram...
Страница 89: ...89 HD1049 installation and user manual Subject to change without notice QTUM...


