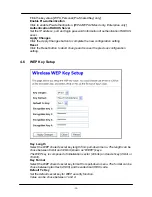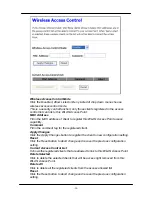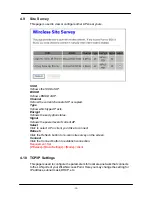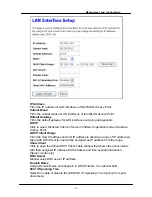
Management and configuration
-37-
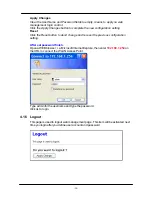
Apply Change
Click the Apply Change button, Then click OK button to logout.
5
Troubleshooting
This chapter provides solutions to problems that can occur during the installation and
operation of the Access Point. We cover various aspects of the network including
network adapters. (The examples below are illustrated in Windows XP. If you have
another operating system, these solutions will still apply, although the appearance on
your computer screen may differ.)
Note: It is recommended that you use an Ethernet connection to configure the
Access Point.
1.The computer used to configure the Access Point can not access the configuration
menu.
·
Check that the LAN LED on the Access Point is ON. If the LED is not ON, check
that the cable for the Ethernet connection is securely inserted.
·
Check that the Ethernet adapter is working properly. Please see item 3 (Check
that the drivers for the network adapters are installed properly) in this
Troubleshooting section to check that the drivers are loaded properly.
·
Check that the IP address is in the same range and subnet as the Access Point.
Please see Checking the IP Address in Windows XP in the Networking Basics
section of this manual.
Note: The IP address of the Access Point is 192.168.1.254. All the computers on
the network must have a unique IP address in the same range, e.g., 192.168.1.x.
Any computers that have identical IP addresses will not be visible on the network.
They must all have the same subnet mask, e.g., 255.255.255.0
·
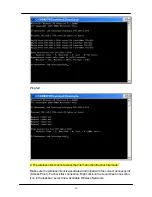
Do a Ping test to make sure that the Access Point is responding. Go to
Start>Run>Type Command>Type ping 192.168.1.254 A successful ping will
show four replies.
Содержание QP-WO259GHP
Страница 1: ...www qpcom com User s Manual QP WO259GHP Outdoor High Power 54Mbps Wireless Access Pointr...
Страница 7: ...Installation 7 WPS Button Reset Button SMA antenna connector...
Страница 9: ...Installation 9 Step4 Installtheantenna Make sure the Antenna is well installed...
Страница 10: ...10 Step5 Installtheupperhousing Make sure the housing is well installed...
Страница 11: ...Installation 11 Step6 Fasten cables by the black ring Move and fasten cables to the hole with that black ring...
Страница 12: ...12 Step7 InstallPOEInjector DC Insertadapter...
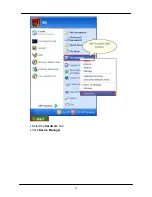
Страница 40: ...40 Select the Hardware Tab Click Device Manager...
Страница 42: ...42 Look under Device Status to check that the device is working properly Click OK...


