


Software configuration
-15-
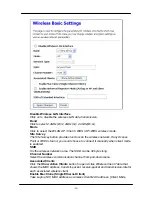
Default IP Address:
192.168.1.254
Default IP subnet mask:
255.255.255.0
WEB login User Name:
<empty>
WEB login Password:
<empty>
3.1
Connect to the WLAN Access Point
This product can be set up using any current web browser, i.e., Internet
Explorer 6 or Netscape Navigator 6.2.3.
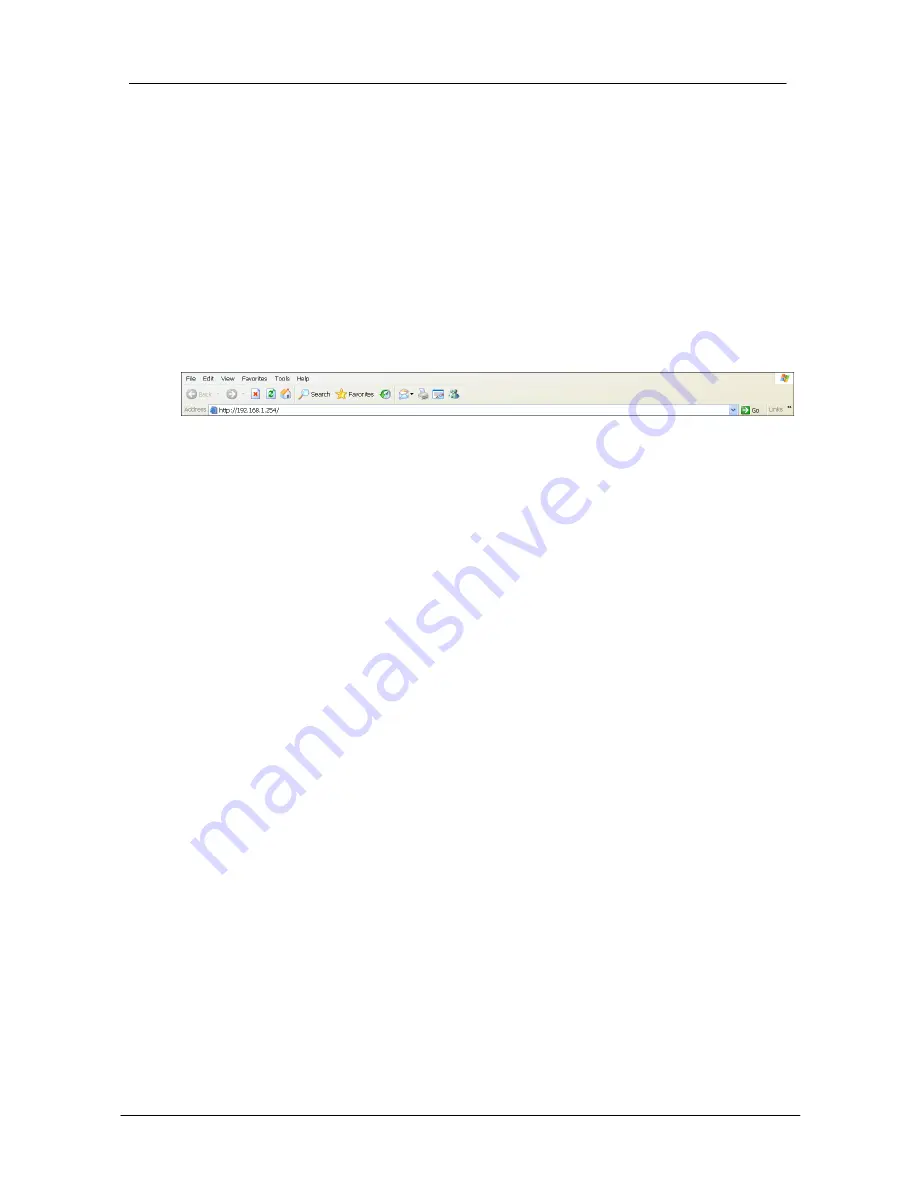
Open a WEB browser, i.e. Microsoft Internet Explore, then enter
192.168.1.254
on
the URL to connect the WLAN Access Point.
3.2
Prepare your PC to configure the WLAN Access Point
For OS of Microsoft Windows 95/ 98/ Me:
1. Click the Start button and select Settings, then click Control Panel. The Control
Panel window will appear.
Note: Windows Me users may not see the Network control panel. If so, select View
all Control Panel options on the left side of the window
2. Move mouse and double-click the right button on Network icon. The Network
window will appear.
3. Check the installed list of Network Components. If TCP/IP is not installed, click the
Add button to install it; otherwise go to step 6.
4. Select Protocol in the Network Component Type dialog box and click Add button.
5. Select TCP/IP in Microsoft of Select Network Protocol dialog box then click OK
button to install the TCP/IP protocol, it may need the Microsoft Windows CD to
complete the installation. Close and go back to Network dialog box after the TCP/IP
installation.
6. Select TCP/IP and click the properties button on the Network dialog box.
7. Select Specify an IP address and type in values as following example.
·
IP Address: 192.168.1.1, any IP address within 192.168.1.1 to 192.168.1.253 is
good to connect the Wireless LAN Access Point.
·
IP Subnet Mask: 255.255.255.0
8. Click OK and reboot your PC after completes the IP parameters setting.
For OS of Microsoft Windows 2000, XP:
1. Click the Start button and select Settings, then click Control Panel. The Control
Panel window will appear.
2. Move mouse and double-click the right button on Network and Dial-up
Connections icon. Move mouse and double-click the Local Area Connection icon.
The Local Area Connection window will appear. Click Properties button in the Local
Area Connection window.
3. Check the installed list of Network Components. If TCP/IP is not installed, click the
Add button to install it; otherwise go to step 6.
4. Select Protocol in the Network Component Type dialog box and click Add button.
Содержание QP-WO259GHP
Страница 1: ...www qpcom com User s Manual QP WO259GHP Outdoor High Power 54Mbps Wireless Access Pointr...
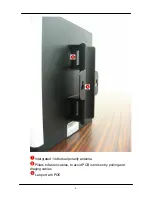
Страница 7: ...Installation 7 WPS Button Reset Button SMA antenna connector...
Страница 9: ...Installation 9 Step4 Installtheantenna Make sure the Antenna is well installed...
Страница 10: ...10 Step5 Installtheupperhousing Make sure the housing is well installed...
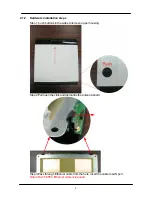
Страница 11: ...Installation 11 Step6 Fasten cables by the black ring Move and fasten cables to the hole with that black ring...
Страница 12: ...12 Step7 InstallPOEInjector DC Insertadapter...
Страница 40: ...40 Select the Hardware Tab Click Device Manager...
Страница 42: ...42 Look under Device Status to check that the device is working properly Click OK...


