NAVIGATION AND CONTROLS
QC40198/QC40196 User Manual
44 |
P a g e
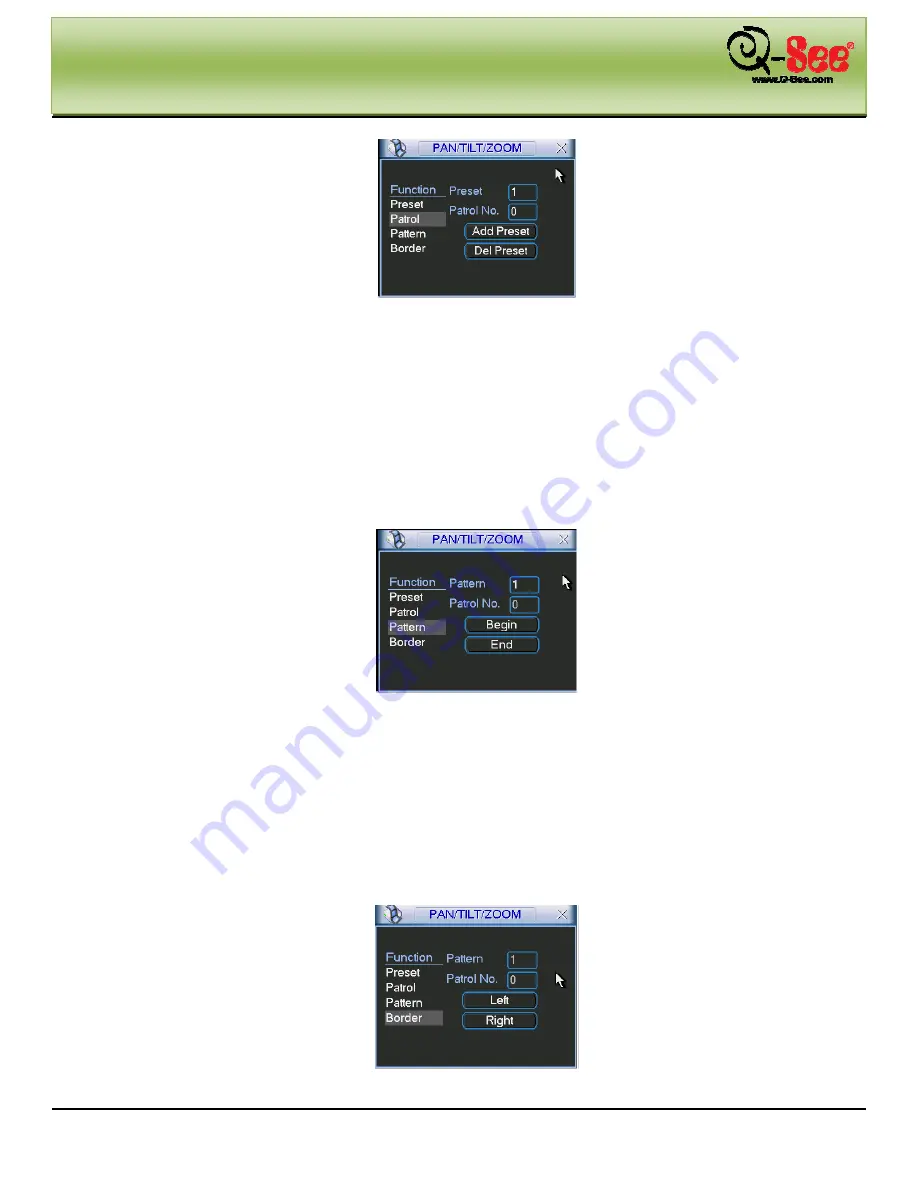
Figure 4-42
4.9.4
Activate Patrol (tour)
As shown in Figure 4-42,
H341H341
input patrol (tour) number in the blank and click patrol button
4.9.5
Pattern Setup
As shown in Figure 4-41, click pattern button and then click “begin” button. This will generate an interface as shown
in Figure 4-43. Then you can go to the screen illustrated in Figure 4-36 to modify zoom, focus, and iris.
Go back to the screen illustrated in Figure 4-43 and click “end” button and save your changes as any pattern
number you wish so that you can easily utilize them in the future.
Figure 4-43
4.9.6
Activate Pattern Function
As shown in Figure 4-43, input reference number in the Pattern field.
4.9.7
Auto Scan Setup
As shown in Figure 4-43, the border button to get to the interface shown in Figure 4-44. Choose from the options of
Left or Right. Set the Left and Right border limits by going back to the screen illustrated in Figure 4-36.
Figure 4-44


