•
Chick on the “Add” button to add new cues and on the
“Remove” button to remove existing ones. Once the cues are
created, click on the “Ok” button to return to the previous
window.
•
IMPORTANT
: When setting the input cues, the “Name” field
must have the same character string as the “Value” field.
•
Valid message strings are listed in
.
10.
Click on the “Save” button to store all the settings for the
“Devices” screen.
11.
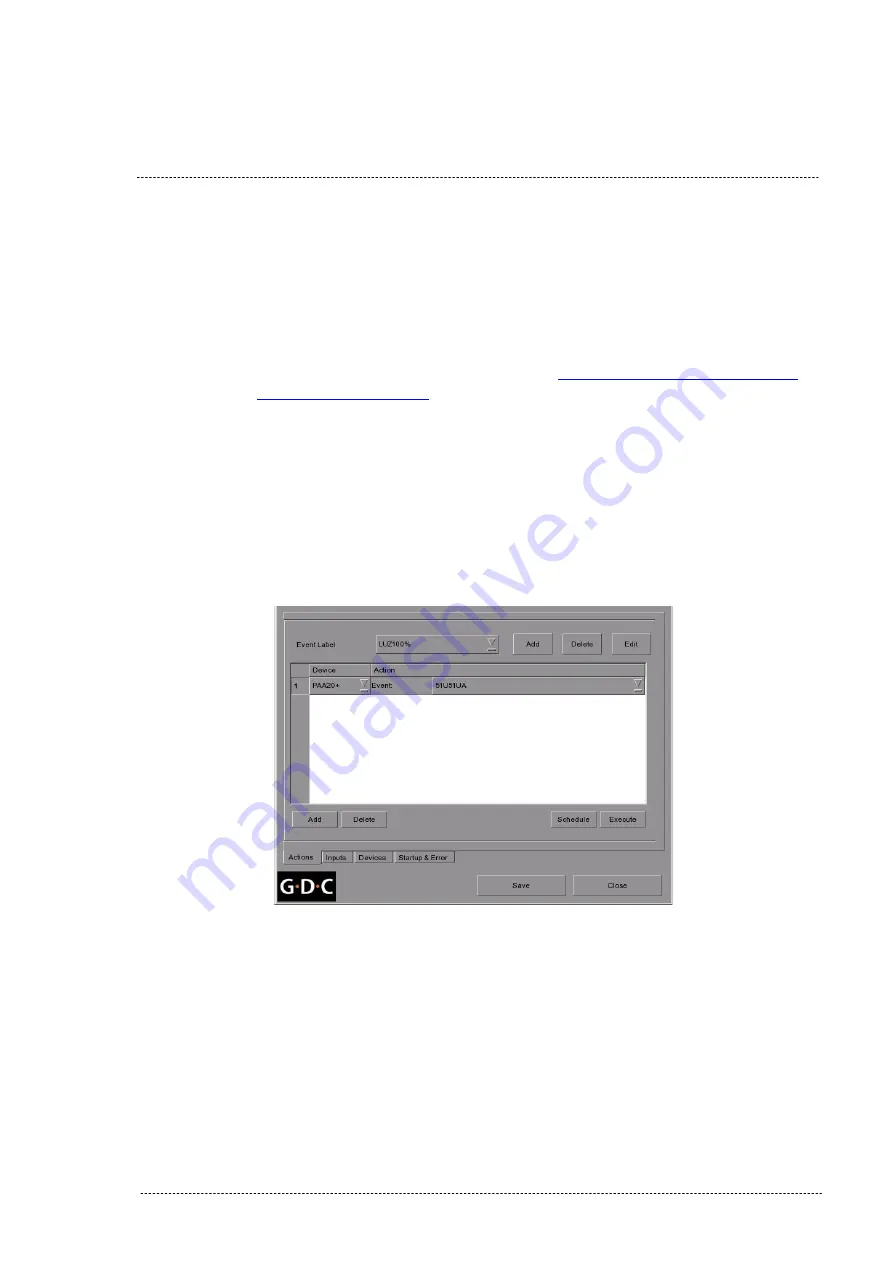
Once the PAA20+ is added in the GDC server, it can be used to
create actions or inputs in the server automation system, in the same
way it could be done with other automation devices. You can see an
example of a PAA20+ action in the
Figure 8.5.1L
.
Figure 8.5.1L
INSTALLATION MANUAL: PAA20+ V 2.0 (10/2021)
98
Содержание PAA20+
Страница 1: ...INSTALLATION MANUAL PAA20 V 2 0 ...
Страница 40: ...Figure 7 2 7D INSTALLATION MANUAL PAA20 V 2 0 10 2021 40 Figure 7 2 7E Figure 7 2 7F ...
Страница 110: ...9 2 OUTPUT 2 CONNECTOR Figure 9 2A Picture 9 2B INSTALLATION MANUAL PAA20 V 2 0 10 2021 110 ...
Страница 111: ...9 3 OUTPUT 3 CONNECTOR Figure 9 3A Figure 9 3B INSTALLATION MANUAL PAA20 V 2 0 10 2021 111 ...
Страница 112: ...9 4 INPUT CONNECTOR Figure 9 4A Picture 9 4B INSTALLATION MANUAL PAA20 V 2 0 10 2021 112 ...
Страница 114: ...9 5 2 INPUT WITH A POSITIVE COMMON Picture 9 5 2A INSTALLATION MANUAL PAA20 V 2 0 10 2021 114 ...


