


Setup
Page 32 of 69
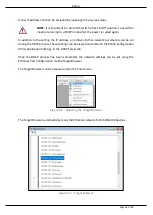
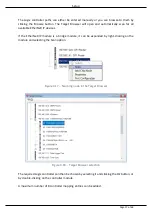
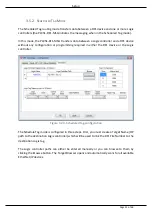
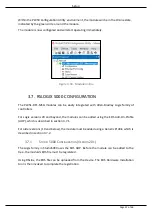
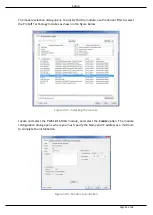
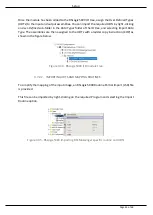
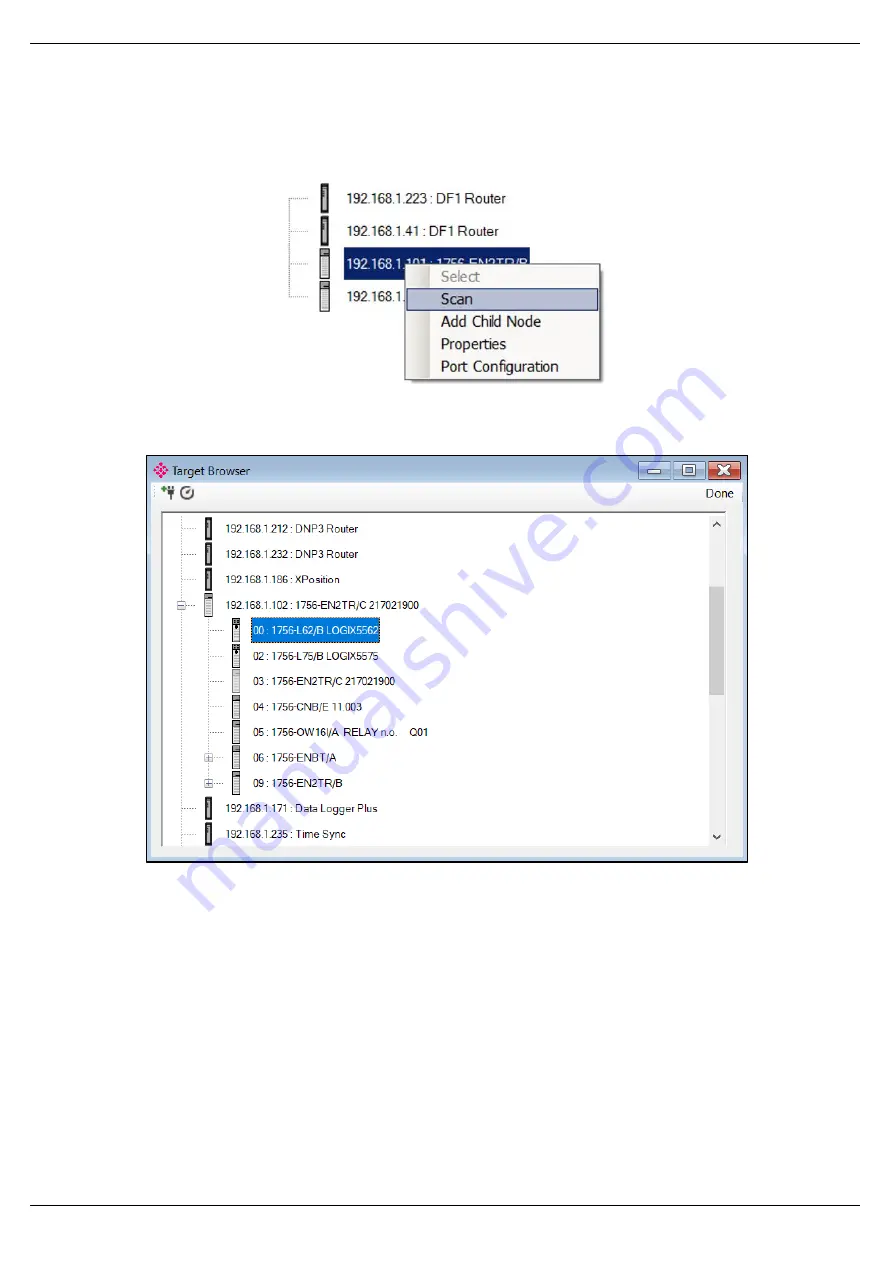
If the EtherNet/IP module is a bridge module, it can be expanded by right-clicking on the
module and selecting the Scan option.
Figure 3.25 - Scanning node in the Target Browser`
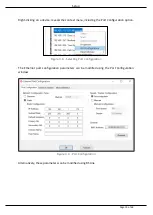
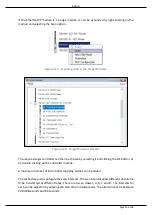
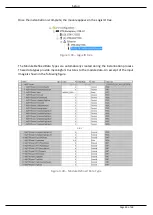
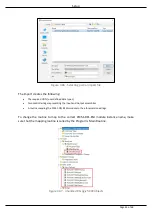
Figure 3.26 - Target Browser selection
The required Logix controller can then be chosen by selecting it and clicking the Ok button, or
by double-clicking on the controller module.
A maximum number of 8 controller mapping entries can be added.
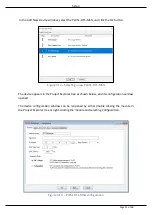
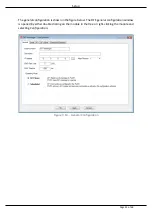
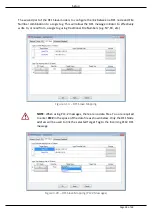
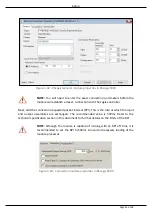
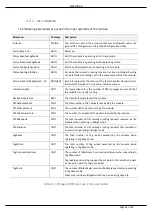
The second step is to configure the scan intervals. The scan intervals allow different data items
to be transferred at different rates. There are 4 scan classes: A, B, C and D. The intervals for
each can be adjusted by entering the scan time in milliseconds. The interval must be between
200 milliseconds and 60 seconds.
Содержание PLX51-DF1-MSG
Страница 1: ...PLX51 DF1 MSG DF1 Messenger DF1 to EtherNet IPTM Messenger December 2017 USER MANUAL...
Страница 4: ...Page 4 of 69...
Страница 10: ...Page 10 of 69...
Страница 48: ...Operation Page 48 of 69...
Страница 60: ...Page 60 of 69...
Страница 64: ...Page 64 of 69...
Страница 68: ...Page 68 of 69...