


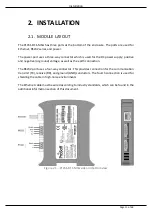
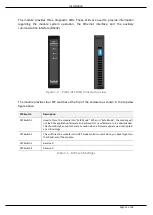
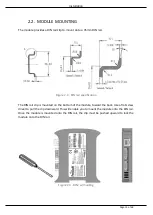
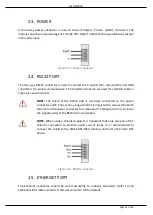


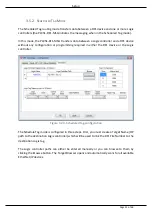

Setup
Page 18 of 69
A new IP address can then be assigned by repeating the previous steps.
NOTE: It is important to return DIP switch 2 back to Off position, to avoid the
module returning to a DHCP mode after the power is cycled again.
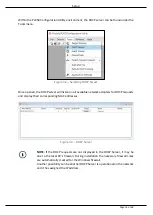
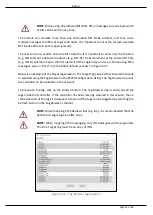
In addition to the setting the IP address, a number of other network parameters can be set
during the DHCP process. These settings can be viewed and edited in the PLX50 Configuration
Utility Application Settings, in the DHCP Server tab.
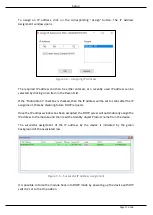
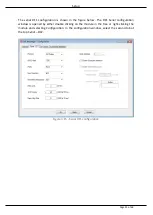
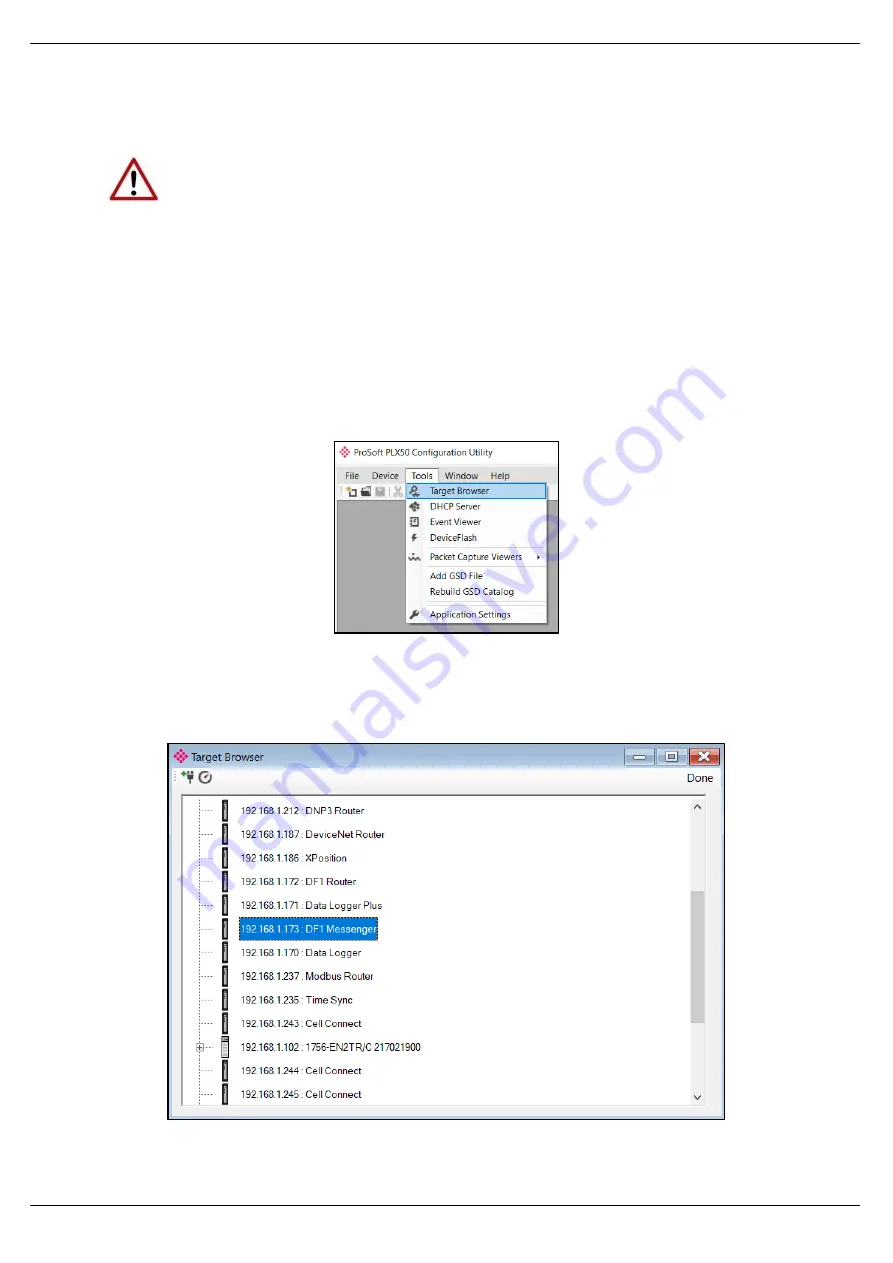
Once the DHCP process has been completed, the network settings can be set using the
Ethernet Port Configuration via the Target Browser.
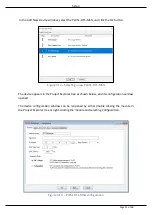
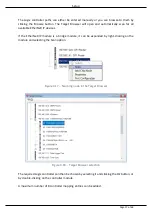
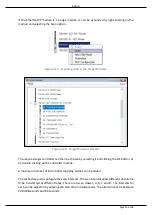
The Target Browser can be accessed under the Tools menu.
Figure 3.6. - Selecting the Target Browser
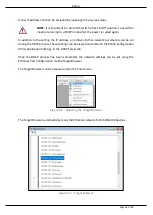
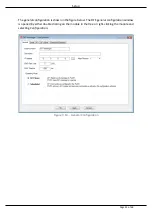
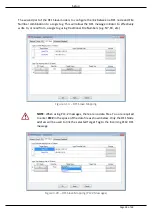
The Target Browser automatically scans the Ethernet network for EtherNet/IP devices.
Figure 3.7. - Target Browser
Содержание PLX51-DF1-MSG
Страница 1: ...PLX51 DF1 MSG DF1 Messenger DF1 to EtherNet IPTM Messenger December 2017 USER MANUAL...
Страница 4: ...Page 4 of 69...
Страница 10: ...Page 10 of 69...
Страница 48: ...Operation Page 48 of 69...
Страница 60: ...Page 60 of 69...
Страница 64: ...Page 64 of 69...
Страница 68: ...Page 68 of 69...