Using the Apollo Utility for Mac and Windows
79
Return to “
Table of Contents
”
Click here to get help online
Uploading content from a USB storage device
To save data on a USB storage drive to the Apollo, you need to use the Apollo Utility. The USB Upload procedure
is described here, and repeated in the section “Using the Apollo Utility” on page 68, which includes other useful
information about using the Apollo Utility. USB Upload is a simple operation, just connect a USB device, and
instruct Apollo to proceed. However, you need to make sure there is enough available storage capacity on Apollo to
accommodate the upload. Also, note that if you are a large quantity of data, the upload time will increase proportional to
the amount of data being transferred.
Upload time varies according to how much data is
being transferred. Keep this in mind if you are uploading
a large amount of content.
To begin a USB Upload to Apollo, attach a USB storage device to the USB port on Apollo, and use the Apollo Utility to
perform the steps below. See also “Using the Apollo Utility” on page 68.
1.
Click the
Settings
icon in the top menu bar of the Apollo Utility user interface, and select the
USB upload
option.
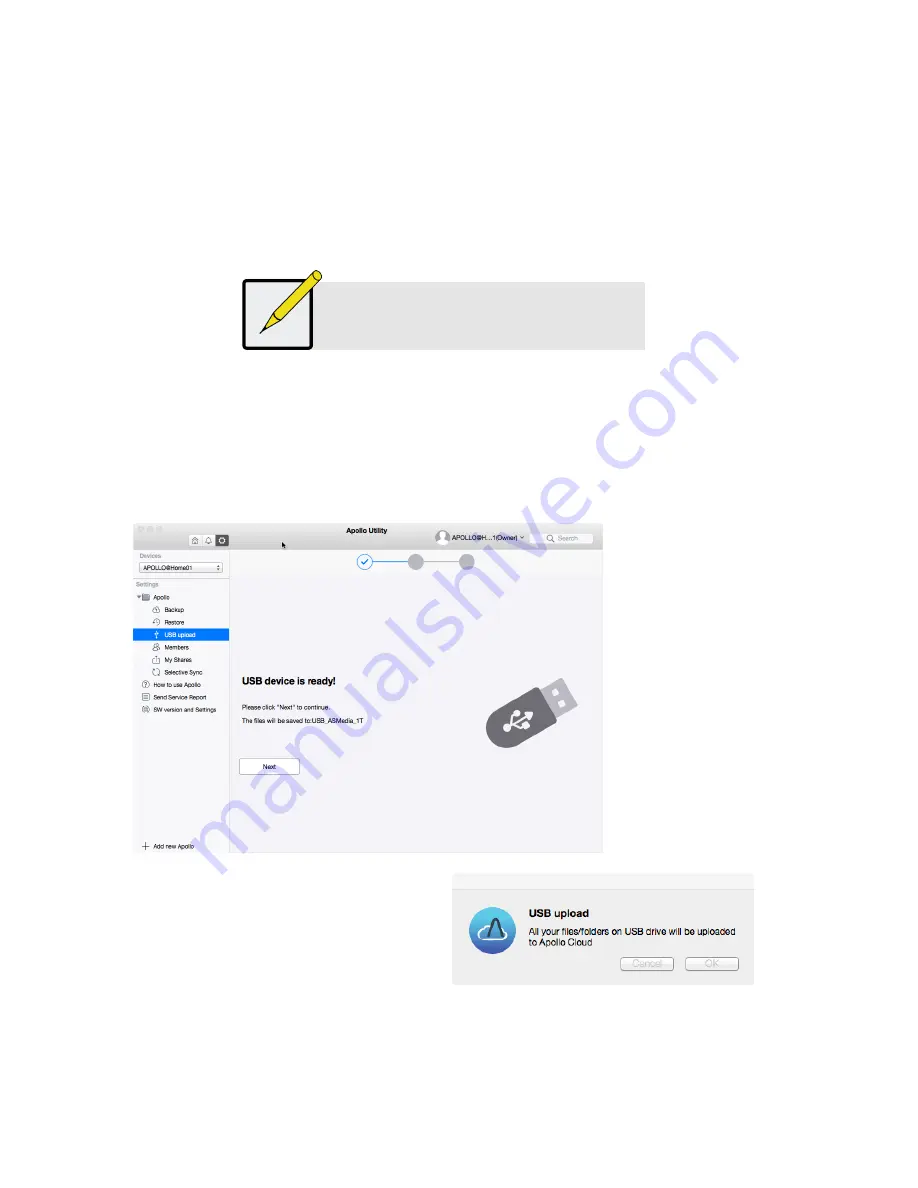
2. If the USB device is connected and ready for use, you will see the
USB device is ready!
message. If you do not
see this message, check the USB connection. If it is connected, the device might not be suitable for with Apollo.
Apollo requires the USB drive to use one of the following file systems: exFAT, NTFS, HFS, EXT3 or EXT4
.
3. A pop-up dialog appears asking for confirmation.
If you want to proceed with the upload, click
OK
.
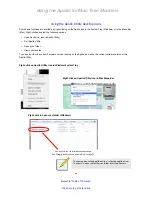
USB upload in Settings menu


