260
Chapter
6
Reprogramming the Security Key
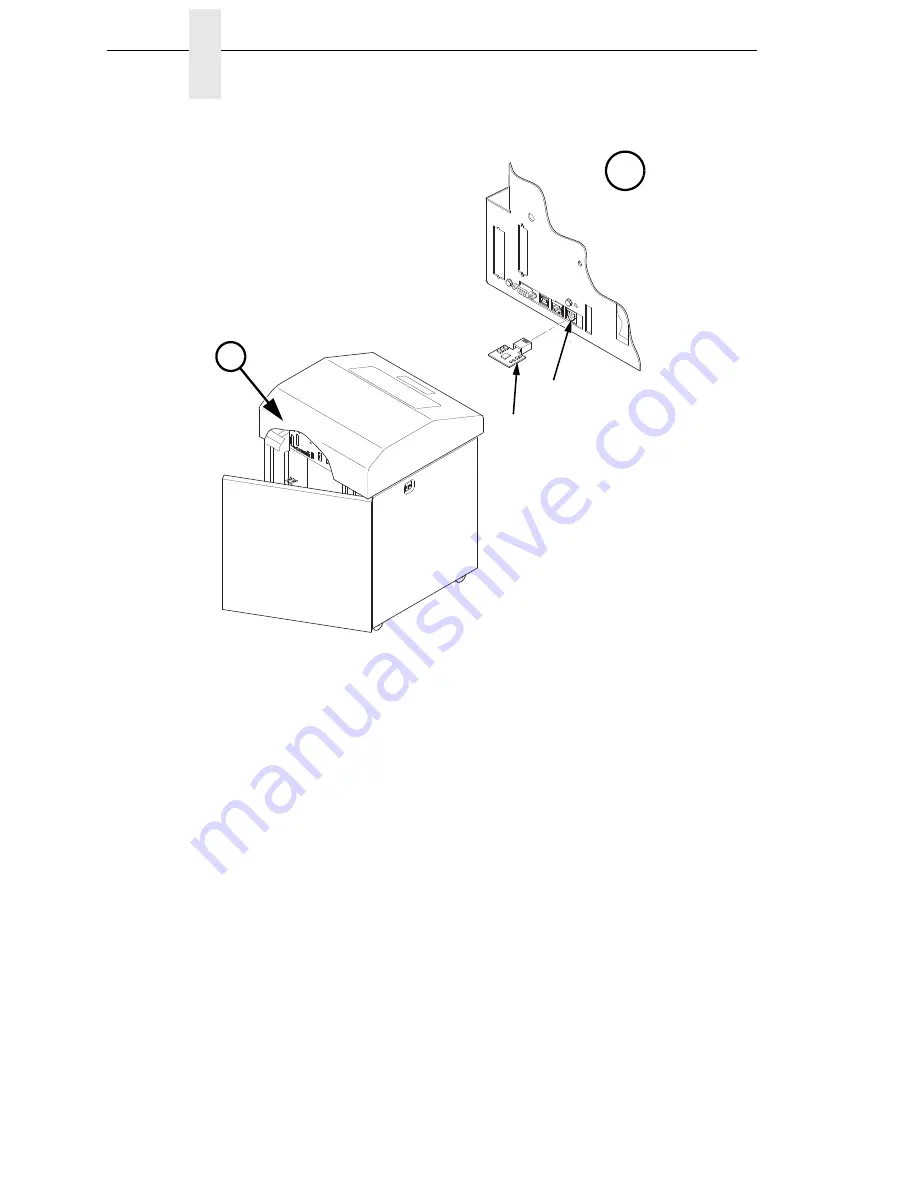
Figure 1. Inserting The SPX into the Debug Port
4. Power on the printer. The printer will begin its boot-up sequence.
5. When the printer detects a valid SPX, the control panel displays:
“NEW SPX DETECTED
PRESS ENTER”
NOTE:
If an error message displays, find the message in the Message List in
Chapter 8 and follow the troubleshooting instructions.
6. Press the
ENTER
key to activate the reprogramming sequence. The
display will read:
“PROGRAMMING. PLEASE WAIT.”
7. When the security key is reprogrammed, the display will read:
“UPGRADED - REMOVE SPX
Downld code if needed”
8. Remove the SPX from the debug port at the rear of the printer.
9. Press the
ENTER
key. The printer will reboot itself and you may resume
normal printing.
10. You may need to download a new program file to use the new feature.
11. You may need to set additional menu parameters for any new features
that have been added or enabled.
184567a
A
A
Debug Port
SPX
Содержание P8000 Series
Страница 1: ...P8000 Series Cartridge Ribbon Printer Administrator s Manual...
Страница 3: ...Administrator s Manual P8000 Series Cartridge Ribbon Printers...
Страница 214: ...214 Chapter 4 EMULATION Menu...
Страница 248: ...248 Chapter 4 Printer Mgmt Menu...
Страница 288: ...288 Chapter 7 Demo Facility...
Страница 340: ...340 Appendix A Printing Speed...
Страница 342: ...342 Appendix B ASCII Character Set...
Страница 348: ...348 Appendix C Stacker Operation...
Страница 360: ...360 Appendix D Performance Limitations...
Страница 378: ...378 Appendix F The PTX_SETUP Commands...
Страница 386: ...386 Appendix H Communication Statements LMPPLS LMPPHS LMPCLS LMPCHS...
Страница 396: ...396 Appendix H Software License Agreement...
Страница 421: ......
Страница 422: ...256381 001C 256381 001...


