S
URE
T
HING
CD L
ABELER
User’s Guide
27
5
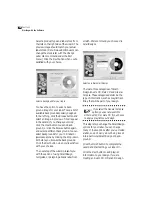
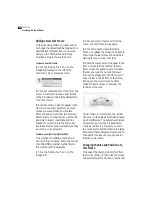
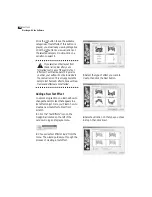
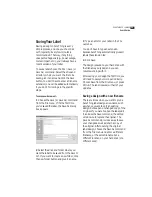
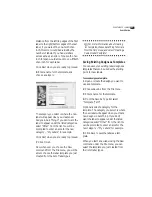
Select from a list of preset colors. The
check boxes at the bottom of the wizard
let you turn certain characteristics on or
off. You can always change your mind later.
Click
Next
when you’re satisfied with your
choices.
6
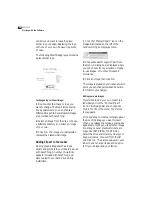
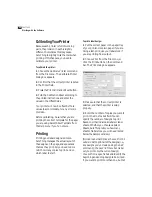
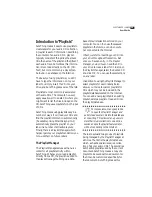
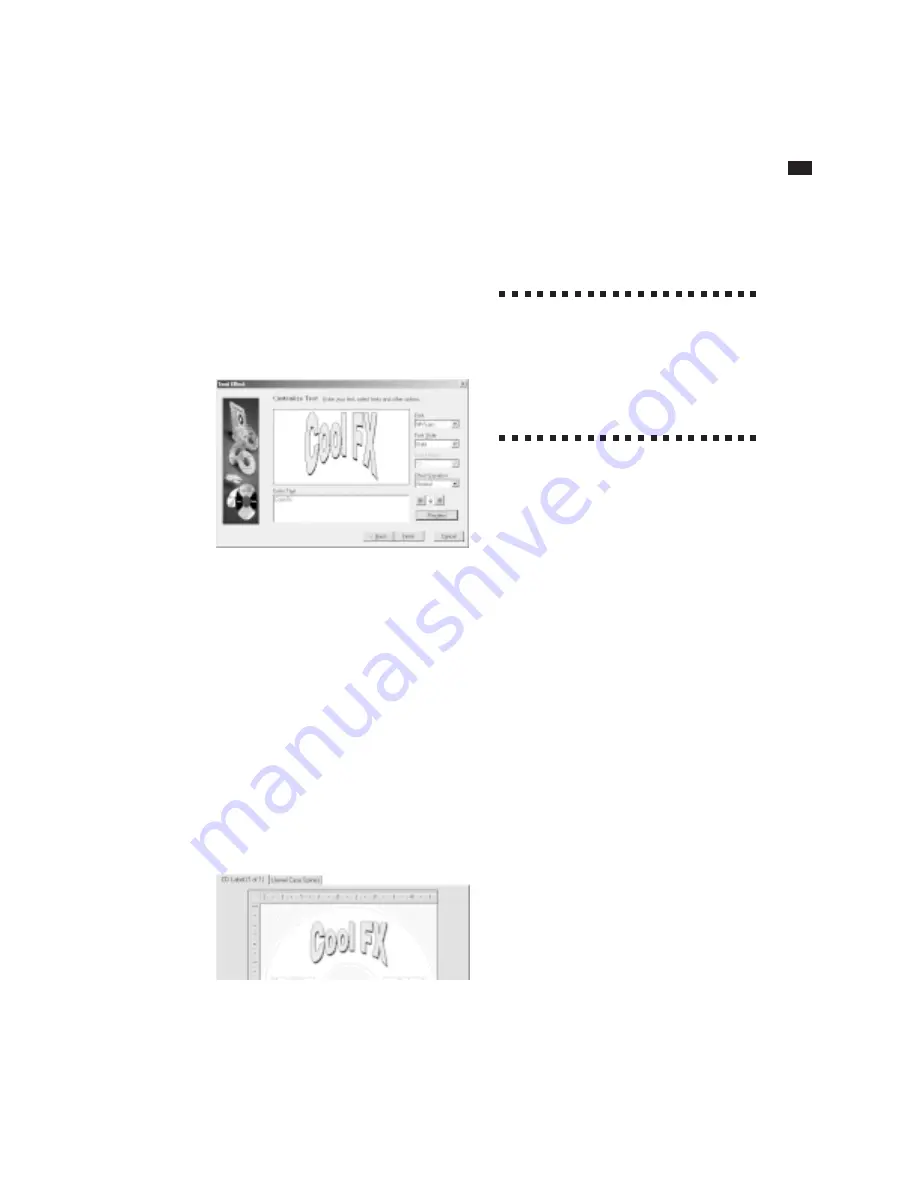
Enter the text you want to appear in the
text effect (first delete the sample text).
7
Change the font and style options to
suit your tastes. For certain types of
effects, you can also choose whether or
not they are to be created with perspec-
tive, stretched to a curve, or drawn flat
(Normal). Click the
Preview
button to view
your edits in the wizard. Click the
Finish
button when you are ready to create the
effect.
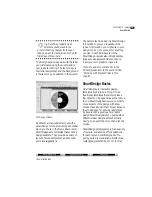
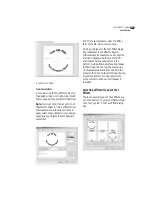
The effect is created on your label. The
next thing you’ll need to do is adjust its size
and position.
You can edit the text effect later simply by
double-clicking it.
?
Why does text appear jagged in Text
Effects on screen? Text appears jagged
in text effects because the software has to
work with it as if it were a graphic. Even
though the text in text effects does not
always appear very legible on screen, it will
print crisp and clear.
Working with Logos, Pictures
and Clipart
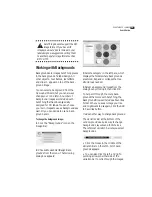
There are a couple of ways of working
with graphics in SureThing. Some of the
SmartDesigns include placeholders for
graphics (such as a company logo,). You
can easily substitute your own graphics for
the placeholders simply by double-clicking
them and selecting your own file.
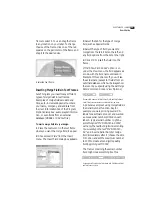
For SmartDesigns that don’t include
placeholders, you can easily import
graphics and clipart yourself using the
picture tool (under the Tools menu), or by
selecting a file from the Clipart menu on
the Design Bar.
We’ll discuss editing existing graphics in
SmartDesigns first, then move on to
importing your own graphics and clipart.
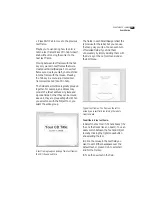
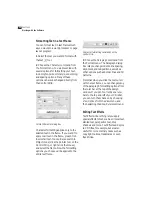
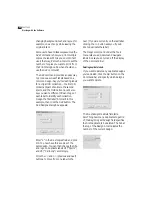
Editing a Logo
Many of the SmartDesigns contain
placeholder logos. These placeholders
have been sized and positioned in such a
way to look good with the other text
elements of the label design, but it’s highly
Содержание SureThing
Страница 1: ......
Страница 48: ...48 CHAPTER 3 Working with the Software ...


