14
C
HAPTER
2
The SureThing Environment
Selecting Tools
You select a tool by clicking it with the
mouse. Some tools bring up dialog boxes
(such as the Picture tool, for example),
others change the shape of the cursor,
indicating you can create an object based
on the type of tool you selected. These are
also known as the
Object Tools
.
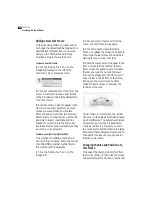
When you move the mouse over a tool
without clicking it, the name of the tool is
displayed. For an overview of each tool,
see the online Help.
Using Object Tools
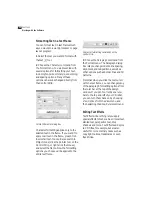
The tools used to create objects work in
the following fashion:
1
Select the tool (either from the tool
menu on the Control Strip, or from the
Object Tools list under the Tools menu).
2
Click and continue holding down the
mouse button at the location in the label
design area where you want to create the
object.
3
While still holding down the mouse
button, drag the size you want the object
to appear.
4
When you are satisfied with the size of
the object, release the mouse and the
object is created.
Most object tools work in the manner
described above. Some tools display dialog
boxes where you can open and insert files,
enter text, etc.
Setting Program Options
A number of SureThing’s settings can be
customized. These include startup options,
display options, toolbar and ruler settings,
etc. Some of these options are set in the
Options dialog box (choose the
Program
Options
command from the Tools menu),
others are turned on and off under the
View menu. These settings are saved each
time you exit SureThing.
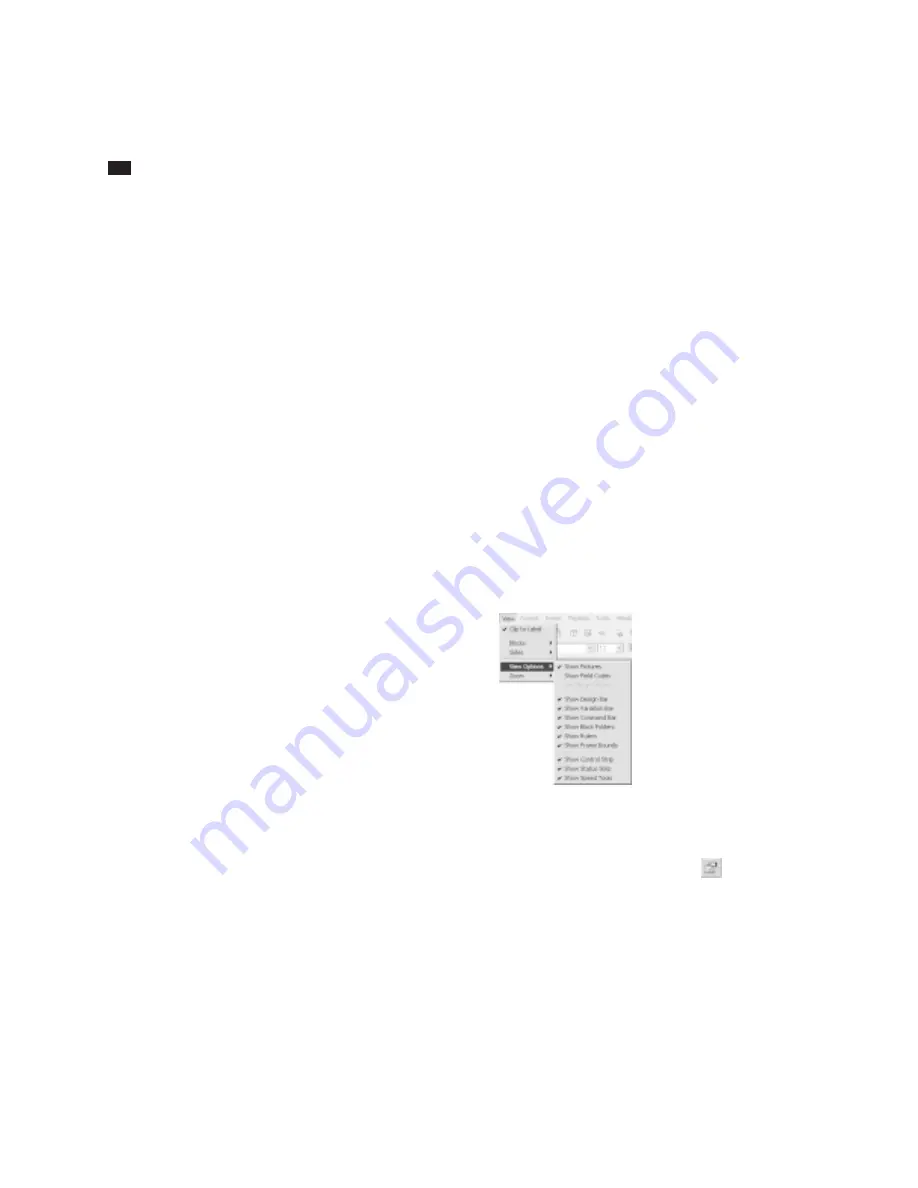
To change View Options:
• Choose
View Options
from the View
menu to turn the display of selected items
on or off. The commands under this sub-
menu toggle on and off – a check mark
next to an option indicates it’s on; select it
again to turn it off.
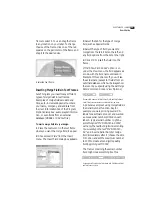
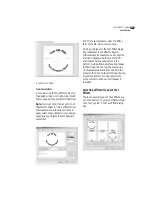
To change settings in the Options dialog box:
1
Choose the
Program Options
command
from the Tools menu, or click the
button at the bottom of the Design bar.
Содержание SureThing
Страница 1: ......
Страница 48: ...48 CHAPTER 3 Working with the Software ...


