


48 Creating Discs
Alignment Calibration
Clicking this button will print a test disc that will provide a
scale by which to calibrate the Color Ink Cartridge to the
Monochrome Ink Cartridge. This is crucial when selecting the
Black and Color
Ink Cartridge setting in the Printer Driver.
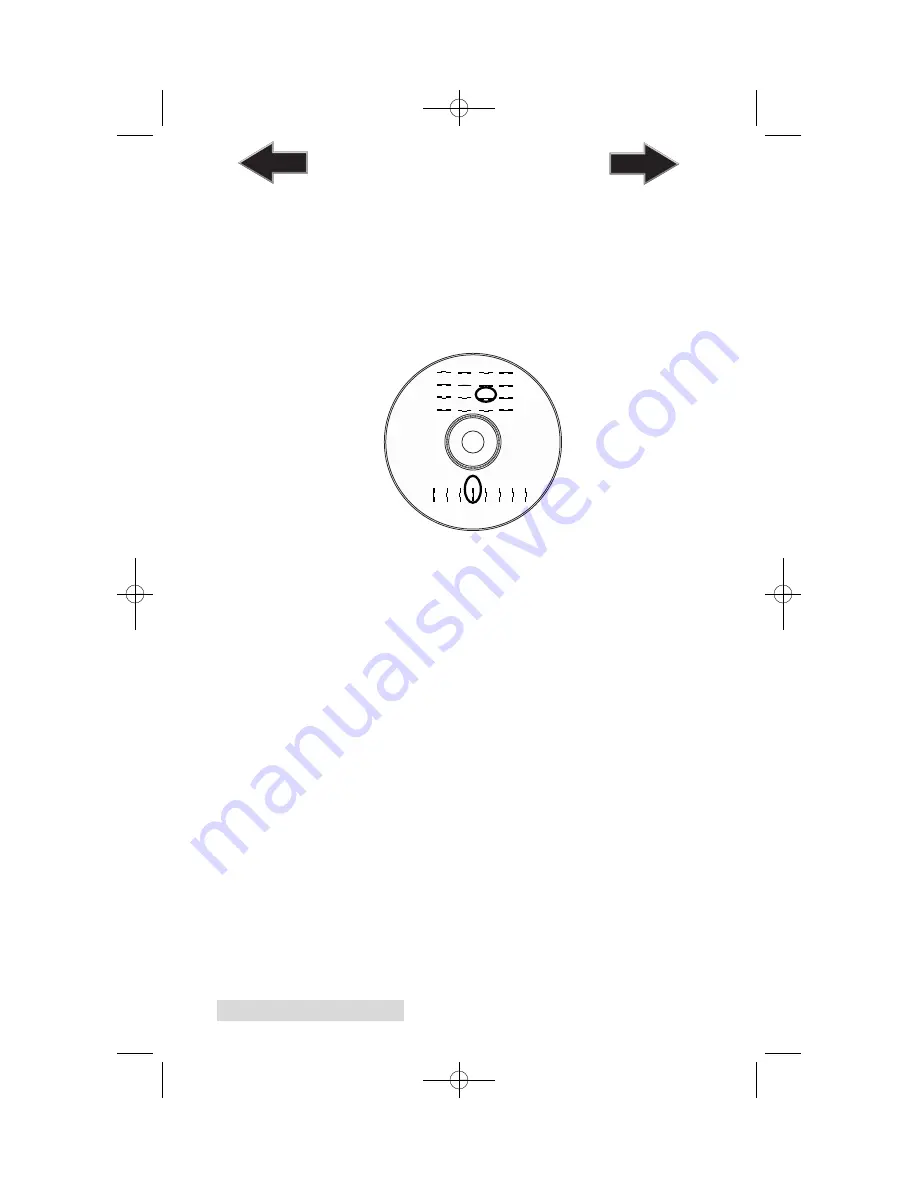
Make certain you have discs and ink installed in your Bravo
prior to pressing this button. Once pressed, the Bravo will load
a disc and print the following pattern:
Follow the on-screen instructions and enter the numbers as
indicated. For instance, in the example shown, you would
choose a value of 10 for the A setting and 6 for the B setting.
It is highly recommended that you perform this calibration
whenever you change cartridges if using the
Black and Color
ink cartridge setting in the printer driver.
Image Alignment
The Image Alignment button will allow you to nudge the
image up, down, left, or right on your disc. To center the
image, click the Image Alignment button. You will be
prompted with a choice to print a test print or simply enter
values to nudge the image alignment on the disc.
If you do not know the direction and distance to move the
image in order to center it on your disc, you can opt to print
the
centering test print
. Make sure the Bravo has discs and ink
cartridges installed, and it is connected and ready to receive a
print job, and then click the
Yes
button. The Bravo will pick a
disc and print a scale of numbers on it. You will be prompted
B
4
6
0
2
12 14
8 10
A
5
4
6
7
1
0
2
3
13
12
14
15
9
8
10
11
510930.qxd 11/25/2009 2:19 PM Page 48
TOC
INDEX


