


28
© 2013 PreSens Precision Sensing GmbH
Fibox 4 & Fibox 4 trace
Operation
2.
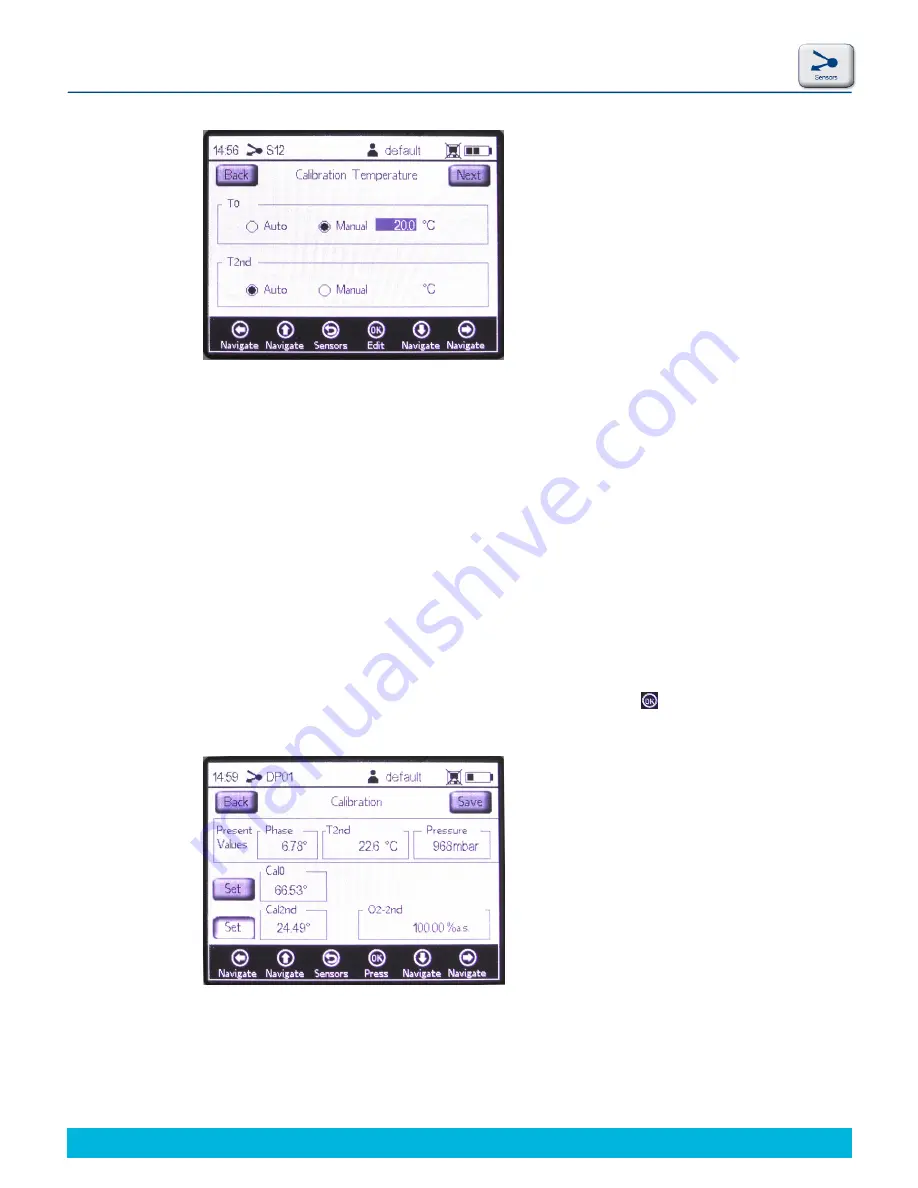
Calibration Temperature
T0
: Temperature at the first calibration point.
Selecting
Auto
the temperature at the first calibration point will be measured with the Pt100
temperature sensor. Connect the Pt100 temperature sensor to the respective connector on
the transmitter´s top panel and make sure it is inserted in the medium of the first calibration
point.
Selecting
Manual
the current temperature at the first calibration point has to be known; you
have to type in the current temperature value and the respective temperature unit (°C, °F, or
K) at the first calibration point.
T2nd
: Temperature at the second calibration point.
Like at the first calibration point you can select
Auto
for automatic temperature measurement
or
Manua
l for inserting the calibration temperature yourself.
Move to the upper right of the screen to the
Next
button and press .
3.
Calibration
!
It is possible to perform a one-point calibration as well as a two-point calibration.
Fig. 37
Calibration Temperature screen
Fig. 38
Calibration screen
Содержание Fibox 4 trace
Страница 1: ...Fibox 4 Fibox 4 trace Fiber optic oxygen transmitters TRANSMITTERS Instruction Manual...
Страница 2: ......
Страница 4: ......
Страница 7: ......
Страница 59: ...54 2013 PreSens Precision Sensing GmbH Fibox 4 Fibox 4 trace Operation Fig 77 pdf file of multiple barcodes...