


SX™ Operator Manual
©
Original Printed in English
4-3
LOADING A LABEL
This section will briefly guide you through creating and
loading labels using Labelview™. Labelview™ is la-
beling software available from Sharp Packaging Sys-
tems. This software can be used for creating text, bar
codes, graphics, lines, and boxes. For more detailed
instructions on using Labelview™ refer to the Help
section within the software.
Note:
Software other than Labelview™ may re-
quire different settings.
Once Labelview™ is installed on your PC, perform the
following steps.
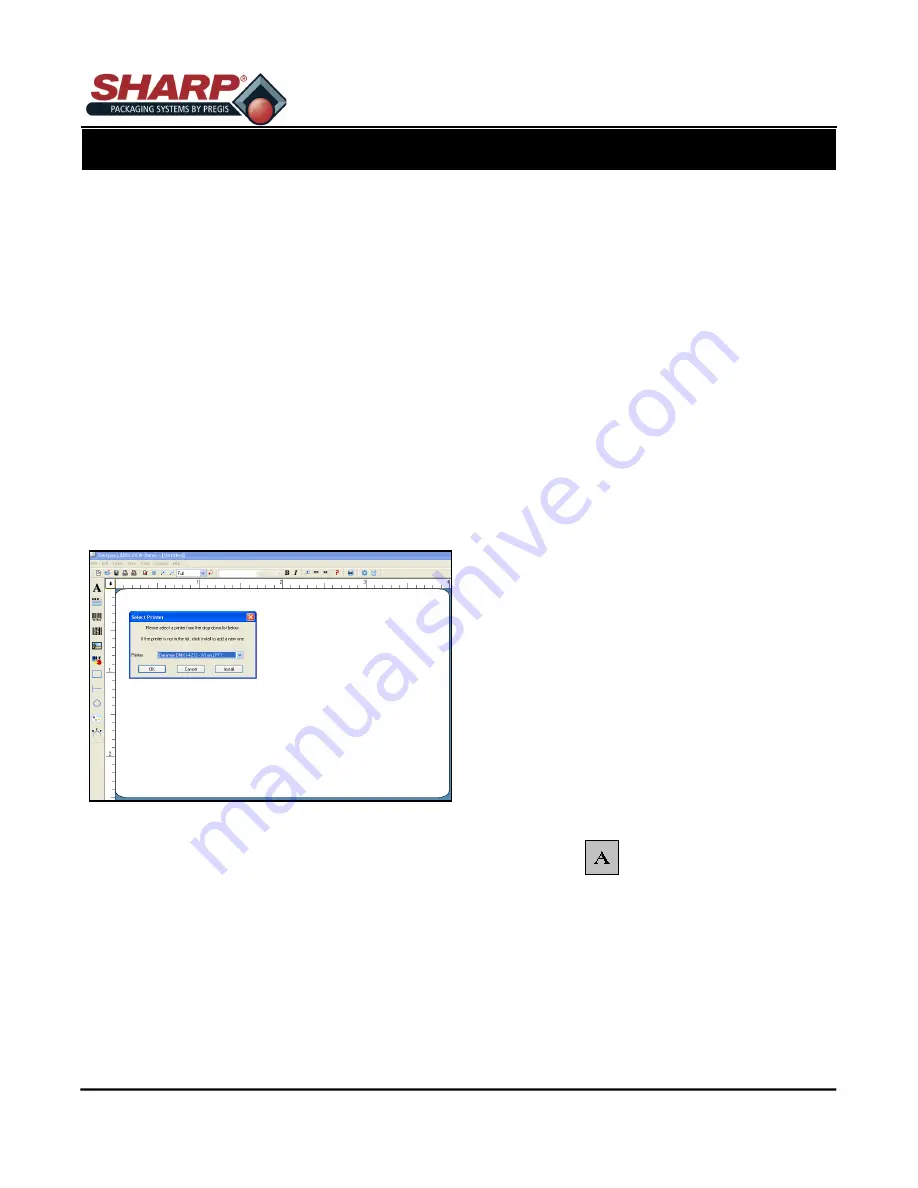
SELECTING A LABEL PRINTER
1. Go to
File + Select Printer
.
2. Choose the Datamax
®
DMX I-4212printer from the
list.
3. If the Datamax
®
driver is not in the list select
In-
stall.
4. Select the Datamax
®
DMX I-4212 and click install.
5. Click
Close
.
6. Click
OK
.
CONFIGURING LABELVIEW
™
1. Go to O Configuration.
2. Under the General tab, uncheck all of the boxes
except TrueType Fonts as Graphics.
CREATING A NEW LABEL
1. To Create a new Label format, go to
File + New
or
click on the icon.
2. Fill out the Label Setup tab of the Label Setup
dialog box. The following are some recommended
settings for this tab.
Print Speed
– Start at 8 and adjust for optimal print
quality. (Range is 2 – 11.5)
Temperature
– Start at 12 and adjust for optimal print
quality. (Range is 0 -30)
3. Click on the Options tab and fill in the boxes. The
following are some recommended settings for the
options tab.
Print Rotation
– Normal
Label Stock
– Non Inventory
Sensor Type
– Continuous
Cut
– Don’t Cut
Dots per Inch
– 203
Back Feed
– 0
Increment Method
– Printer
Note
:
Label names and paths can contain up to
250 characters. Longer path and file names are
not supported.
4.
Click
OK
.
ADDING FIELDS TO LABELS
Adding any field to a label involves all of the same
steps.
Adding Text
1. Click on the button.
2.
Non-Resizable means the picture cannot be
changed.
3. Pictures
= Specify the name of the picture file
you wish to insert.
4.
Preview =
Check this box to see a thumbnail of
the full picture before you place it on
the label.
PRINTER
PRINTER CONTROLS


